
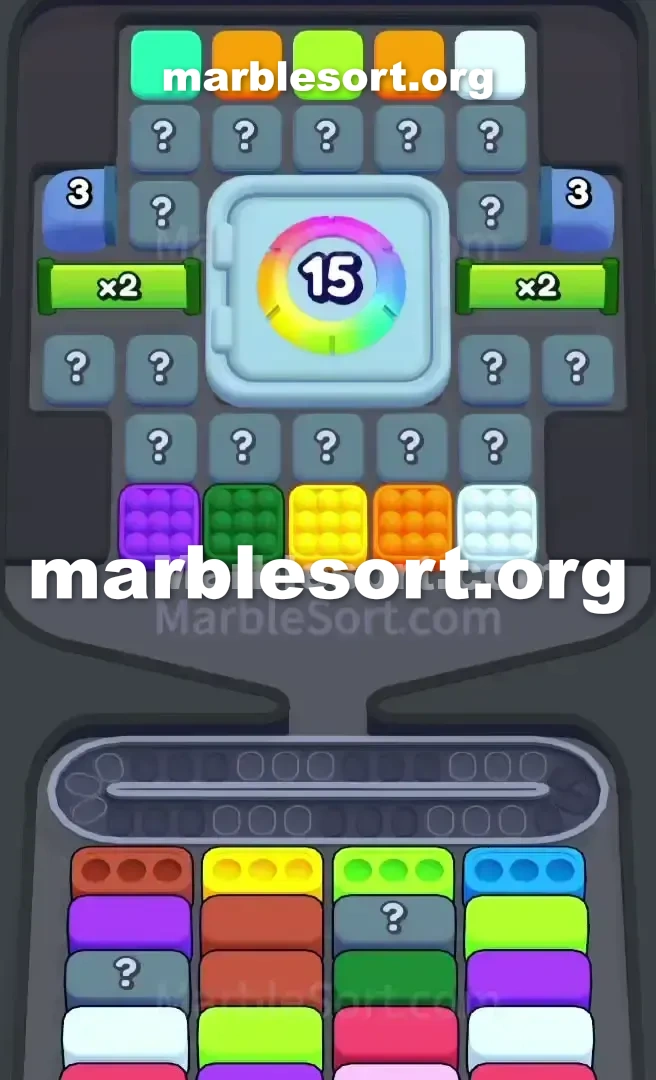
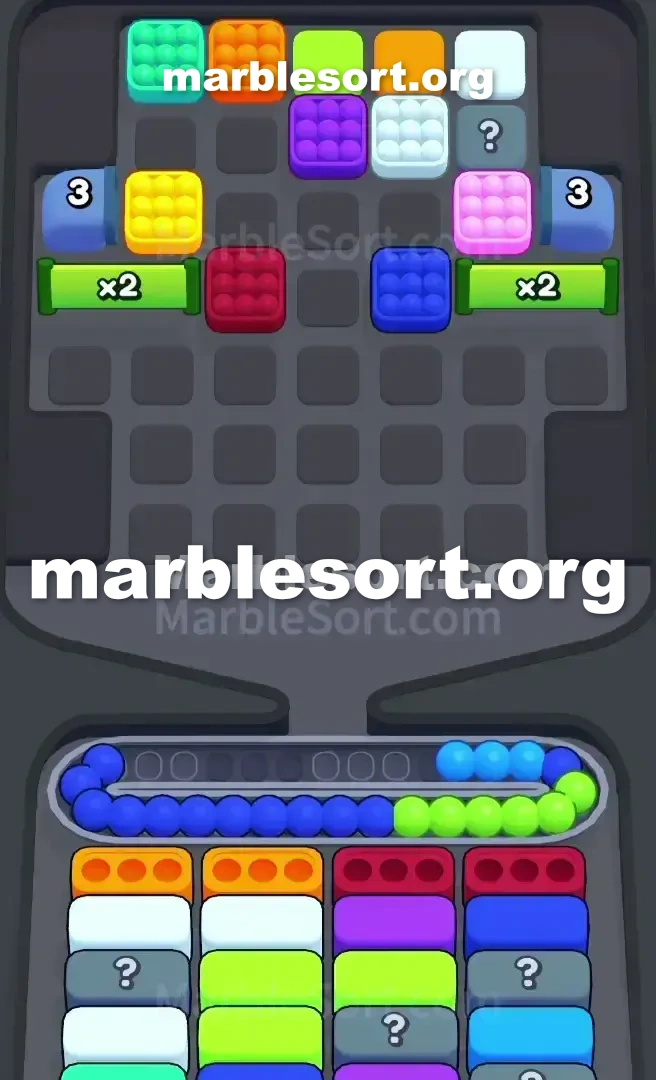
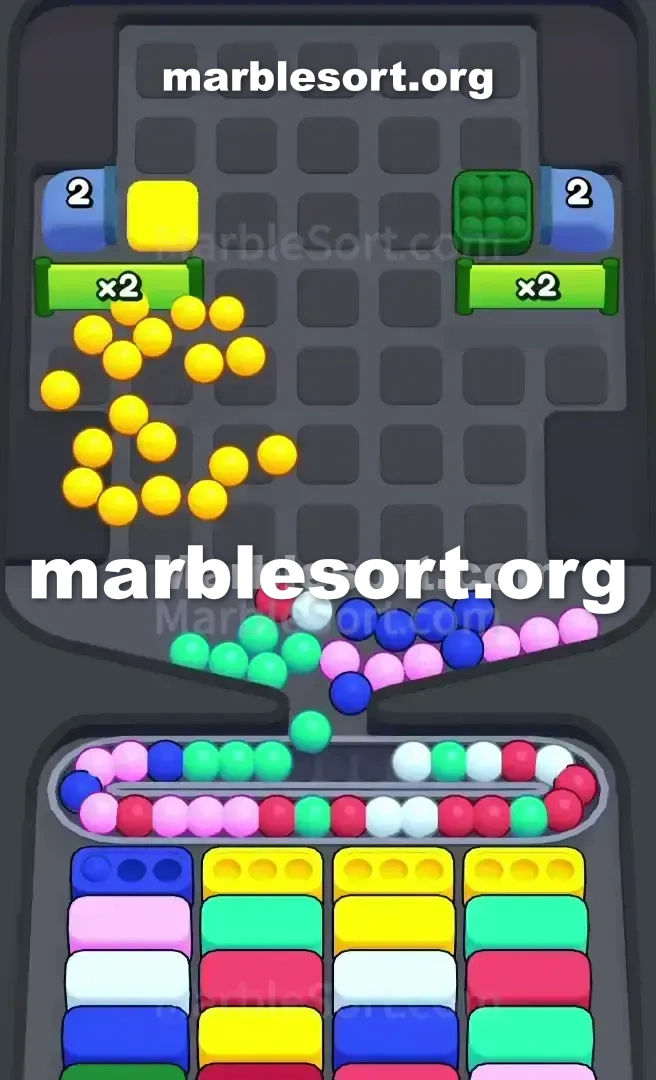
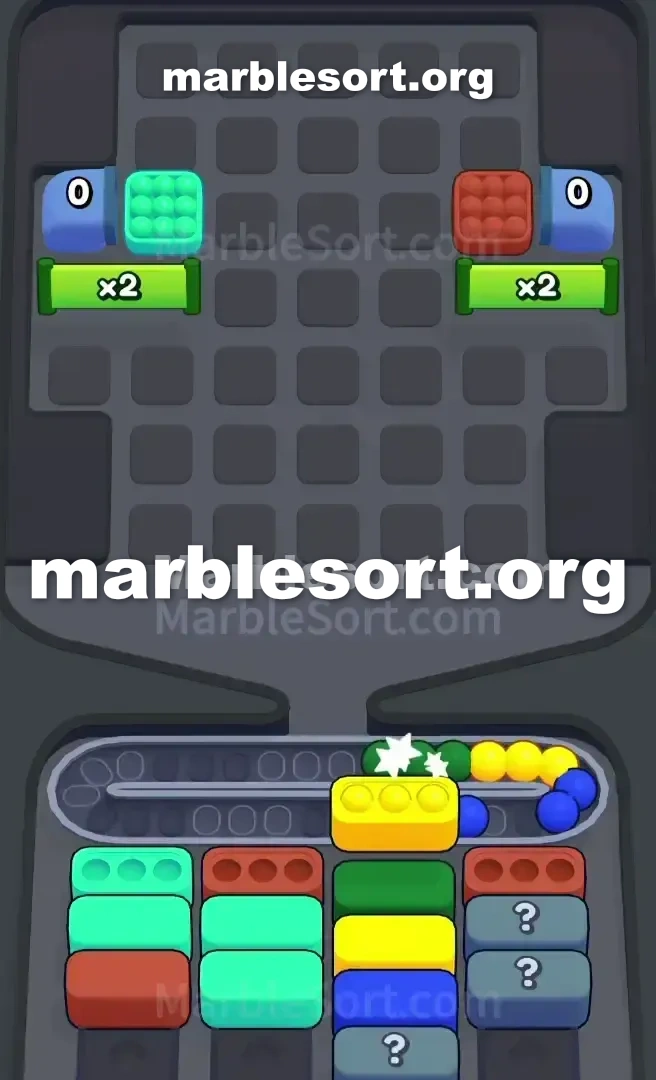
关卡截图


逐步解法
- 1) Aim at the front line by sending loose Yellow, White, and Orange marbles down from the bottom strip of the Top Tray into the boxes that are already active.
- 2) After clearing the White box at the front of the second column, drop the loose Red marble safely; keep the Pink and the Greens aside because no Pink or Green receiver is open yet.
- 3) Clearing the bottom-most marbles triggers the downward Green arrow boxes, so wait until a Green box is actually revealed before touching any green marbles.
- 4) Clear the initial Yellow and Orange boxes to drag the lower Mystery Boxes into active slots and watch their colors before tapping further.
- 5) Tackle the bottom-left Crate by emptying the Orange and Light Blue marbles beside it, all while watching the grey Hidden Boxes since one of them morphs into a Surprise Bag bound with a yellow string.
- 6) When a Green box unlocks, only tap exactly the Greens you need to fill it so the belt does not flood.
- 7) Hold off on opening the Surprise Bag until the belt carries at least four free slots, because it releases a random mix, often White and Red, that can sink the run on the spot.
- 8) In the endgame, work up the right side matching Pink and Green to crack the top-right Crate, then feed the unlocked White and Red up-arrows into the final columns.
Level 360 Double Crate and Arrow Box Trap
one available onto sphere Sort Level 360 plus the board immediately looks hostile.
Two huge wooden Crates anchor opposite edges of the grid.
this middle sits one tangled, locked-down web from directional pointer Boxes and stone-grey Hidden Boxes .
Down on this receiving area, the target lanes sit stacked painfully deep, littered using question marks that refuse into show you what colors are needed next.
the dominant shades here are Yellow, White, Orange, and Green.
this layout forces a very tight, restrictive opening.
one hold into peel this board from this bottom-center straight up.
Level 360 Crate and Mystery Box Trap
Understanding this exact layout from this board sits the only way to beat it.
One big box rests blind on this upper-east corner, locking onto vital Green, Pink, and White marbles.
One second box rests on this lower-west corner, blocking the access into one huge group of Orange and Light Blue marbles.
Between those obstacles, this center board is laced with Arrow Boxes .
one hold downward-pointing emerald arrows, upward-pointing crimson and White arrows, and lateral Blue arrows.
east on this middle from this mess sit four grey Hidden Boxes .
one do not know what those sit yet, but one from them sits going into transform into a deadly Surprise Bag .
this real threat on sphere Sort Level 360 lives down on the bottom Boxes .
this head line asks for Yellow, White, Orange, and Yellow.
one shall see Red, Pink, and several Mystery Boxes .
lane 3 plus lane 4 sit almost entirely made of Mystery Boxes .
If one dump accessible shades from this upper rack onto this Conveyor track hoping one matching case shall magically show itself, one will jam your belt and lose.
Every single release should be calculated based over what this front row is currently asking for.
emerald looks completely safe in the top tray.
one hold plenty from emerald spheres sitting loose or behind simple down arrows.
here sits zero emerald Box available in your starting bottom columns.
Touching emerald early will instantly clog your Conveyor Belt .
Level 360 Level Overview
one hold into manage your belt space with extreme paranoia.
Follow this exact order into break this gridlock without overflowing your limited space.
Level 360 Opening Moves and Clearing the Front Line
this first taps should dismantle this loose spheres at this very lower from this upper rack while strictly feeding the active lower Boxes .
Target this head line: the available lower Boxes are Yellow, White, Orange, and Yellow.
choose this loose gold, ivory, plus amber spheres from this bottom row of the Top Tray .
Hold this rose plus crimson: here sits one loose crimson and Pink marble in that bottom row.
this crimson plus rose lower Boxes are trapped underneath the front line.
route this Whites: empty this White front Box in the second column.
Now one may securely send that loose crimson marble from the Top Tray .
Trigger this lower-middle: via clearing this lower-most loose spheres, one activate the downward-pointing Green Arrow Boxes .
Wait until one Green bottom Box is actually revealed.
show this First secret cases: Clearing this first gold plus amber cases shall drag this lower Mystery Boxes into the active slot.
Watch their shades closely before tapping anything else.
Level 360 Breaking this Crates and Managing the Surprise Bag
Once this lower line from this upper rack is gone, the mid-board opens up.
this difficulty spikes here since the hidden mechanics start to trigger.
Attack this west box: this lower-west box needs three adjacent clear events to break.
Start clearing this Light azure plus Orange marbles sitting right next to it.
one should crack this wooden case first into free onto the left side of the board.
Watch with this Surprise Bag: As one empty this spheres across this top-west, one from this grey secret cases shall transform into one Surprise Bag tied with a yellow string.
Control this center-Game Overflow: This is where runs die.
one shall likely show one emerald lower case across this same time one unlock the Green Arrow Boxes .
If one rapidly choose all this Greens, they will flood the Conveyor Belt .
just choose exactly what one need to fill the active Box .
available this Bag: Do not choose this Surprise Bag until one hold at least four empty slots over your Conveyor Belt .
that shall spit out one random assortment from marbles—often White and Red.
If this track sits already full from parked Yellows plus Greens, this bag will instantly cause a game over.
Level 360 Surviving the Mystery Box Endgame
this last phase from this board is all about pacing.
one hold broken this left Crate and popped the Surprise Bag .
Now one hold to deal with the top-right corner.
Chip this upper-east box: Work this way onto this east side from this upper rack by matching the Pink and Green marbles.
This shall slowly crack the top-right Crate .
Read this last lanes: the lower lanes shall now be big with late-stage Mystery Boxes .
Never queue onto more than two "guess" shades on your Conveyor Belt .
empty this onto-Arrows: this ivory plus crimson upward-pointing pointer cases in the upper center will finally unlock.
route them into this newly revealed lower Boxes to flush the final columns.
Keep the track clean, match deliberately, plus the board will collapse.
常见问题
What is the main trap to avoid in Level 360?
The biggest mistake is tapping colors that have no active bottom Box yet. They park on your Conveyor Belt and burn limited slots, so clear the shades that actually have receivers first.
How should I open Level 360?
Ignore the upper layers and aim at the bottom row of the Top Tray. Feed the colors that already have open boxes, then work upward once the lower lanes shift.
When does the midgame color change happen in Level 360?
After the opening boxes fall, the lower columns swap what they demand. Watch for the new shades and only pull blocks that match a box sitting at the front of a lower lane.
Any tip for finishing Level 360 clean?
Keep at least a few empty belt slots before poking mystery or hidden boxes. Feed a revealed color the moment it matches an active box, and fall back to visible marbles when the belt gets tight.