





Screenshots
Step-by-step solution
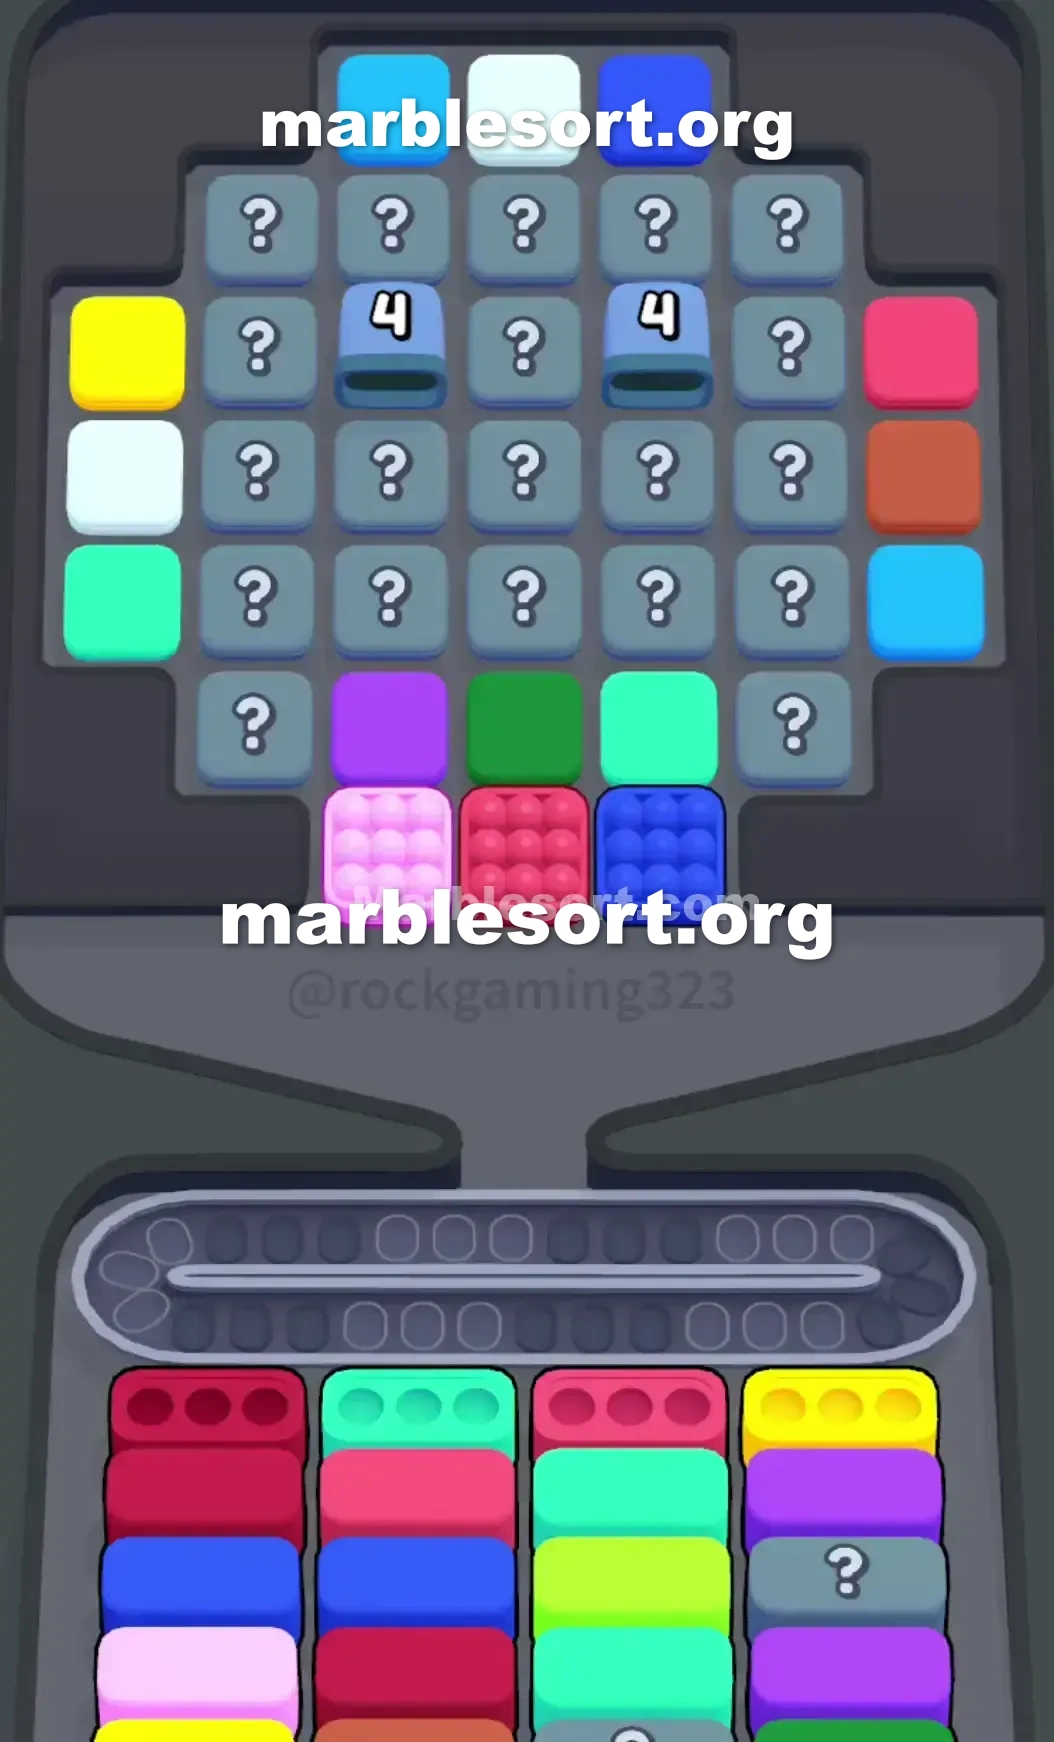
- 1) Tap the Dark Red cluster at the central point along the bottom lip of the Top Tray so it drops straight into the first column's Dark Red Box.
- 2) Grab the Yellow cluster hanging off the far left edge to clear the front Yellow Box in column four.
- 3) Poke the Pink cluster on the far right edge to empty the third column's front Pink Box.
- 4) Take the Light Blue sitting on the board's top right edge to open the second column's front Light Blue Box.
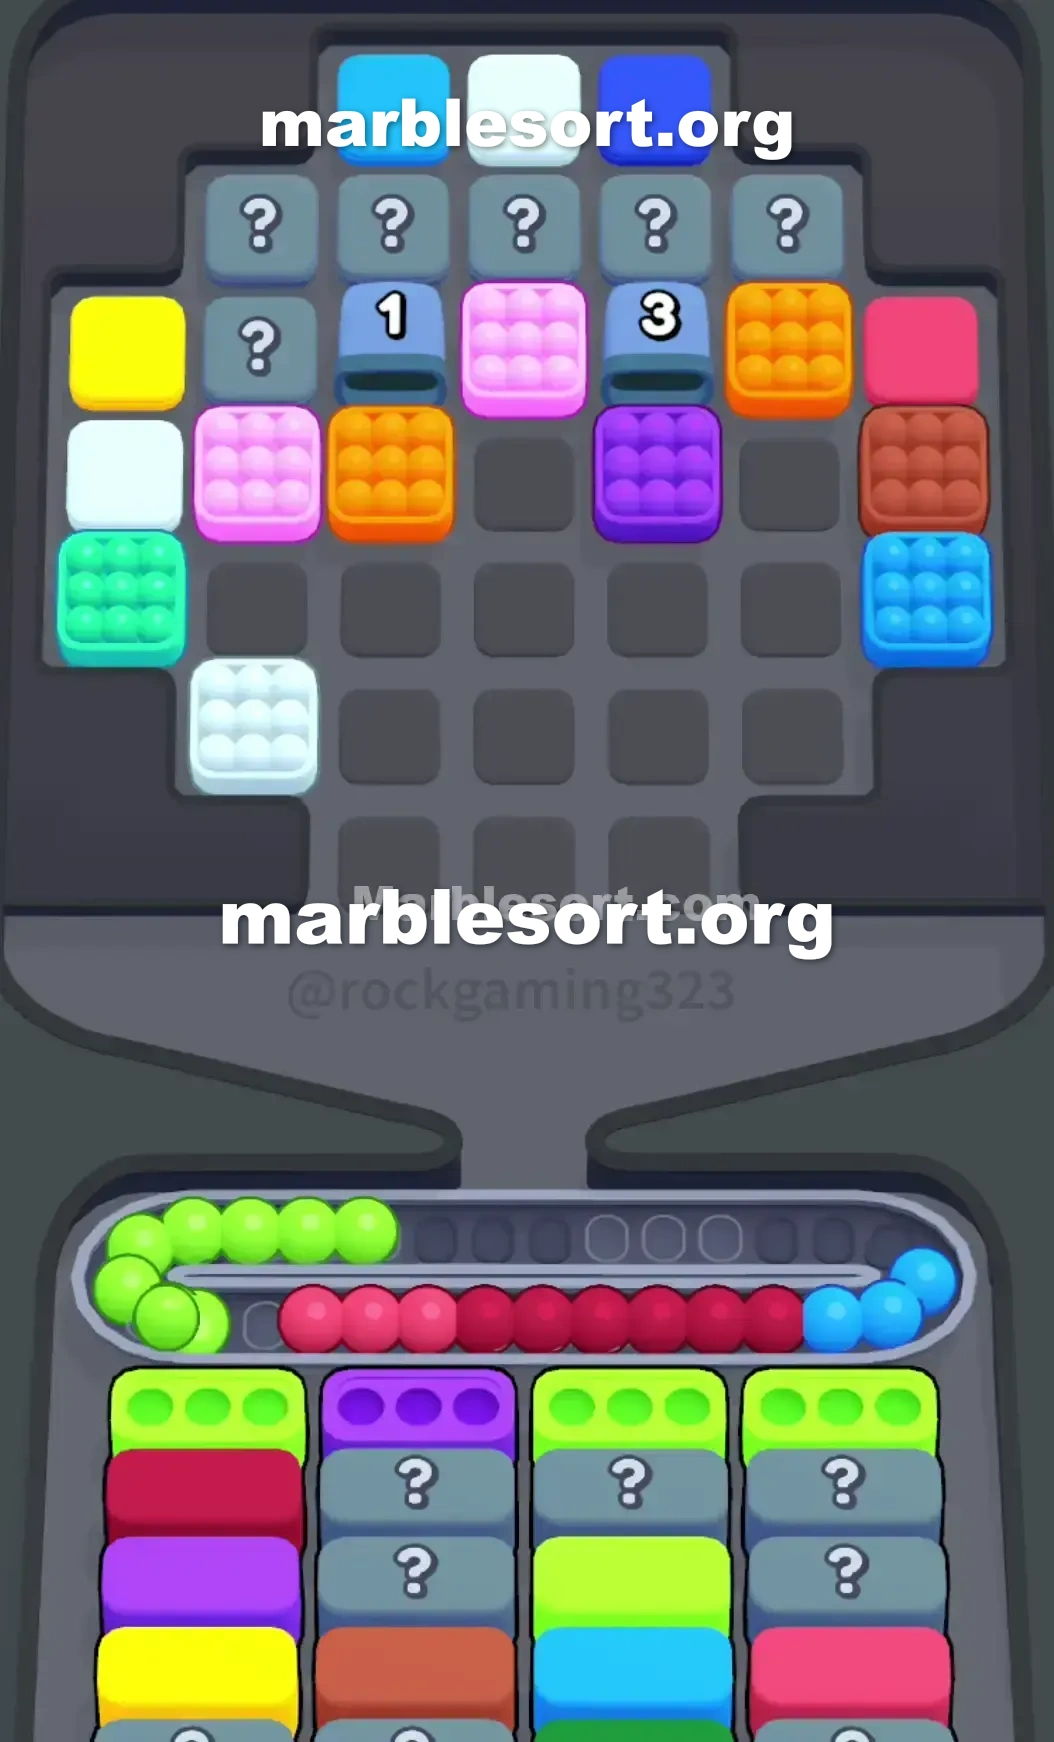
- 5) Skip the White and Light Green over on the left; flooding the belt now jams the board before the real puzzle starts.
- 6) Clearing those four front boxes drops both Tunnel counters from 4 to 0, revealing a big Orange cluster.
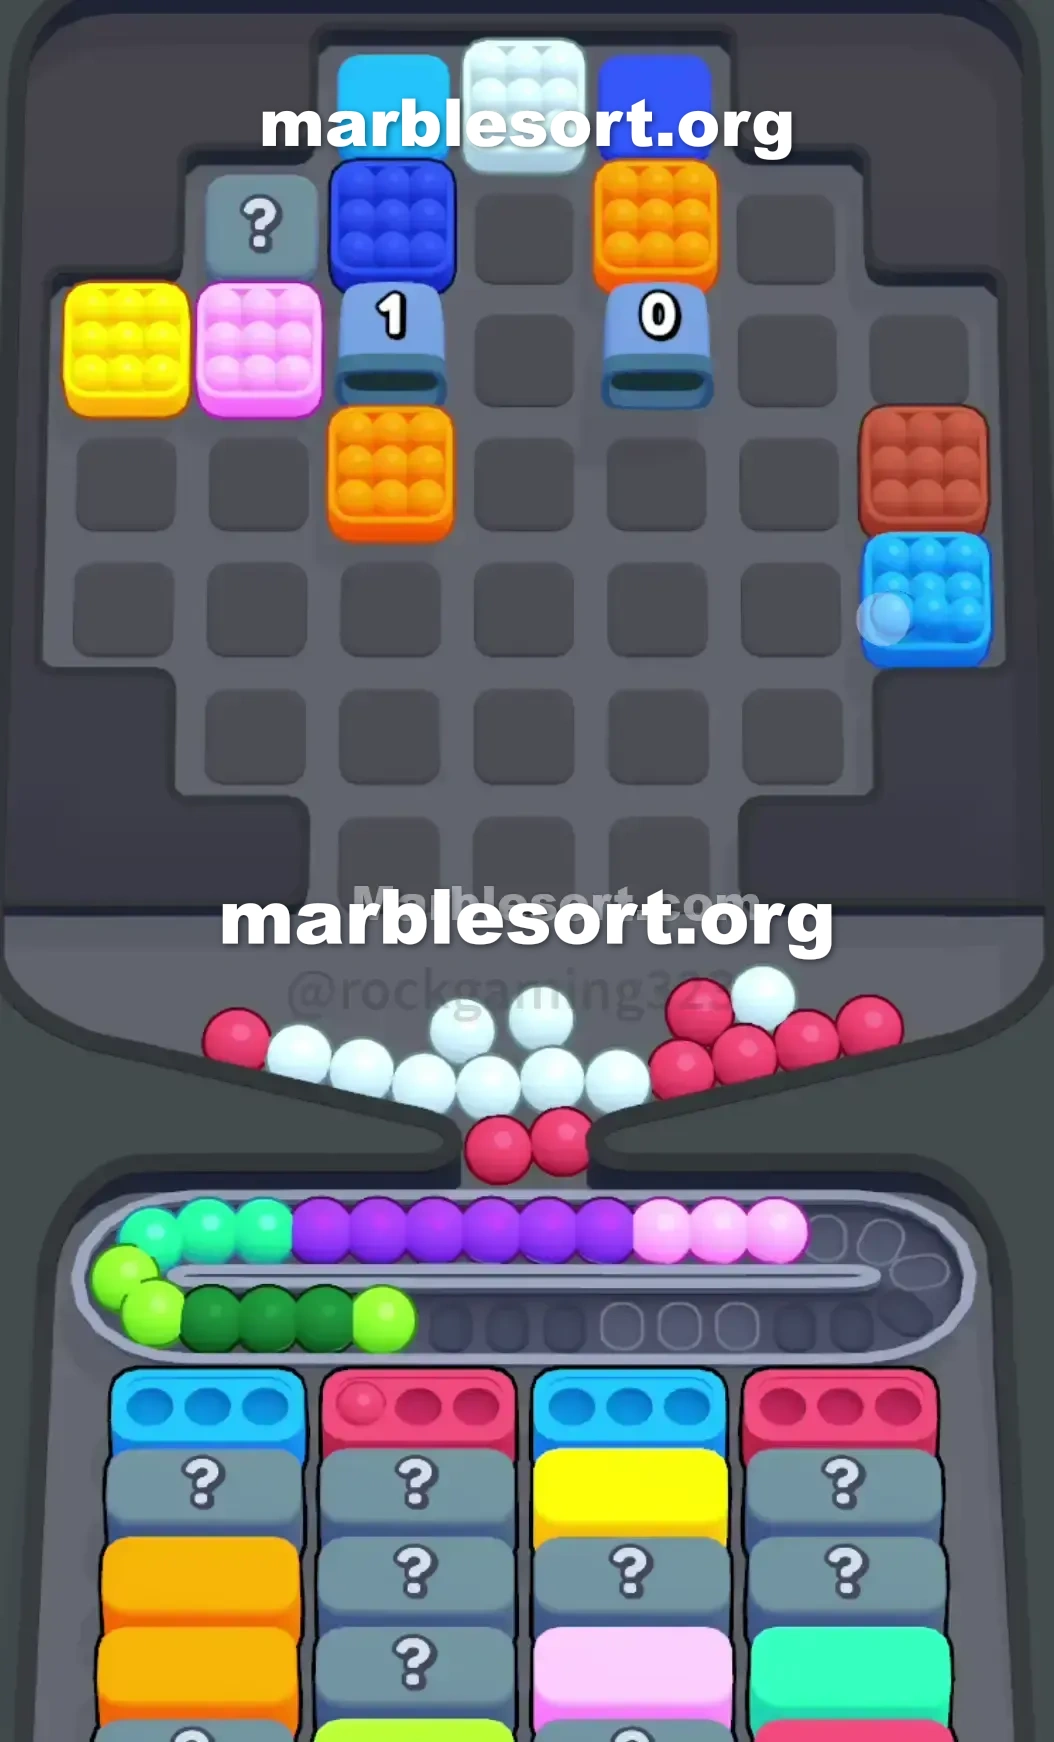
- 7) Route the Orange to the belt only when a slot is free, or wait until an Orange box surfaces; hold it back until column one or two slides a Dark Blue Box up front.
- 8) Focus on the second layer of columns one and two — feed the fresh Dark Red home, then force the Mystery Box blocking the right side, and let it dictate your pulls while you keep Light Pink and White reserved for the late game.
Level 120 Giant Hidden Grid and Countdown Tunnels
one send in and see almost nothing but gray.
One huge wall from secret pieces completely dominates the center of the board.
this dominant shades one may really spot at this start sit Dark Red, Light Blue, Pink, and Yellow.
They sit over this extreme outer edges of the Top Tray .
east on this middle from that gray wall are two Tunnels .
They each display one countdown number of 4.
one can't access whatever sits past or inside them until one empty enough lower Boxes to drop those numbers to zero.
Below this funnel, one have four columns of bottom Boxes .
this starting head line asks with Dark Red, Light Blue, Pink, and Yellow.
This board forces one to play from the outside in.
one hold to chip away at the exposed perimeter.
If one take one shade simply since it is free, you will lose.
Managing limited space is everything here.
Level 120 Outer Edge Setup
Look closely at how this exact Top Tray is built.
one sit restricted into a thin perimeter of playable colored clusters.
this west flank hangs out gold, White, and Light Green.
this east flank teases Pink, Orange, and Light Blue.
this upper ridge holds Light azure, White, and Dark Blue.
this lower chin gives one exactly three options: Light rose, Dark Red, and Dark Blue.
the lower cases dictate exactly what one are allowed to touch.
lane one sits one brutal head-into-rear order: Dark crimson, Dark Red, Dark Blue, White, and Pink.
lane two stacks Light azure, rose, Dark Blue, Dark Red, and Light Blue.
lane three lines onto rose, Light Blue, Light Green, and Light Blue.
lane four starts using gold, then violet, then hides one dangerous Mystery Box , and ends with Purple.
Here sits the biggest logic trap on the board.
this Light rose plus Dark azure groups over this lower lip from this Top Tray look like easy first moves.
one do not hold bottom Boxes ready for them.
If one choose them, they shall send down and sit on your Conveyor Belt .
Your Conveyor Belt has very limited space.
using lane four concealing one secret case deeply on its stack, one can't predict what color you will need next.
Every empty drops the counter on those central Tunnels .
one should empty exactly what this front row demands without choking your belt.
Level 120 Level Overview
one have to break the outer shell first.
Follow this exact routing into survive the opening moves.
Level 120 Breaking the Outer Shell
this immediate goal sits into route this head line from lower cases using just this exposed outer edges of the Top Tray .
choose this Dark crimson group located exactly at this bottom center lip of the Top Tray .
This perfectly feeds this Dark crimson Box waiting in the first column.
take this gold group hanging over the far left edge of the board.
This totally clears this front Yellow Box in the fourth column.
choose this rose cluster sitting on the far right edge.
This taps down plus clears the third column's front Pink Box .
bring this Light azure from this upper east edge from this board into empty the second column's front Light Blue Box .
Leave this ivory plus Light Green on the left side alone.
If one flood this Conveyor track using those shades now, this board shall jam before the real puzzle even begins.
Level 120 Surviving the Tunnel Countdown
Clearing those first four head Boxes changes everything.
this counters over this two central Tunnels send from 4 to 0.
As this counter hits 0, that opens and reveals a massive Orange cluster.
Route amber spheres securely into this Conveyor track just if one hold available slots, or wait until some Orange bottom Box is exposed.
Do not release that until lane one or lane two pushes one Dark Blue Box to the front.
Look at this newly revealed colored groups that replaced this gray blocks in the Top Tray .
Focus this clears over this second tier of column one and column two.
route this newly exposed Dark Red into column one.
one should uncover this first secret case located directly past that into know what this right side of the board actually needs.
Level 120 Managing the Late Game Jam
that uncovers one terrifying wall from Mystery Boxes across the middle columns.
The Conveyor Belt pressure spikes hard here.
Keep this Conveyor Belt strictly reserved for transition colors.
this biggest failure point sits pulling Light emerald, emerald, plus Purple clusters all at the same time.
They shall jam the funnel and end your run.
Prioritize any playable head case that is physically blocking a Mystery Box .
one can't afford into hold the lower targets secret as the Top Tray forces unlocked marbles down.
Match this amber dropping from this east Tunnel into the newly revealed lower slots.
Hold off over the Light Pink and White clusters.
just send them when their corresponding cases atlast show at this very back of the bottom columns.
Let this secret Boxes open up and dictate your pulls.
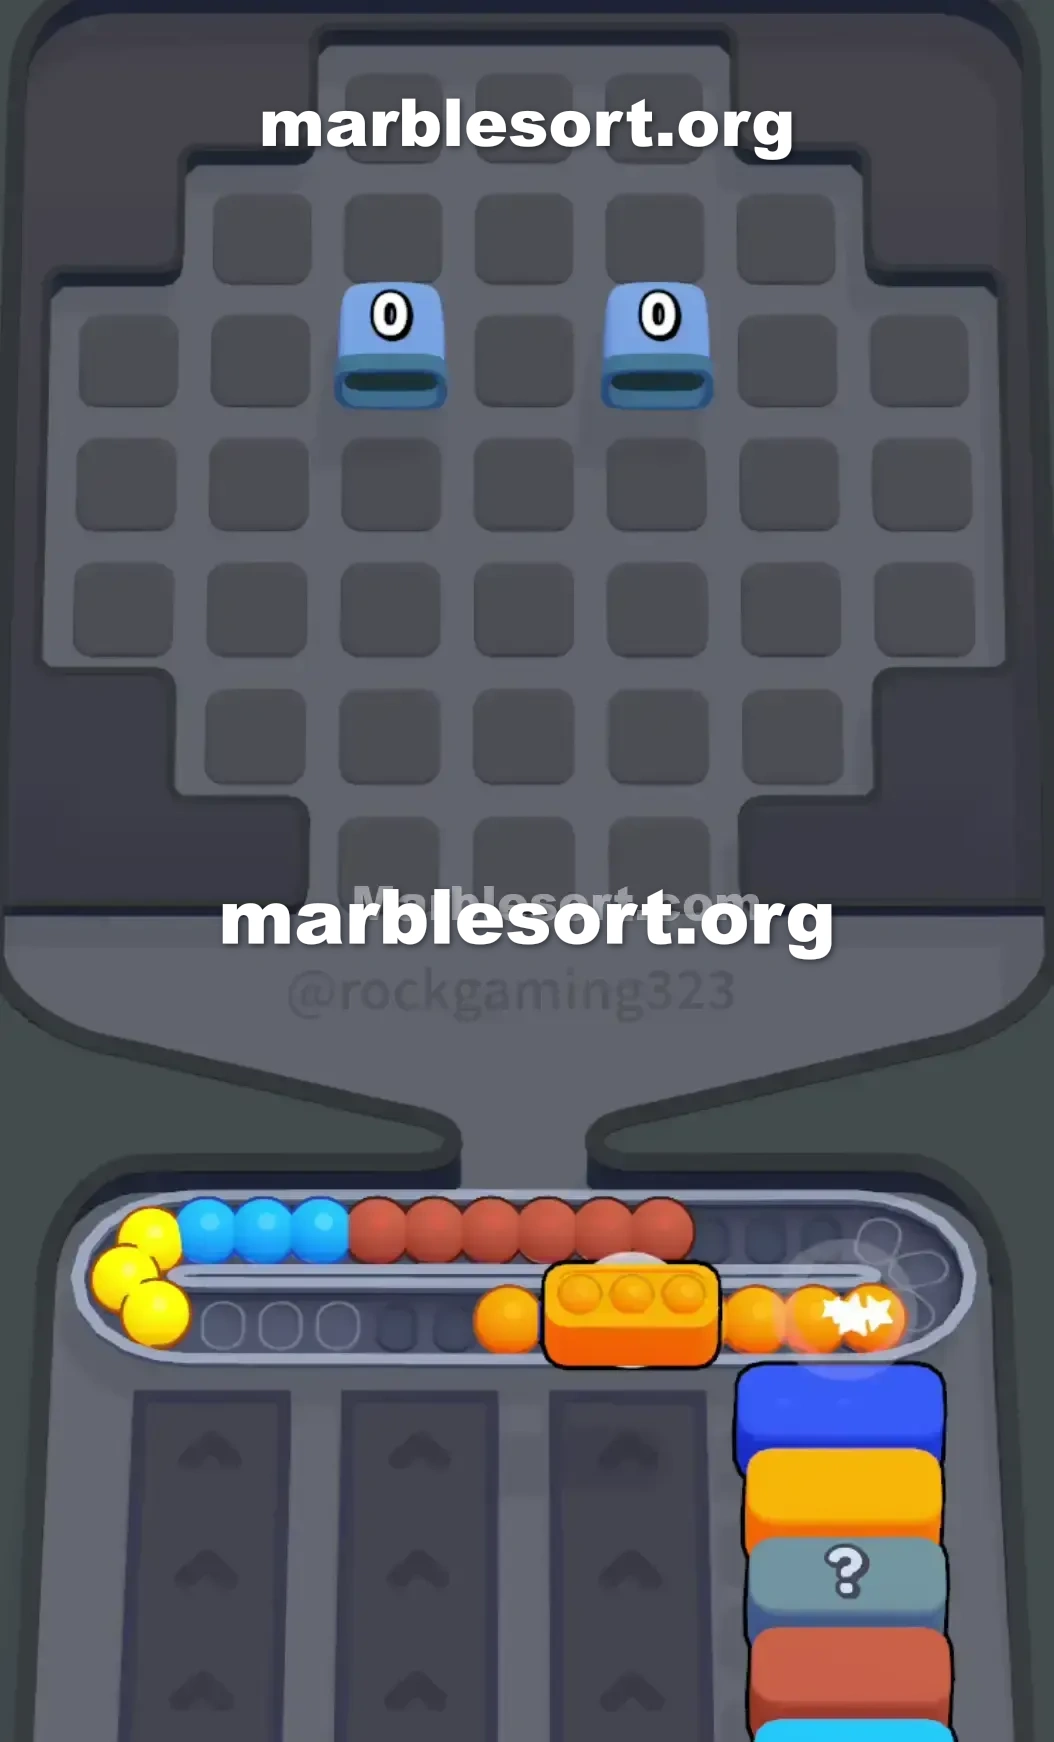
Keep the track clean and the center will eventually untangle.
Frequently asked questions
How do I beat Marble Sort Level 120?
Feed the colors that already have an open bottom Box first, keep your belt from filling up, and only release a new color when a matching Box is ready. Follow the move order in the solution above and you can clear Level 120 every time.
What is the main trap to avoid on Marble Sort Level 120?
The biggest mistake on Level 120 is tapping a color that has no active bottom Box yet — those marbles park on your Conveyor Belt and eat limited slots. Hold back any color that has no receiver waiting and the stage stays under control.
What colors do I need to match on Marble Sort Level 120?
Level 120 mainly revolves around Light Blue, Pink, Red. Focus on feeding Light Blue first when its Box is open, then introduce Pink as the lower lanes free up so you never choke the belt.
How should I open Marble Sort Level 120?
Begin by checking the lower part of the tray and only select colors that already sit in an open Box down below. Clearing those first few matching blocks unlocks the rest of the board without jamming your sorting space.
How many moves does Marble Sort Level 120 take to complete?
Level 120 is a color-sequenced stage that clears cleanly when you stick to the exact order above. The step-by-step solution walks each move so you can finish it with the fewest taps and no wasted belt slots.
Is there a video walkthrough for Marble Sort Level 120?
Yes. The embedded video on this page walks through Marble Sort Level 120 move by move, and the screenshots below show each stage of the layout so you can follow along and beat it.