





Screenshots
Step-by-step solution
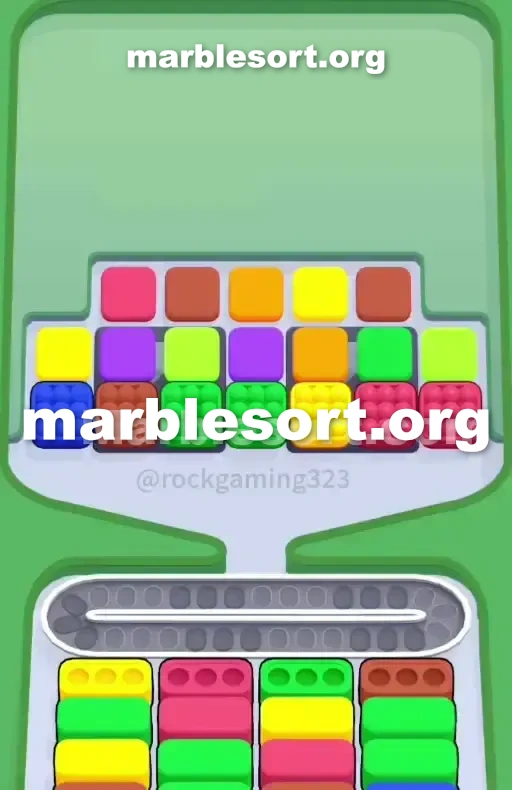
- 1) Do not touch the Blue cluster in the lower-left corner of the tray, since no Blue Box exists in the starting lineup.
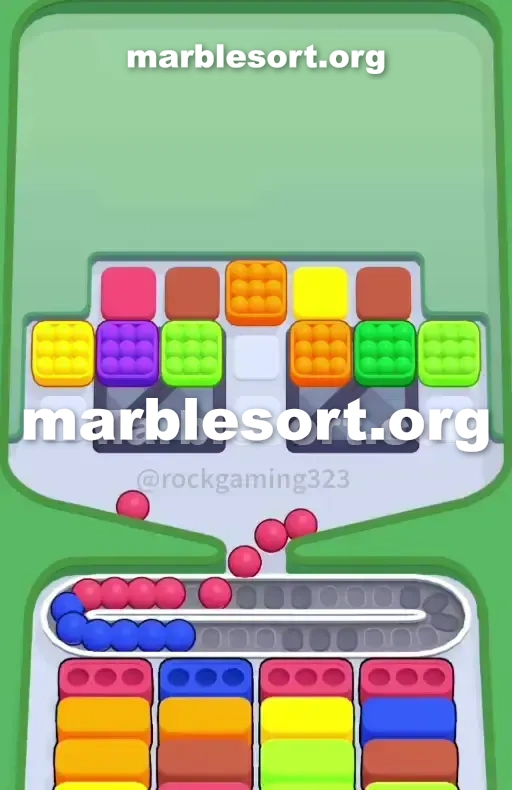
- 2) Tap the Yellow cluster sitting in the lower middle-right so it drops onto the belt and feeds the front Yellow Box in column 1.
- 3) Grab the Brown cluster on the lower left so it slides over and fills the Brown Box in column 4.
- 4) Send the pair of Pink clusters on the far right, which clears the stacked Pink boxes in column 2.
- 5) Drop the pair of Green clusters sitting in the lower middle to satisfy the front Green Box in column 3.
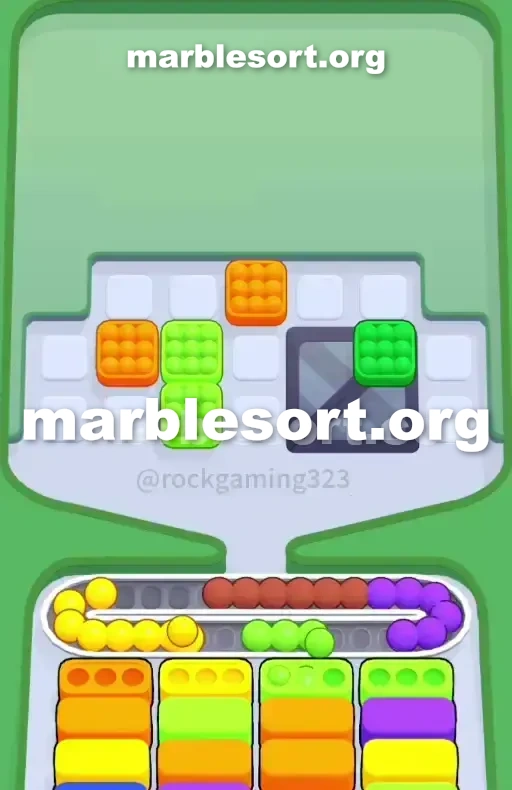
- 6) In the midgame, feed the freshly revealed Yellow and Green clusters while keeping the belt clear of premature Purples, since no front-facing Purple Box exists yet.
- 7) When an Orange Box finally settles into place across columns 1, 2, or 3, send the Orange clusters out of the central section of the tray; only hold one off-color cluster on the belt as a stopgap.
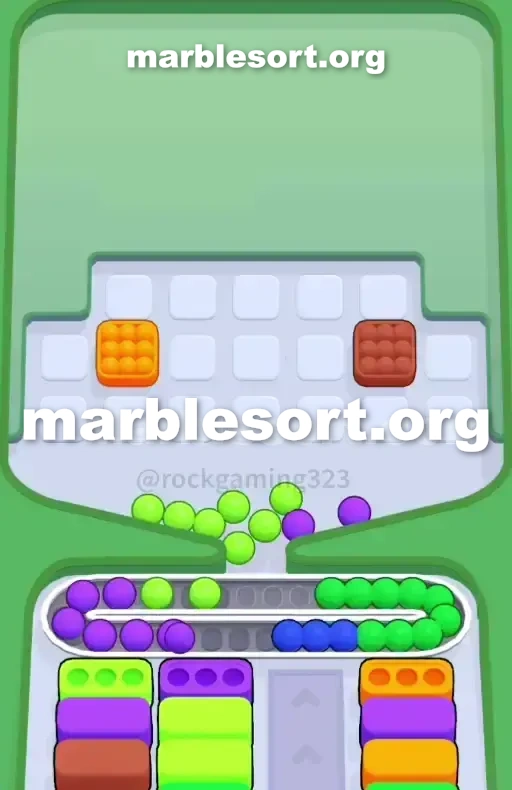
- 8) Near the end, funnel the remaining Orange and Yellow into the revealed boxes, then finally drop the Blue bait cluster once its box spawns at the bottom of a column, and mop up the last Purples.
Level 182 Blue Bait Trap
sphere Sort Level 182 sits one masterclass on baiting you into a quick game over.
one load on, plus this board looks incredibly generous using a wide, colorful spread.
this dominant shades one want into juggle here sit Green, Pink, Yellow, and Brown.
this immediate problem sits that this board presents shades on this upper Tray that you simply cannot use yet.
this margin with error over the Conveyor track is practically zero in the opening moves.
If one choose this bad group east at this start, one permanently clog this track room, plus this level shall inevitably choke out by the midgame.
this entire strategy relies over strict discipline regarding what you leave untouched.
Level 182 Staggered Front-Row Pattern
on this very head line, from west into east, one hold one azure group, one Brown group, two emerald groups, a Yellow cluster, and two Pink clusters.
Directly past them rests one messy second line featuring Purples, Light Greens, and Oranges.
This sits where the puzzle dictates your moves.
one have four active columns waiting for marbles.
this far-west head cluster in the Top Tray is Blue.
here sits absolutely zero Blue Box available in the starting lineup.
that rests here tempting one into empty this west side, but dropping that shall steal vital slots on the Conveyor Belt .
this order from this bottom cases also dictates this flow of the entire level.
lane 1 hides one Green Box beneath its Yellow one.
lane 2 hides one second Pink Box beneath its first.
lane 3 hides one Yellow Box beneath its Green one.
Clearing this first head line changes this level drastically, exposing one big demand for Green and Yellow almost immediately.
If this Conveyor track sits jammed using premature Purples or that trap azure group, one shall not hold this room into spin this needed Greens plus Yellows down to the active Boxes .
Level 182 Level Overview
one want into surgically remove this front row without touching the trap colors.
Control the Conveyor Belt space at all costs.
Level 182 Beating the Opening Bait
this first taps dictate whether one win or lose this board.
Do not touch anything over the far left yet.
Leave this azure group over this lower left of the Top Tray completely alone.
choose this gold cluster located in the lower middle-right.
This sends straight onto this Conveyor track plus feeds into this front Yellow Box in column 1.
choose the Brown cluster on the lower left.
This shall immediately slide over plus fill the Brown Box in column 4.
Hit this two rose groups over the far right of the Top Tray .
since lane 2 really holds two rose cases stacked over upper from each other, sending down big rose clears this first one plus immediately starts filling the second.
choose this two Green clusters in the lower middle.
This satisfies this front Green Box in column 3.
Level 182 Surviving the Midgame Conveyor Crush
Once that first major empty happens, the board identity shifts.
this bottom cases show their second tier, which sits heavily stacked with Green, Yellow, and Pink.
Meanwhile, the upper rack now exposes one dangerous second line filled using Purple, Light Green, and Orange clusters.
This sits where this jam risk taps to the center of the board.
choose this newly exposed gold plus emerald groups on the Top Tray to feed these directly.
Do not prematurely drop the Purple clusters.
The Conveyor Belt pressure spikes hard here.
here sit no front-facing Purple Boxes yet.
As this lower lanes spin, amber cases shall spawn across columns 1, 2, and 3.
Once one spot this first amber case seal into place, send this amber groups from the middle of the Top Tray .
If one get stuck waiting with some amber or Light emerald case into show itself, one may use this Conveyor track as one temporary holding zone with exactly one off-color cluster.
If one send one violet now, make sure one sit one empty away from a Purple Box appearing.
Level 182 Clearing the Back Rows
via this time one reach this rear rows from this Top Tray , the board opens up significantly.
one sit mostly dealing using this last rose, amber, gold, plus Brown clusters hidden in the very back.
Funnel this remaining amber plus gold clusters into the newly revealed bottom Boxes .
Keep the sends sequential so the belt never backs up.
atlast, send that Blue bait cluster from step one.
Its designated case shall spawn at this very lower from this columns near the end of the level.
Mop onto the remaining Purple and Light Green clusters.
using this board mostly empty, the Conveyor track holds plenty from room into let these final colors slide home.
Frequently asked questions
How do I beat Marble Sort Level 182?
Feed the colors that already have an open bottom Box first, keep your belt from filling up, and only release a new color when a matching Box is ready. Follow the move order in the solution above and you can clear Level 182 every time.
What is the main trap to avoid on Marble Sort Level 182?
The biggest mistake on Level 182 is tapping a color that has no active bottom Box yet — those marbles park on your Conveyor Belt and eat limited slots. Hold back any color that has no receiver waiting and the stage stays under control.
What colors do I need to match on Marble Sort Level 182?
Level 182 mainly revolves around Yellow, Green, Brown. Focus on feeding Yellow first when its Box is open, then introduce Green as the lower lanes free up so you never choke the belt.
How should I open Marble Sort Level 182?
Begin by checking the lower part of the tray and only select colors that already sit in an open Box down below. Clearing those first few matching blocks unlocks the rest of the board without jamming your sorting space.
How many moves does Marble Sort Level 182 take to complete?
Level 182 is a color-sequenced stage that clears cleanly when you stick to the exact order above. The step-by-step solution walks each move so you can finish it with the fewest taps and no wasted belt slots.
Is there a video walkthrough for Marble Sort Level 182?
Yes. The embedded video on this page walks through Marble Sort Level 182 move by move, and the screenshots below show each stage of the layout so you can follow along and beat it.