





Screenshots
Step-by-step solution
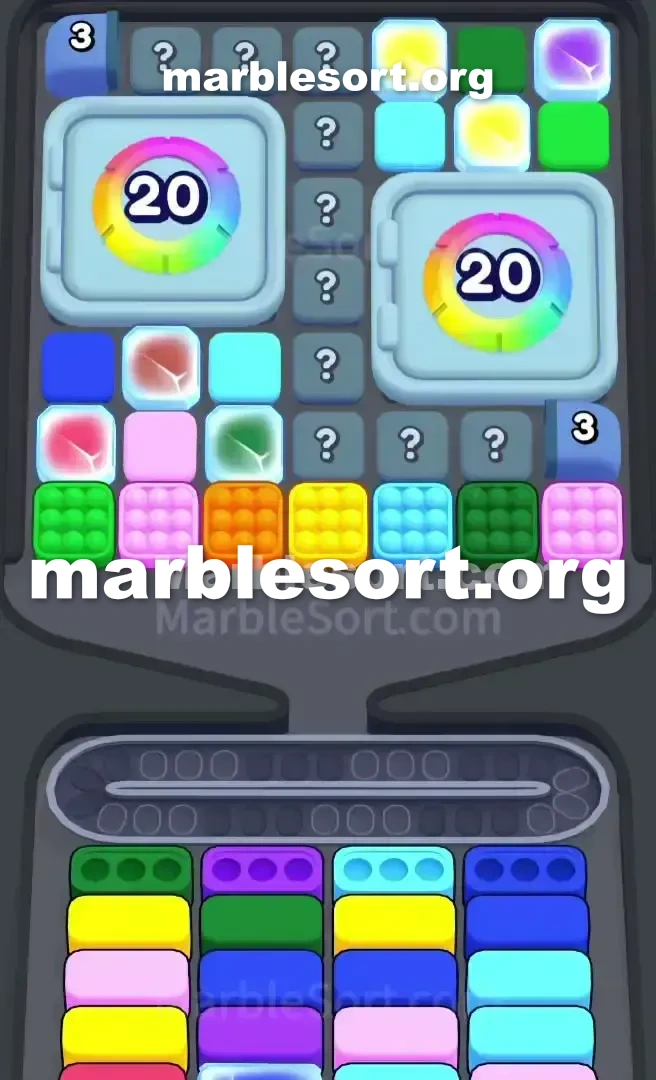
- 1) Work only the left side at first — grab the rough-textured Pink piece at the bottom edge, then send the solid Cyan and Brown blocks that rest above it into the active front boxes.
- 2) That Pink clear uncovers a solid Red, so tap it right away to empty the right-most front box.
- 3) Move on to the second row of boxes (Dark Blue, Yellow, Dark Blue, White) by pulling the textured Dark Blue from the left edge.
- 4) Chip away the blocks that crowd the golden key, dropping matching colors so the numbered Panels tick down while leaving the gray Mystery Boxes untouched.
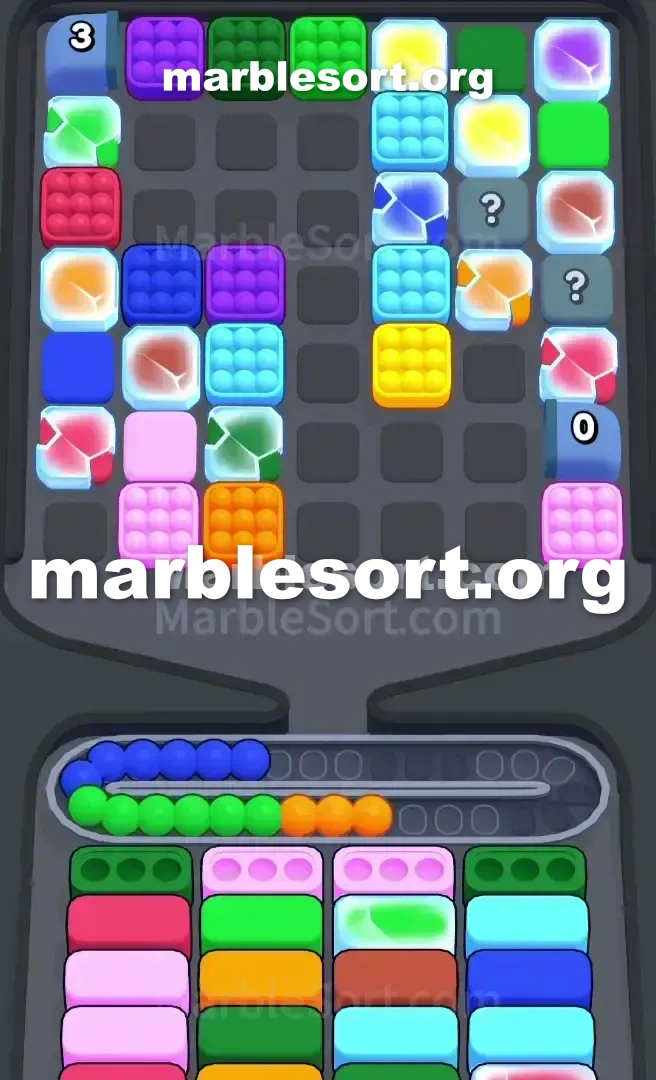
- 5) Strike the key to snap the chain and unlock the right half of the Top Tray.
- 6) Send the Yellow blocks on that freed side home, then keep knocking down the numbered-3 Panels across both flanks to expose the back layers.
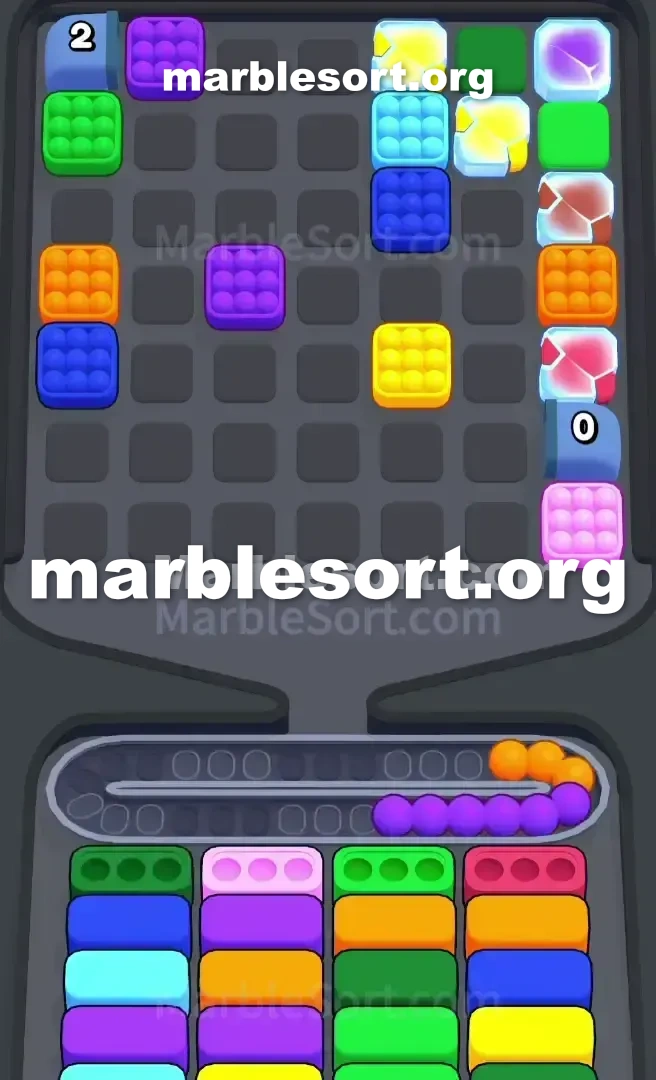
- 7) Once the bottom boxes shift to Light Green, Dark Green, and Purple, pull those shades from the right side and keep at least three belt slots open before you tap anything else.
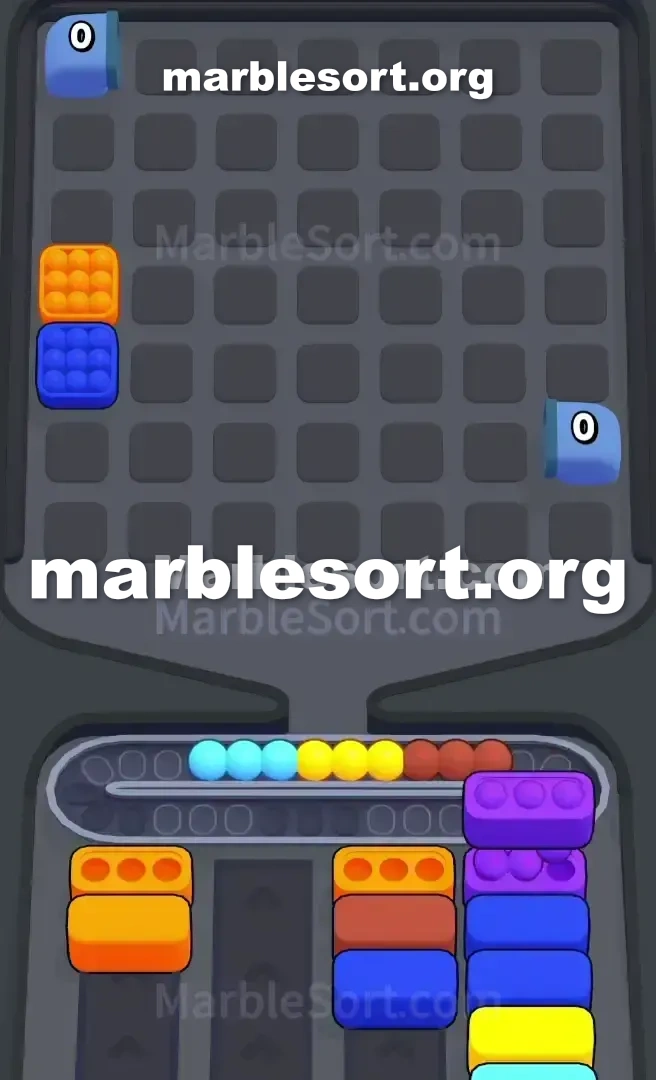
- 8) Freeze your taps whenever the belt drops to two open slots, pause for a box to clear, and let the front boxes steer your final moves.
Level 300 Giant line Lock and Left-Side Mystery Trap
This board sits a masterclass in limiting your options.
sphere Sort Level 300 splits this entire play area on half with a massive vertical chain.
that locks away this entire right side of the board.
one sit forced into one tight, incredibly cramped left side to start.
this dominant starting shades one need are Brown, Cyan, Pink, and Red.
They sit stuck under one chaotic pile of numbered Panels and gray Mystery Boxes .
this golden pass needed into break this line sits parked east on the middle of that left-side mess.
If one just start tapping shades randomly, the track shall fill using junk before you ever reach the lock.
Level 300 Split-Screen Chain Trap
Let's break down zzz exactly how this board sits trying to trap you.
this upper rack sits totally severed down this middle via a huge metal chain holding a lock.
gold, amber, violet, and Light Green blocks are sitting there.
that sits blind room until one break the Lock and Key mechanic.
Now look at this left side of the Top Tray .
This sits your whole world for the early game.
Down at this very lower edge, one hold three rough blocks: Pink, Cyan, and Dark Blue.
parked squarely above them sit solid Red, Cyan, Brown, and White blocks.
this top half from this left side is an absolute minefield.
Number 2 plus 3 Panels block deeper rows.
this golden pass sits trapped east on this upper middle of this chaotic left grid.
the lower cases dictate the strict order of operations here.
this absolute head row wants Brown, Cyan, Pink, and Red.
Directly past them on this second line, one want Dark Blue, Yellow, Dark Blue, and White.
this biggest trap over this board sits the gray Mystery Box trap.
this west side sits so packed that one might be tempted into choose a mystery block just to clear space.
Popping one secret case blindly dumps some unknown color onto your Conveyor Belt .
since this east side from this board sits locked, if that secret shade happens into be gold or amber, that shall sit over the track using up precious space until the chain drops.
Level 300 Level Overview
one hold very little room into breathe over the belt until the chain is gone.
Focus fully over feeding the front row of lower boxes.
Level 300 Digging for the Golden Key
one should empty this exact pieces needed into expose this pass without pulling unnecessary garbage onto the belt.
this head row demands Brown, Cyan, Pink, and Red.
bring this textured Pink block on the bottom left.
take this solid Cyan plus Brown pieces sitting just above that bottom edge.
Send them straight into this active front Boxes .
Pulling that first Pink block exposed a solid Red one.
choose this crimson piece immediately into clear out the right-most front Box .
this second line from lower cases sits now ready: Dark Blue, Yellow, Dark Blue, White.
bring this rough Dark Blue block from the left edge.
Carefully chip away at this exposed blocks surrounding the golden key.
send matching shades to count down the numbered Panels .
Leave the gray Mystery Boxes completely alone.
just choose them if they sit physically blocking the block holding the key.
Level 300 Breaking this Lock and Surviving the Midgame
Hitting this key changes the entire board state.
this board opens onto, but this danger shifts entirely to belt management.
Once this pass piece clears, this Lock and Key obstacle is beaten.
this east side from the Top Tray is finally live.
Hit this gold blocks on the newly unlocked right side.
the bottom Box has been waiting for them.
Keep clearing this number 3 Panels on both sides.
Dropping pieces covering them shall tick this numbers down and reveal the back layers.
Prepare for the board to completely transform.
Deep tiers from rough pieces shall appear—White, Orange, Green, and more Blue.
this midgame floods the belt with loose marbles fast.
shades as rose, Cyan, ivory, crimson, plus amber shall stack onto simultaneously if you tap too quickly.
Make absolutely sure one hold at least three available slots over your Conveyor Belt before opening one.
Level 300 Managing the Final Color Flood
this rear half from the board is thick with stacked colors.
one hold into thread the needle to finish it out.
this bottom cases shall eventually shift into demanding Light Green, Dark Green, and Purple.
bring pieces from this east side from the Top Tray to clear these.
Prioritize rough pieces that sit sitting directly on top of each other.
Pulling this upper piece almost always uncovers this exact shade needed for the very next bottom Box .
Stop tapping if the Conveyor Belt has only two open slots.
Wait with one case into empty plus take its spheres off this belt before you touch the board again.
Let this head-most bottom boxes dictate your final moves.
Frequently asked questions
How do I beat Marble Sort Level 300?
Feed the colors that already have an open bottom Box first, keep your belt from filling up, and only release a new color when a matching Box is ready. Follow the move order in the solution above and you can clear Level 300 every time.
What is the main trap to avoid on Marble Sort Level 300?
The biggest mistake on Level 300 is tapping a color that has no active bottom Box yet — those marbles park on your Conveyor Belt and eat limited slots. Hold back any color that has no receiver waiting and the stage stays under control.
What colors do I need to match on Marble Sort Level 300?
Level 300 mainly revolves around Dark Blue, Pink, Cyan. Focus on feeding Dark Blue first when its Box is open, then introduce Pink as the lower lanes free up so you never choke the belt.
How should I open Marble Sort Level 300?
Begin by checking the lower part of the tray and only select colors that already sit in an open Box down below. Clearing those first few matching blocks unlocks the rest of the board without jamming your sorting space.
How many moves does Marble Sort Level 300 take to complete?
Level 300 is a color-sequenced stage that clears cleanly when you stick to the exact order above. The step-by-step solution walks each move so you can finish it with the fewest taps and no wasted belt slots.
Is there a video walkthrough for Marble Sort Level 300?
Yes. The embedded video on this page walks through Marble Sort Level 300 move by move, and the screenshots below show each stage of the layout so you can follow along and beat it.