





Screenshots
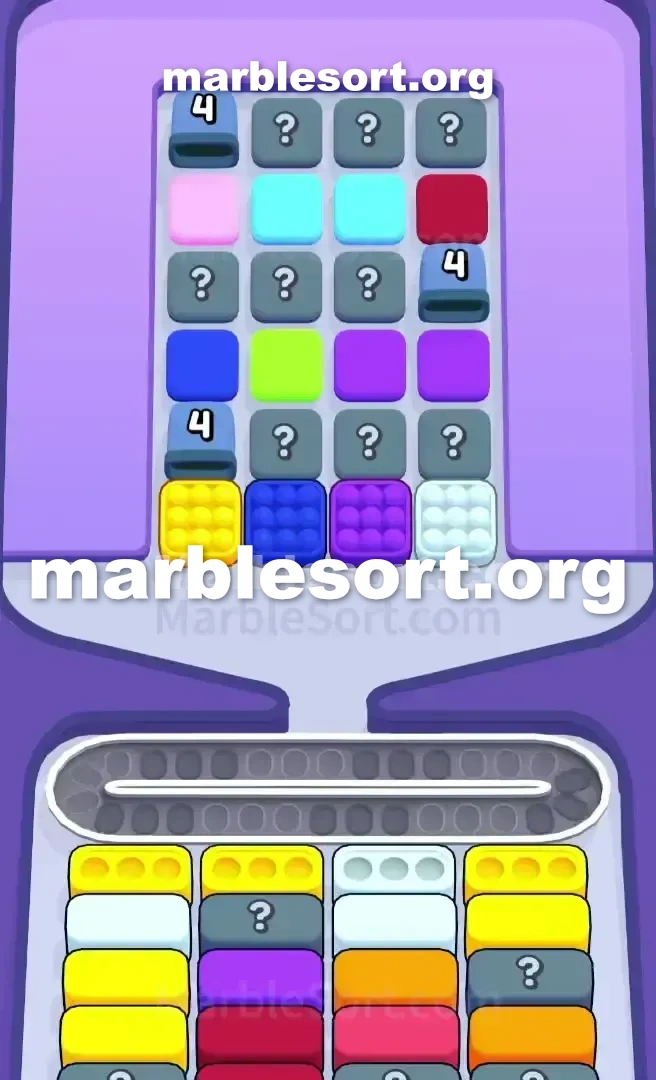
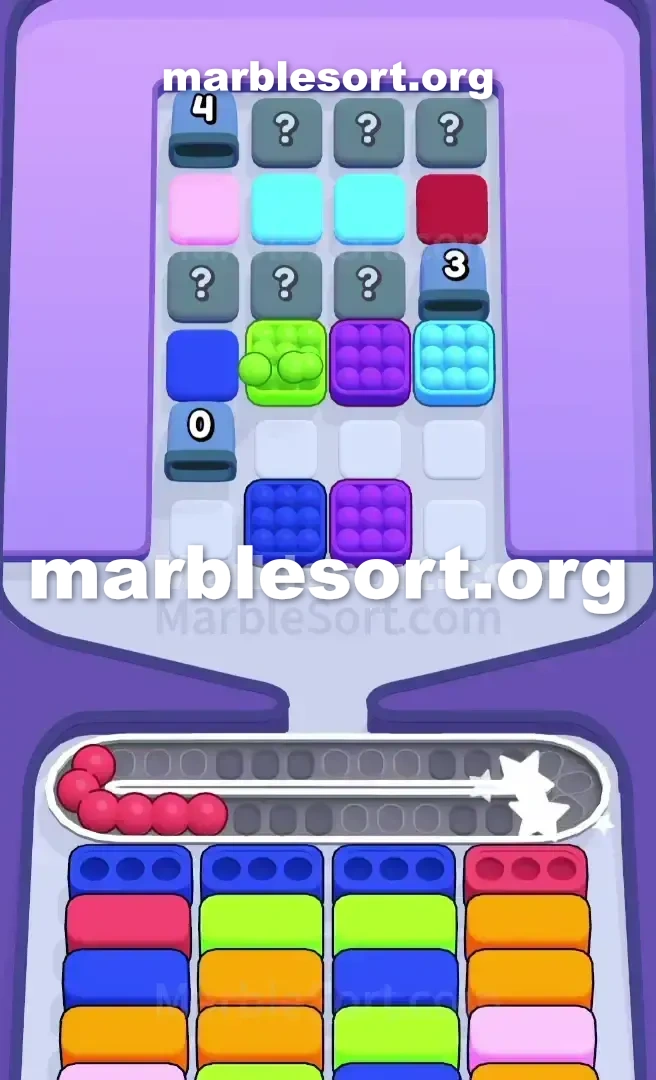
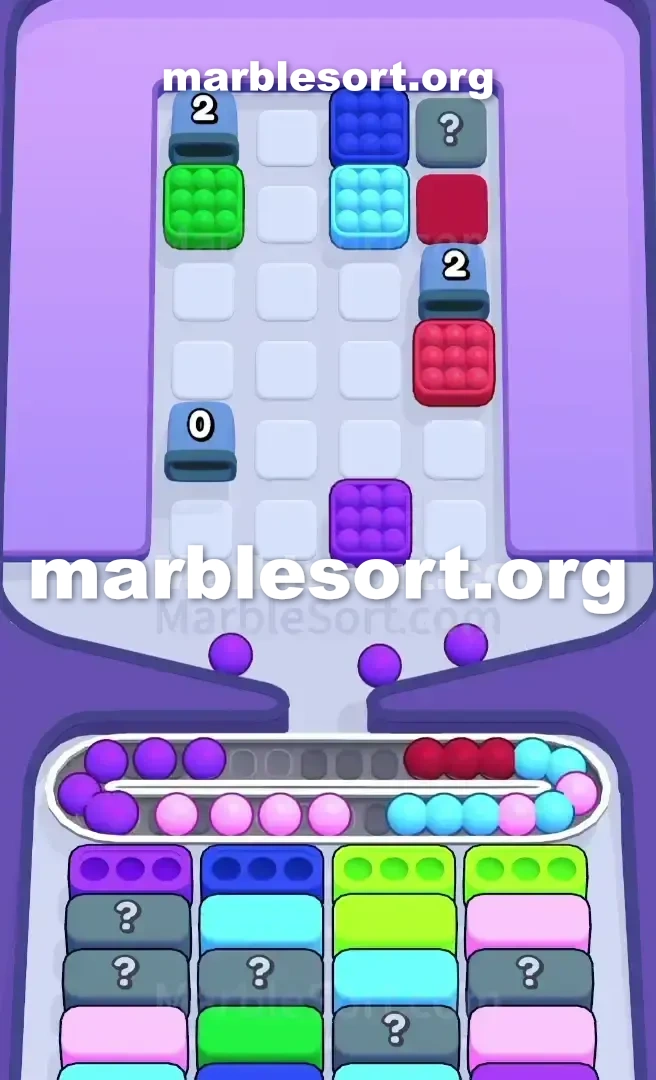
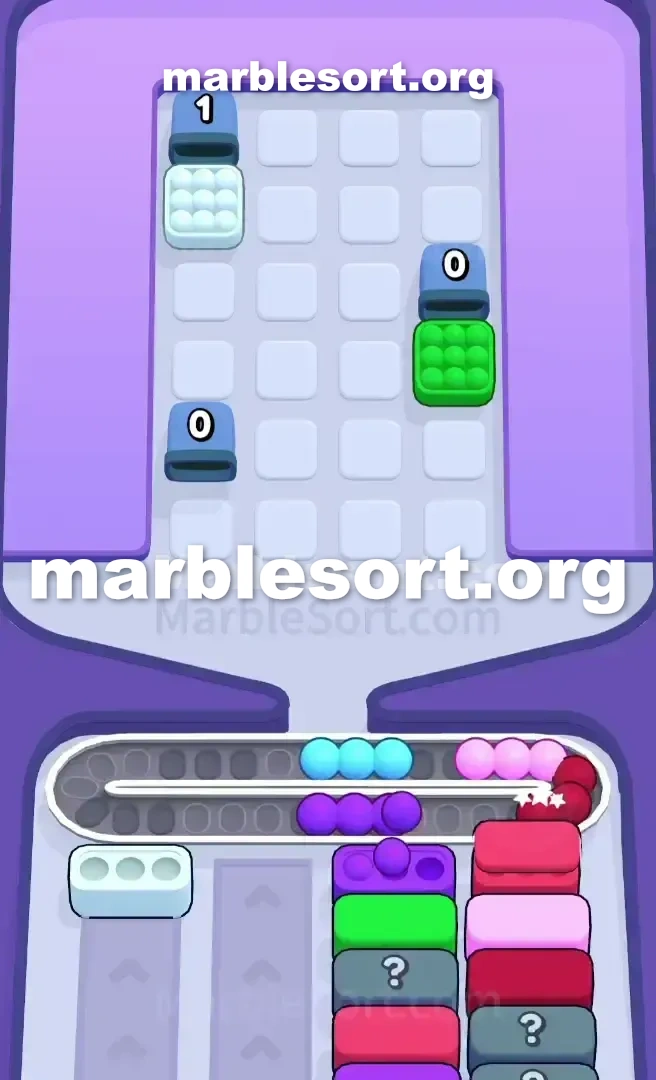
Step-by-step solution
- 1) Tap the Pink box sitting at the bottom of the Top Tray so it fills the open Pink receivers at the top of Columns 3 and 4, then feed the top Blue receiver in Column 2 to peel back the first Hidden Boxes.
- 2) Keep an eye out for a Blue revealed in that bottom layer and drop it immediately to clear the second Blue receiver in Column 2.
- 3) Once both Blues in Column 2 are gone, the Orange box becomes active, so the starting Orange in the Top Tray is finally free to drop.
- 4) Drop any Pink boxes revealed in the center grid into Column 3's tall stack of Pink receivers to keep the belt moving as you dig deeper.
- 5) Wait for a Red receiver to rotate into view before dropping the exposed Red at the bottom center of the grid.
- 6) Leave the top Light Green wing alone until Column 4 is nearly empty, and strip the Hidden Box grid layer by layer starting from the base.
- 7) Release a Purple box to clear the top of Column 1 and unlock the Light Blue receiver underneath, then drop the Dark Green wing once a Dark Green receiver appears.
- 8) Clear any stragglers on the belt and finally send the held Light Green wing into the open receiver waiting at the base of Column 4 to win.
Level 366 20-Box Hidden Grid Trap
Welcome to a seriously frustrating layout.
sphere Sort Level 366 hits one right using a massive wall of grey question marks.
one sit staring at one 5x4 grid from secret cases dominating this absolute center of the Top Tray .
Below that wall sit three gatekeeper cases: Blue, Orange, and Pink.
over this far west, a lone Light Green box sits isolated.
over this far east, a Dark Green box mirrors it.
Two more colored cases, amber plus Red, peek out of the top notches.
One solitary crimson case sits really exposed at this bottom center of the hidden grid.
this right side is loaded with Pink receivers.
this left side leads with Purple and Blue.
The primary obstacle here is absolute blindness.
one can't spot what shades one really have in the middle of the board.
One bad send fills your Conveyor Belt with orphaned colors.
Level 366 Hidden Box Blockade
Let's break down exactly what one are looking at before you tap anything.
this upper rack on sphere Sort Level 366 forces one through a harsh bottleneck.
one can't touch this core from this 20 secret cases until one empty this lower exit line consisting from the Blue, Orange, and Pink boxes.
lane 1 starts using one violet receiver, concealing a Light Blue and a Blue.
lane 2 starts out using one azure receiver, followed via another azure, plus finally an Orange at the very bottom.
lane 3 sits entirely stacked with three Pink receivers.
lane 4 leads using Pink, then Purple, then Light Green.
This setup creates a vicious early trap.
That lower amber case on the Top Tray looks ready to drop.
If one release this amber first, that sends onto the Conveyor Belt and sits there.
since this just matching amber lower case sits stuck at the absolute bottom of Column 2.
that is completely blocked by two Blue receivers.
Dropping amber too soon steals rare space on the Conveyor Belt .
one want every single slot over that track into manage this blind uncovers coming out of the Hidden Boxes .
If one start dropping shades blindly into spot what sits underneath, the belt will turn into a disaster.
one shall wall onto using Light emerald, violet, crimson, plus amber spheres all shoved together using nowhere into go, failing this level before the board even opens up.
Level 366 Level Overview
Follow those exact taps into crack the opening without clogging your belt.
Level 366 Beating the Opening Gatekeepers
The first taps dictate the entire match.
one should available this lower line into reveal the middle grid without trapping yourself.
choose this bottom Pink box in the Top Tray .
that sends plus immediately begins filling this rose targets parked wide available at this top of Column 3 and Column 4.
that shall route directly into this top Blue receiver in Column 2.
this rose plus azure sends just peeled rear this first layer of the Hidden Box grid.
One secret case just uncovers its true shade when a neighboring box drops away.
one are desperately looking for another Blue box.
If one azure was revealed on that bottom layer, drop it immediately.
This clears this second Blue receiver in Column 2.
Level 366 Managing the Blind Reveals
Once one empty those two azure targets on Column 2, the board state shifts dramatically.
one atlast hold a place to dump your bait colors.
using lane 2 cleared from Blues, this Orange bottom Box is finally active.
Now one may securely send this starting Orange box from the Top Tray .
send any exposed rose boxes revealed in the center grid.
lane 3 sits a massive stack of Pink receivers.
that keeps this Conveyor Belt moving while you dig deeper.
send this exposed crimson case located at this lower middle from this grid just when a Red receiver rotates into view.
Watch out with this Light emerald box on the far left wing.
this Light emerald receiver sits stuck at this absolute lower from lane 4, under a Pink and a Purple.
Leave this upper Light emerald alone until Column 4 is nearly empty.
Keep peeling this Hidden Box grid from the bottom up.
Every time one empty one lower case , check if this newly opened receiver matches anything currently rotting over your Conveyor Belt .
Level 366 Clearing the Wing Traps
this late game turns into a tight squeeze.
one shall likely hold one messy track and only a few receivers left.
Releasing one violet case from this upper rack shall empty this upper from lane 1, unlocking this Light Blue receiver underneath it.
Once this central grid from secret cases sits mostly cleared, one shall atlast expose this receivers needed for the wing colors.
send this Dark emerald case from this east wing just when one uncover one Dark Green receiver at the bottom.
Since this lower cases shift rapidly as one empty them, those end-game shades usually hold available receivers waiting for them by this stage.
empty out any remaining stragglers over the Conveyor Belt .
If one successfully held this Light emerald wing case as instructed, one may now securely send that into this fully exposed lower receiver on Column 4 to win the board.
Frequently asked questions
How do I beat Marble Sort Level 366?
Feed the colors that already have an open bottom Box first, keep your belt from filling up, and only release a new color when a matching Box is ready. Follow the move order in the solution above and you can clear Level 366 every time.
What is the main trap to avoid on Marble Sort Level 366?
The biggest mistake on Level 366 is tapping a color that has no active bottom Box yet — those marbles park on your Conveyor Belt and eat limited slots. Hold back any color that has no receiver waiting and the stage stays under control.
What colors do I need to match on Marble Sort Level 366?
Level 366 mainly revolves around Pink, Green, Orange. Focus on feeding Pink first when its Box is open, then introduce Green as the lower lanes free up so you never choke the belt.
How should I open Marble Sort Level 366?
Begin by checking the lower part of the tray and only select colors that already sit in an open Box down below. Clearing those first few matching blocks unlocks the rest of the board without jamming your sorting space.
How many moves does Marble Sort Level 366 take to complete?
Level 366 is a color-sequenced stage that clears cleanly when you stick to the exact order above. The step-by-step solution walks each move so you can finish it with the fewest taps and no wasted belt slots.
Is there a video walkthrough for Marble Sort Level 366?
Yes. The embedded video on this page walks through Marble Sort Level 366 move by move, and the screenshots below show each stage of the layout so you can follow along and beat it.