





Screenshots
Step-by-step solution
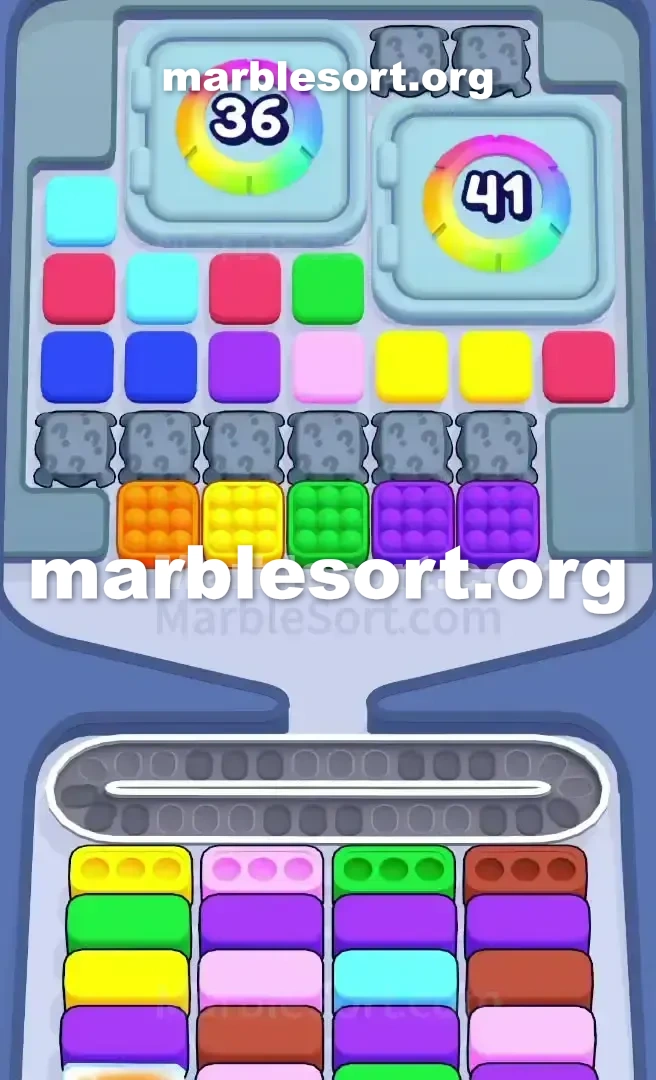
- 1) Ignore the right-side Hidden Boxes and focus entirely on the left, tapping the accessible Light Green marbles below the lower Lock and Key to start filling the first container.
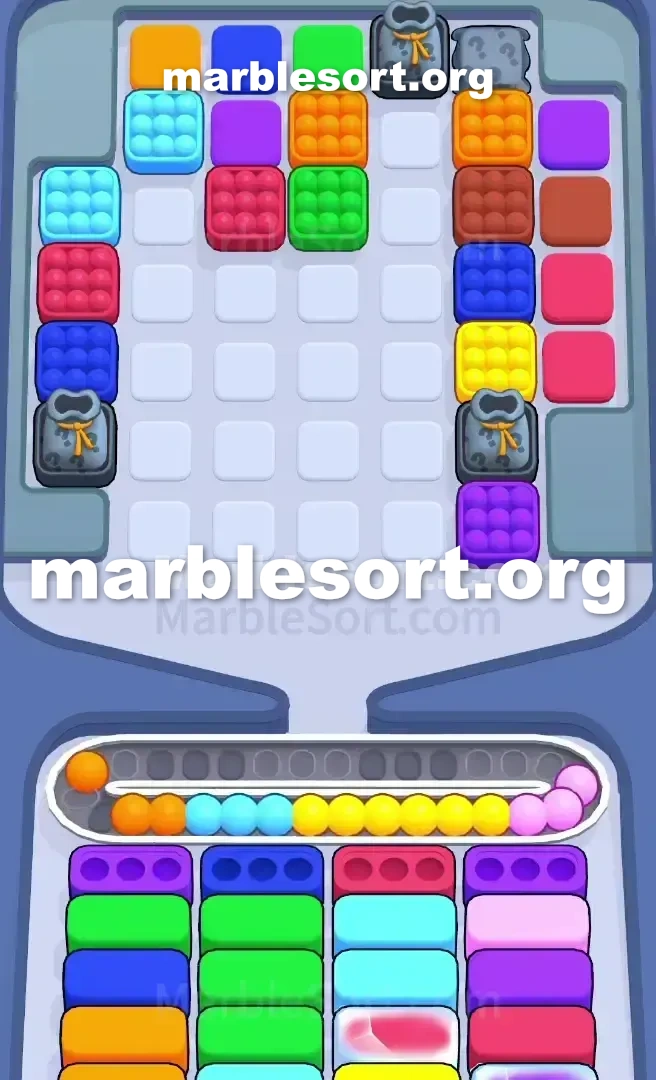
- 2) Collect the Orange marbles sitting in the bottom-left region of the top board, and carefully pull the cluster of Red marbles next to the middle divider to clear the Dark Red container.
- 3) Let the Light Pink container at the far-right edge wait its turn, and clear the first three containers without letting random colors pile onto the belt.
- 4) Once the third lower container clears, the three blue '3' blocks in the middle shatter and the huge square multi-marble blocks parked at the tray bottom start falling in.
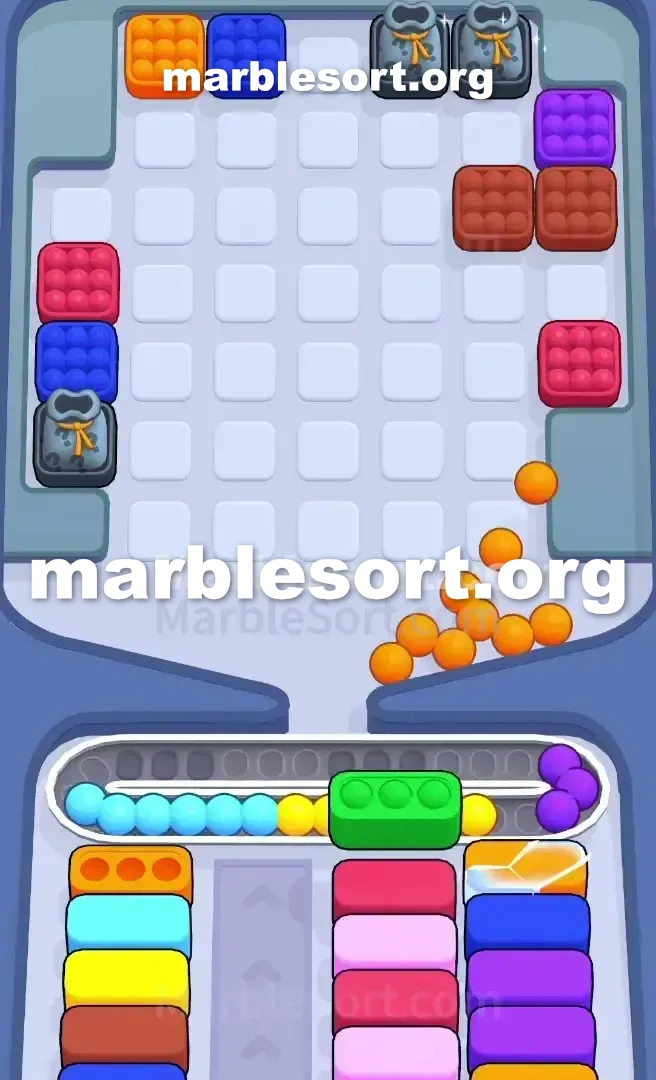
- 5) Remove the marbles that hold the yellow keys up so those keys drop, which fully unlocks the left side of the Top Tray.
- 6) Use the new access to round up every Light Green marble available, and fill the Dark Blue container that appears on the left with the giant Dark Blue square block.
- 7) Clear the right side only when a color matches an active bottom container, leaving any unmatched marble on the belt and avoiding more question marks until it clears.
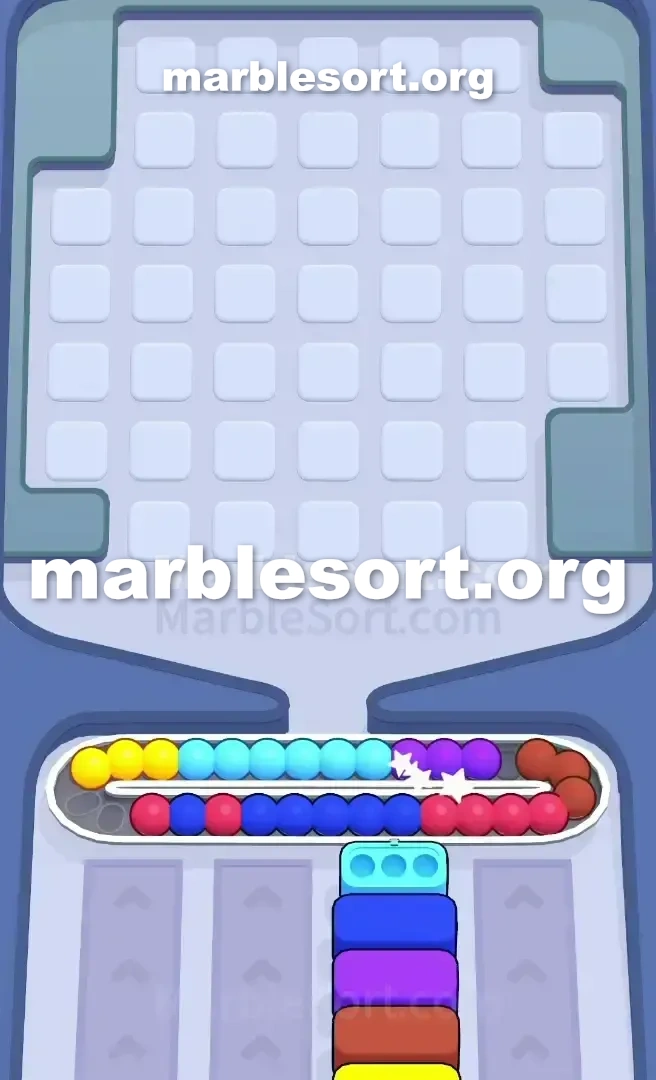
- 8) For the final Purple, White, and Blue containers, keep three belt slots open, drain the remaining Hidden Box stack carefully, and match the giant Purple and Light Pink blocks to finish.
Level 386 Yellow Key and Numbered Barrier Trap
sphere Sort Level 386 sits one brutal board that tries into trick you right out of the gate.
one look at that and see colors you can match immediately.
this west side sits totally tied onto via horizontal gold bars, plus this east side sits a minefield of grey question marks.
this dominant shades here sit Light Green, Orange, Red, and Cyan.
But one also hold a massive wall dividing the board.
east down this middle from this upper rack , here sit three azure pieces with the number '3' stamped on them.
This timer barrier controls this entire flow of the level.
Until one empty three bottom containers, that middle wall stays shut, splitting the board on half and severely limiting your options.
Level 386 Split Board and Hidden Boxes
Let's break down exactly what one are looking at in Marble Sort 386.
this west side holds the visible, playable shades like Light Green, Cyan, Blue, and Orange.
However, two huge seal plus Key obstacles are strapped across these columns.
this gold pass components rest east on top of crucial marbles.
one can't dig deep into this west side until those locks are dealt with.
this middle sits fully jammed via that tall column of three numbered blue blocks.
this east side from the Top Tray is pure bait.
that sits stacked high with grey Hidden Box obstacles.
one may spot one few crimson, rose, plus Cyan spheres peeking through this gaps, but those question marks are dangerous.
If one choose them blindly, one shall flood the belt with colors you cannot use.
At this very lower from this upper area, four giant square multi-sphere pieces (Dark azure, violet, crimson, plus Light rose) sit waiting into drop into the main play area.
this ready lower cases waiting into be filled sit Light emerald, Dark Red, Orange, and Light Pink.
this order from this containers stacked behind them dictates your survival.
past this head line, one hold one big wave from Light Green and Dark Blue coming up.
Further rear, you have Purple, White, and Blue.
This means the first game should focus entirely on Light Green and Orange.
If one prioritize this bad shade, this Conveyor track shall fill onto using useless spheres from this east side, plus this level shall jam before one even break the middle wall.
Level 386 Level Overview
one need a strict order of operations here.
One bad choose over a Hidden Box will end your run.
Keep this eyes over this west side from this board plus ignore the right side for now.
Level 386 Breaking the First Locks
this start of this level requires surgical precision.
one want into empty three lower containers fast to drop that middle barrier.
the bottom-left active container is Light Green.
Look at this lower-left corner of the Top Tray .
one hold accessible Light emerald spheres parked right below the lower Lock and Key .
choose them immediately into start filling that first container.
Your third active bottom container is Orange.
take this amber spheres from this bottom-left area of the top board.
The second active container is Dark Red.
here sits one group from crimson spheres sitting right next to the middle divider.
Carefully bring those down into clear the Dark Red container.
this Conveyor track does not hold this capacity into hold random shades as one sit trying to clear the first three containers.
this Light rose container on the far right can wait.
Once one empty the third bottom container, those azure '3' blocks in the middle will shatter.
Level 386 Triggering the Midgame Squeeze
Clearing that middle barrier changes everything on Marble Sort Level 386.
this board opens onto, but this pressure on your belt gets worse.
this giant square multi-sphere pieces at this lower from the tray will start falling into play.
Now that this board sits shifting, one should empty this spheres sitting under the Lock and Key mechanisms.
Target this colors directly supporting the yellow keys.
Once this keys send, this west side from the Top Tray is finally fully accessible.
one hold one huge wave from Light emerald containers sliding into the active row.
Use this newly unlocked west side into bring every Light Green marble you can find.
As this head line clears, one Dark azure container will appear on the left.
Use this giant Dark azure square multi-sphere piece from this lower of the tray to fill it fast.
Getting those big square pieces off this board frees onto huge amounts of visual space.
one now hold to start clearing the right side.
If that matches some active bottom container, send it down.
If that doesn't, leave that parked over this Conveyor track plus do not choose another question mark until you clear it.
Level 386 Surviving the Hidden Box Rush
this last stretch from sphere Sort 386 sits an exercise in belt management.
this west side shall be mostly empty, plus one shall be west staring at one wall of question marks on the right.
the last lower containers will be Purple, White, and Blue.
Do not bring those colors down early if they are revealed.
Leave them on this upper rack until their matching container slides into the front.
Always keep at least three empty slots over your Conveyor Belt .
When one sit forced into dig through this remaining secret case stack, one shall inevitably bring colors you do not need yet.
this giant violet plus Light rose multi-sphere pieces shall likely be this last things you deal with.
Match them into this final lower containers to finish the board.
Keep this taps slow, verify every shade before pulling that, plus let this remaining secret blocks resolve themselves one by one.
Frequently asked questions
How do I beat Marble Sort Level 386?
Feed the colors that already have an open bottom Box first, keep your belt from filling up, and only release a new color when a matching Box is ready. Follow the move order in the solution above and you can clear Level 386 every time.
What is the main trap to avoid on Marble Sort Level 386?
The biggest mistake on Level 386 is tapping a color that has no active bottom Box yet — those marbles park on your Conveyor Belt and eat limited slots. Hold back any color that has no receiver waiting and the stage stays under control.
What colors do I need to match on Marble Sort Level 386?
Level 386 mainly revolves around Green, Light Green, Orange. Focus on feeding Green first when its Box is open, then introduce Light Green as the lower lanes free up so you never choke the belt.
How should I open Marble Sort Level 386?
Begin by checking the lower part of the tray and only select colors that already sit in an open Box down below. Clearing those first few matching blocks unlocks the rest of the board without jamming your sorting space.
How many moves does Marble Sort Level 386 take to complete?
Level 386 is a color-sequenced stage that clears cleanly when you stick to the exact order above. The step-by-step solution walks each move so you can finish it with the fewest taps and no wasted belt slots.
Is there a video walkthrough for Marble Sort Level 386?
Yes. The embedded video on this page walks through Marble Sort Level 386 move by move, and the screenshots below show each stage of the layout so you can follow along and beat it.