





Screenshots

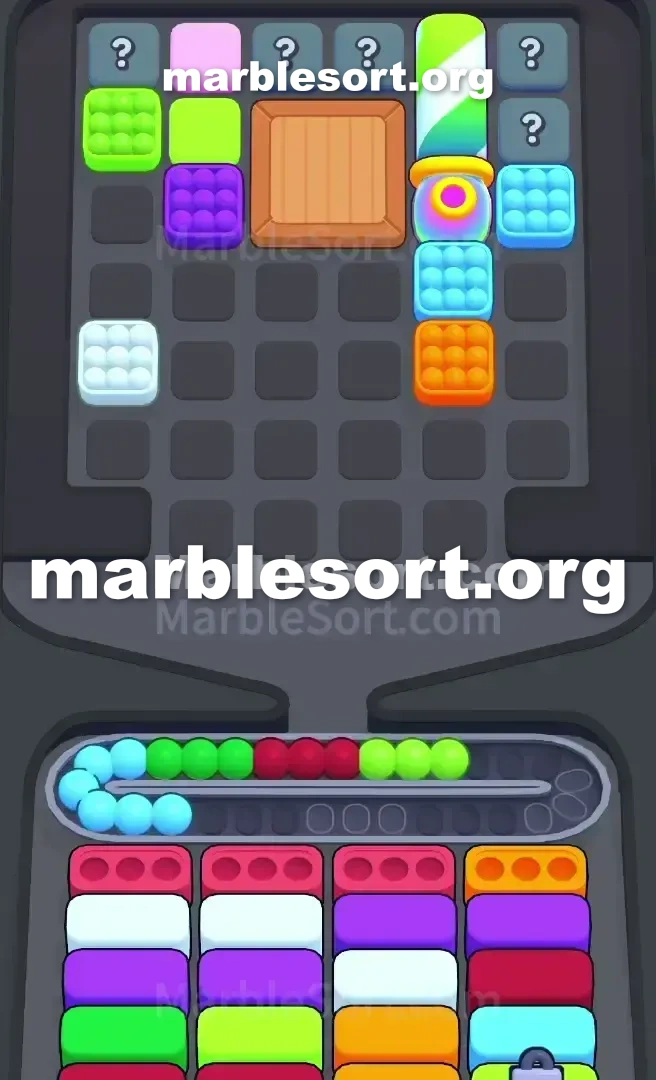
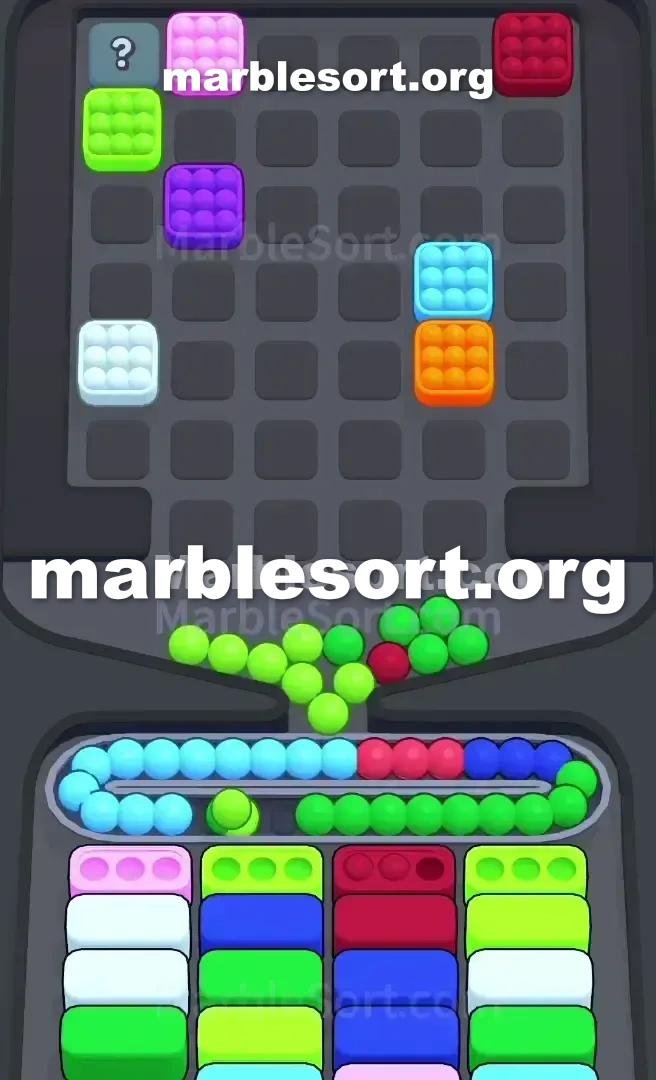
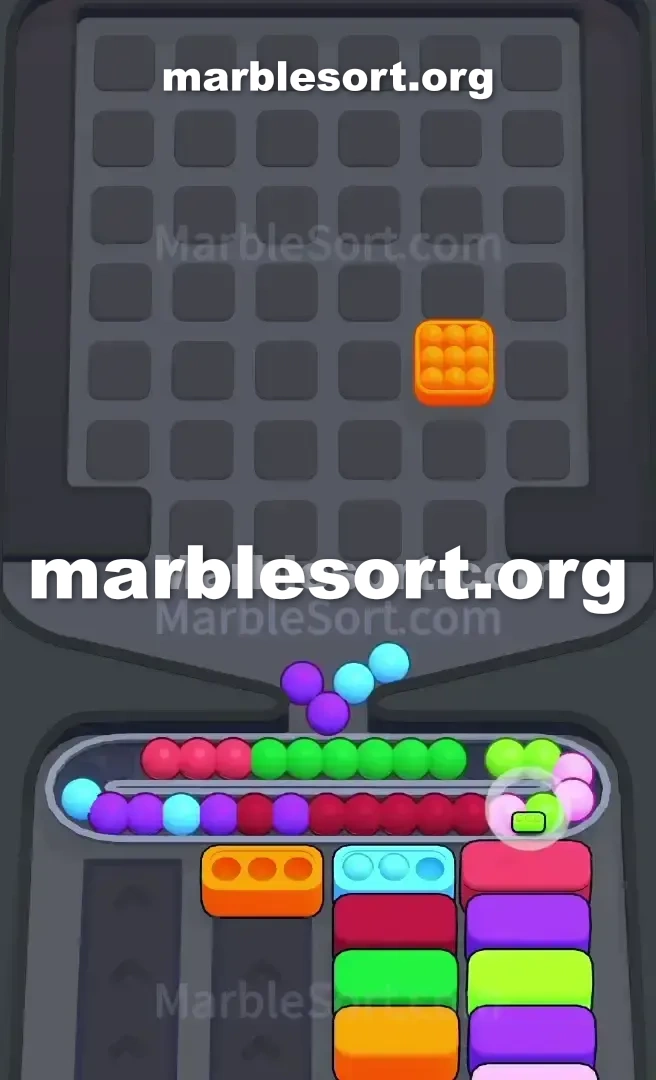
Step-by-step solution
- 1) Toss the Yellow cluster at the center-bottom and the Green cluster straight onto the belt, which opens the doorways to the vertical green and white Tunnels.
- 2) Watch what spills from the lower Tunnels and pick out the White and Pink marbles, steering them down to the ready bottom-row receivers.
- 3) Empty the four boxes reading White, Pink, Pink, and White quickly to slide the second row up, then the Yellow you stashed on the belt finally drops in and clears a large block of track space.
- 4) Work the grey Hidden Boxes out on the far left and right, popping one only when its revealed color lines up with an active Dark Blue or Green receiver.
- 5) Once three neighboring clusters drop, the bottom wooden Crate bursts and spills four fresh clusters, which you feed into the Dark Blue bottom boxes.
- 6) Trigger the clusters above the first crate to light up the horizontal purple and white Tunnel, and use what it spits out to match the Green and Pink boxes in the third row.
- 7) Keep popping the upper Hidden Boxes to shatter the top Crate and lay the whole upper half of the board open.
- 8) In the endgame, find the clusters that carry keys and guide them through the belt into matching boxes to break the locks, flush the Cyan marbles from the top corners, then finish off the last Yellow and Pink groups.
Level 594 Double Crate and Tunnel Blockade
sphere Sort Level 594 is a massive roadblock.
This board sits designed into suffocate you right out of the gate.
one load on plus immediately face one heavily fortified top part plus a complete color mismatch at the bottom.
this dominant shades here sit gold, emerald, ivory, rose, plus Dark azure, but this board refuses into hand them into you in the right order.
At this blind middle from this upper rack , one have two massive wooden Crates stacked vertically.
Each box requires three nearby cases into send before it shatters and reveals its marbles.
Wrapping across those crates sits one network from striped Tunnels —emerald plus ivory tall tubes over this sides, plus one violet plus white horizontal tube cutting between the crates.
Flanking this entire central fortress sit two tall lanes consisting fully from grey Hidden Boxes stamped with question marks.
Down below, this bottom Boxes are just as hostile.
this second line asks for Dark Blue and Yellow.
this very lower rows sit totally locked down via seal plus pass mechanics, heavily featuring locked Cyan plus Yellow boxes.
one hold into bring spheres into available this upper, but one hold zero available matching cases at the bottom to receive them.
Level 594 Crate and Tunnel Trap
Understanding this exact layout from this board sits the only way to survive.
this upper rack gives one one tiny sliver from playable room at this very lower middle: one Yellow cluster and one Green cluster.
Everything else sits trapped inside this Crates , swallowed via this Tunnels , or masked via this secret Boxes on the left and right borders.
Look straight down at your bottom Boxes .
this ready head row is White, Pink, Pink, and White.
This sits this central trap of Marble Sort Level 594.
one want ivory plus rose into empty this head line, but this board only offers you Yellow and Green.
If one play recklessly, one will flood the Conveyor Belt with garbage.
If this track fills before one may dig out this ivory plus rose spheres secret deeper on this upper Tray , the level jams and you fail.
this strategy relies fully on deliberate Conveyor Belt sacrifice.
one hold into park those starting shades over this belt just to get the board moving.
this west plus east sides from the belt will get crowded fast.
one can't afford to pull random Hidden Boxes early.
one should trigger this bottom Tunnels first, wait with this ivory plus rose spheres into emerge, plus empty that head line before this second line from Dark azure plus gold cases may slide forward to relieve the belt pressure.
Level 594 Level Overview
Follow this exact order into break this opening blockade plus manage the massive midgame board flood.
Keep the eyes over the belt space at all times.
Level 594 Bypassing the Front Row Bait
the opening taps feel completely wrong, but they are mandatory.
one hold into sacrifice track space to force the board to open.
choose this lower-middle gold group plus the Green cluster in the Top Tray .
Drop them straight onto the Conveyor Belt .
Moving those two groups triggers this entrances into the vertical green and white Tunnels .
Watch this marbles sliding out of the lower Tunnels .
one are hunting specifically for White and Pink.
this moment ivory plus rose spheres sit exposed, route them down into this active front row of bottom Boxes .
empty this ivory, rose, rose, and White Boxes as fast as possible.
This pulls this second line forward, which consists from Dark azure, Dark Blue, Yellow, and Dark Blue Boxes .
Now that one gold lower case sits ready, this gold spheres one parked over this Conveyor track at this very beginning shall atlast send on, freeing onto a massive amount of belt space.
Level 594 Shattering the Wooden Crates
using this head line out from the way, the board starts to breathe.
Now you must break the central fortress.
One wooden box just opens when three adjacent clusters are dropped.
Start tapping this grey secret cases over this far west and right edges of the Top Tray .
just send one secret case if its revealed shade matches this currently ready Dark Blue or Green bottom Boxes .
Dropping those side cases counts toward this proximity requirement for the lower wooden Crate.
Once three surrounding groups drop, the bottom Crate shatters.
that shall immediately dump four fresh marble clusters onto the board.
empty this Dark azure lower Boxes using the newly revealed crate clusters.
starting this groups above this first box shall activate the horizontal purple and white Tunnel .
Use its contents into match this emerald plus rose bottom Boxes sitting in the third row.
Keep hitting this top secret cases into satisfy the requirement for the top Crate.
When that breaks, this entire upper half of the board is finally exposed.
Level 594 Unlocking the Final Rows
this endgame sits locked past this seal plus pass mechanics at this very back of the bottom section.
Dig through this remaining marbles from the top Crate.
one sit looking with the clusters that hold the actual keys.
Prioritize clearing this exact top clusters that contain the key icons.
Route them carefully through this remaining open belt space.
Once this pass sends into one matching ready case , this locks at this bottom of the screen will shatter.
Flush this remaining Cyan spheres from this top corners straight into the bottom.
Clean onto this last gold and Pink clusters to clear the board.
Keep this track clean, match this surviving locks, plus you will beat Marble Sort 594.
Frequently asked questions
How do I beat Marble Sort Level 594?
Feed the colors that already have an open bottom Box first, keep your belt from filling up, and only release a new color when a matching Box is ready. Follow the move order in the solution above and you can clear Level 594 every time.
What is the main trap to avoid on Marble Sort Level 594?
The biggest mistake on Level 594 is tapping a color that has no active bottom Box yet — those marbles park on your Conveyor Belt and eat limited slots. Hold back any color that has no receiver waiting and the stage stays under control.
What colors do I need to match on Marble Sort Level 594?
Level 594 mainly revolves around White, Green, Pink. Focus on feeding White first when its Box is open, then introduce Green as the lower lanes free up so you never choke the belt.
How should I open Marble Sort Level 594?
Begin by checking the lower part of the tray and only select colors that already sit in an open Box down below. Clearing those first few matching blocks unlocks the rest of the board without jamming your sorting space.
How many moves does Marble Sort Level 594 take to complete?
Level 594 is a color-sequenced stage that clears cleanly when you stick to the exact order above. The step-by-step solution walks each move so you can finish it with the fewest taps and no wasted belt slots.
Is there a video walkthrough for Marble Sort Level 594?
Yes. The embedded video on this page walks through Marble Sort Level 594 move by move, and the screenshots below show each stage of the layout so you can follow along and beat it.