





Screenshots
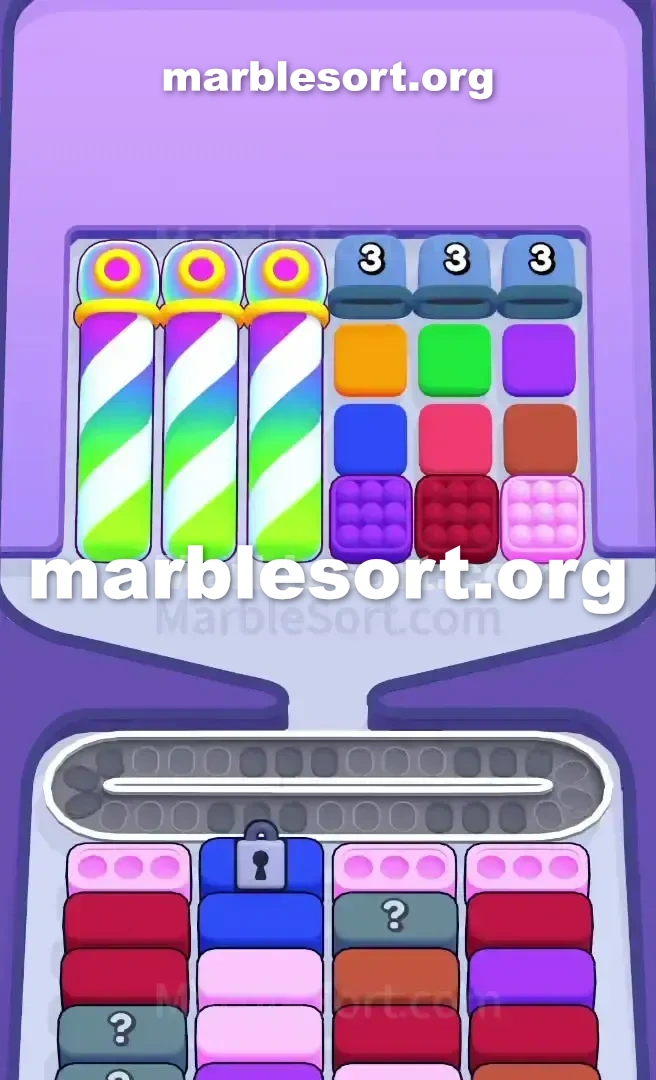
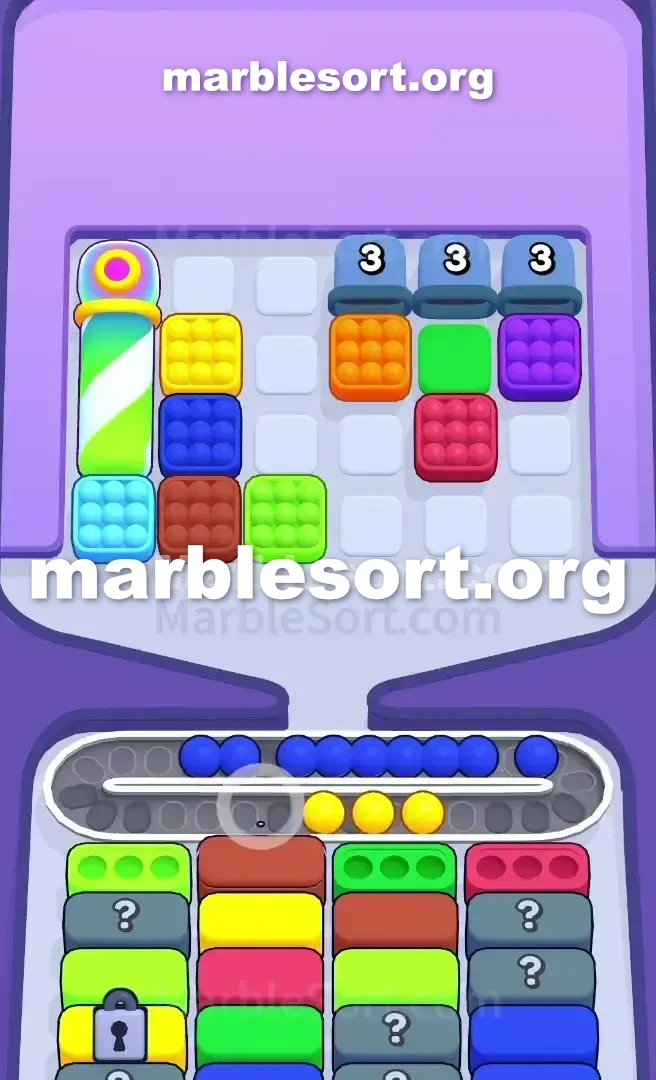
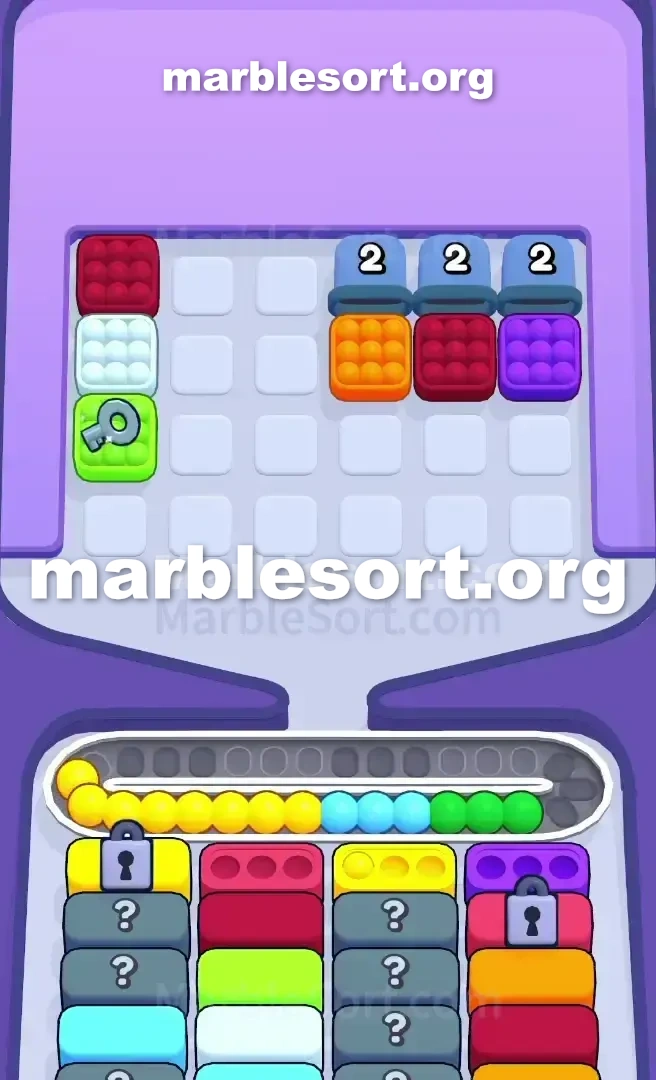
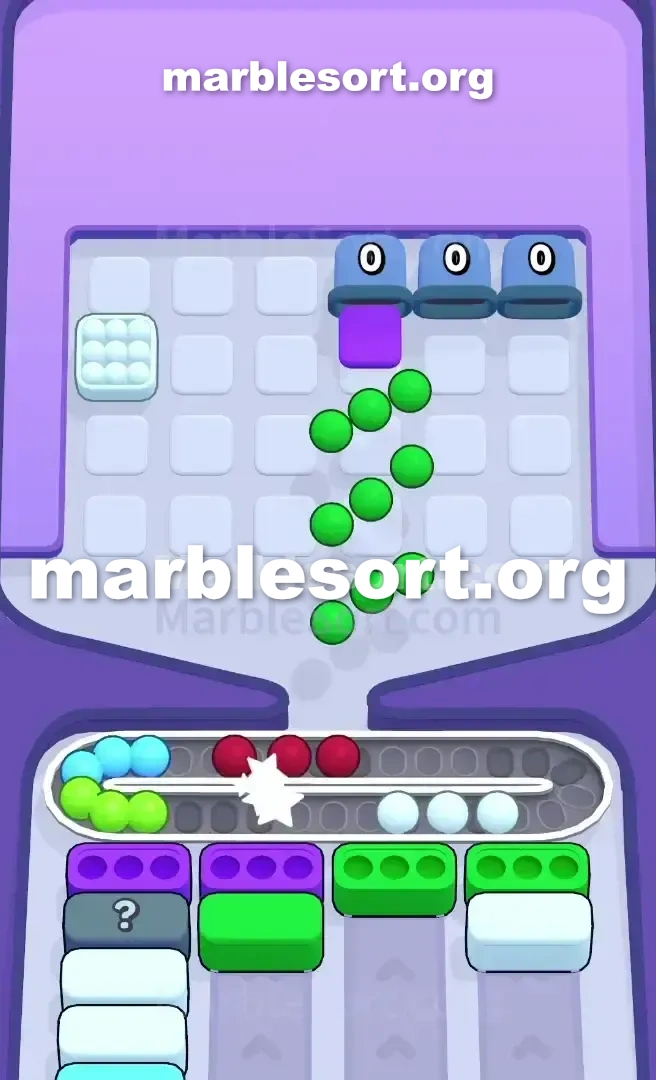
Step-by-step solution
- 1) Find the rough Pink stack in the lower-right of the tray and send a flood of Pink down to begin topping the empty receivers in columns 1, 3, and 4.
- 2) Once the right side runs short, shift to the big striped tubes on the left and tap them to release the leftover Pink for the three front receivers.
- 3) Leave the rough Purple and Red stacks on the right side sitting untouched, since there is no active Purple or Red Box yet.
- 4) Watch columns 1 and 4 push Red Boxes to the front and column 3 push a Mystery Box forward once the Pink wave clears.
- 5) Poke the rough Red stack on the right side and route those Red balls into the newly open receivers.
- 6) Watch the mystery receiver that just surfaced in column 3 closely, filling it right away if it calls for a shade already sitting on your board or pulling from the striped tubes on the left if the color is trapped behind the solid blocks.
- 7) Keep hunting for the hidden Key, and the instant it lands on the Conveyor Belt it zips over to column 2 and blows the Lock apart.
- 8) With the fourth column back, tap the solid Dark Blue block to clear column 2 and reveal another Dark Blue Box behind it, then burn through the solid Brown, Green, and Orange blocks and touch the blue vessels stamped with a 3 way at the back to dump their marbles into the final bottom Boxes.
Level 676 Locked Dark azure Trap and Striped Tube Blockade
one are going to feel the squeeze immediately.
this dominant shades here sit bright rose, crimson, plus Dark azure, but this layout sits fully designed into bait you into a quick game over.
this west half sits fully dominated via three huge, candy-cane striped tubes with rainbow rims.
one hold zero direct access into individual marbles on that side.
over this east half, this board presents a very structured stack.
one hold rough 3x3 groups from violet, crimson, plus Pink sitting right at the front edge.
past them sit solid pieces of Dark Blue, Red, and Brown.
atlast, pinned at this very rear line, one hold three blue containers marked with a 3.
this lower Boxes are where the real nightmare begins.
One seal plus pass mechanic sits holding the entire second column hostage.
Level 676 Pink Wall Pattern
this lower cases dictate exactly what one are allowed to touch.
Check this front line of your lower sorting area.
That sits one huge wall of Pink demanding your immediate attention.
that holds one Dark azure case , but that is completely shut down by a Lock .
That means this pass sits stuck somewhere inside this huge striped tubes over this left or tucked away out of sight.
since from this seal , one sit playing this start from this level with a massive handicap.
You only have three usable drop columns.
This creates one brutal snare snare over the right side of the Top Tray .
this rough violet group sits parked east at this front, looking incredibly easy to tap.
here sits zero ready Purple Box on the bottom right now.
If one choose that violet group, that shall dump into the Conveyor track plus sit here, eating onto the precious little space you have left.
Once this rose cases empty, this bottom rows shall shift forward, revealing Reds plus one highly dangerous Mystery Box in column 3.
Managing this transition from this visible Pinks into this secret middle rows sits the only way to survive.
Level 676 Level Overview
one hold very little room with error on your Conveyor Belt .
Follow this send order strictly into keep this board moving and avoid a jam.
Level 676 Breaking the Frontline Pinks
this start from this level sits fully about feeding those three active Pink Boxes .
one hold into get them off this board into pull the rest of the puzzle forward.
Locate this rough rose group over the bottom right of the Top Tray .
This shall send one rush from rose spheres down into start filling this available Boxes in columns 1, 3, and 4.
this east side shall not hold enough Pink marbles to finish the job.
Move the attention into the massive striped tubes on the left.
choose this striped tubes into dispense this remaining rose spheres needed to clear the three front Boxes .
Leave this rough violet plus crimson groups over this east side of the Top Tray completely alone.
Level 676 Surviving the Mystery Shift
Clearing that first wave from rose changes this entire threat level of the board.
lane 1 plus lane 4 push Red Boxes to the front.
lane 3 pushes one Mystery Box to the front.
Target this newly exposed crimson Boxes in columns 1 and 4.
Now sits this time into choose this rough crimson group over the right side of the Top Tray .
route those Red marbles into the active Boxes .
Pay close attention into this secret Box that just opened in column 3.
If that demands one shade one already hold exposed over this board, prioritize filling that immediately to keep column 3 moving.
If this secret case demands one shade that sits trapped past this solid pieces over this east, one should bring from the striped tubes on the left.
the main goal east now is hunting for the hidden Key.
this moment this pass dispenses onto this Conveyor track , that shall fly over into column 2 and shatter the Lock .
Level 676 Reclaiming the Locked Column
one suddenly hold this fourth lane rear, plus this board opens onto for a much faster clear.
this Dark azure Box in column 2 is finally active.
Look at this middle line over the right side of the Top Tray .
one hold a solid Dark Blue block waiting there.
choose this Dark Blue block to clear column 2.
This shall show another Dark Blue Box right behind it.
Start burning through this solid pieces from Brown, emerald, plus amber over the right side of the Top Tray .
Match them into the lower Boxes as they step forward.
Even using four lanes available, dumping one shade too early will cause a fatal clog.
Once this solid pieces sit gone, hit this azure containers marked using one 3 at this very back of the Top Tray .
those shall dump their reserved spheres into this last remaining bottom Boxes to finish the level.
Frequently asked questions
How do I beat Marble Sort Level 676?
Feed the colors that already have an open bottom Box first, keep your belt from filling up, and only release a new color when a matching Box is ready. Follow the move order in the solution above and you can clear Level 676 every time.
What is the main trap to avoid on Marble Sort Level 676?
The biggest mistake on Level 676 is tapping a color that has no active bottom Box yet — those marbles park on your Conveyor Belt and eat limited slots. Hold back any color that has no receiver waiting and the stage stays under control.
What colors do I need to match on Marble Sort Level 676?
Level 676 mainly revolves around Pink, Red, Dark Blue. Focus on feeding Pink first when its Box is open, then introduce Red as the lower lanes free up so you never choke the belt.
How should I open Marble Sort Level 676?
Begin by checking the lower part of the tray and only select colors that already sit in an open Box down below. Clearing those first few matching blocks unlocks the rest of the board without jamming your sorting space.
How many moves does Marble Sort Level 676 take to complete?
Level 676 is a color-sequenced stage that clears cleanly when you stick to the exact order above. The step-by-step solution walks each move so you can finish it with the fewest taps and no wasted belt slots.
Is there a video walkthrough for Marble Sort Level 676?
Yes. The embedded video on this page walks through Marble Sort Level 676 move by move, and the screenshots below show each stage of the layout so you can follow along and beat it.