
关卡截图


逐步解法
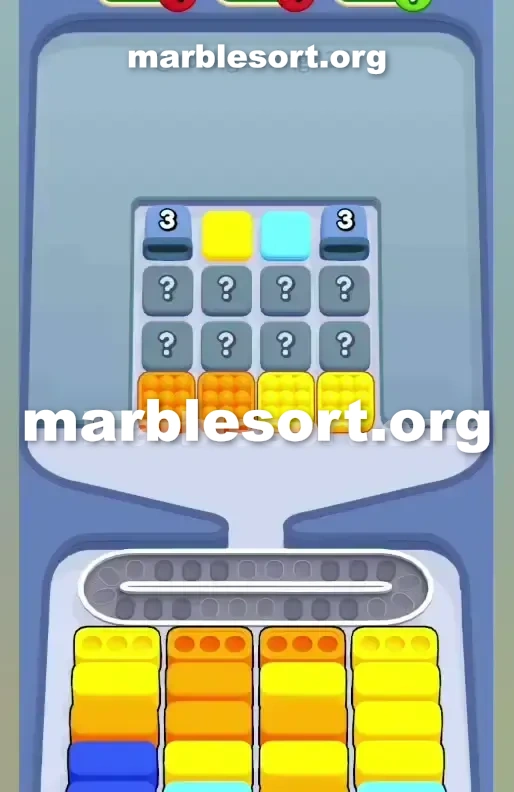
- 1) Clear the opening by tapping the two Yellow clusters and the two Orange clusters in the front row of the Top Tray so they slide into the Yellow and Orange boxes waiting below.
- 2) As those fall, the second layer of Yellow, Orange, Yellow and Yellow rises up and the eight Mystery Boxes in the middle become visible.
- 3) Do not touch the two Dark Blue Tunnels on the top corners yet, since releasing them now would flood your belt with nowhere to drop.
- 4) Release only the shades that match the Yellow and Orange boxes currently parked at the front of the bottom area, letting the middle mystery zone open up naturally.
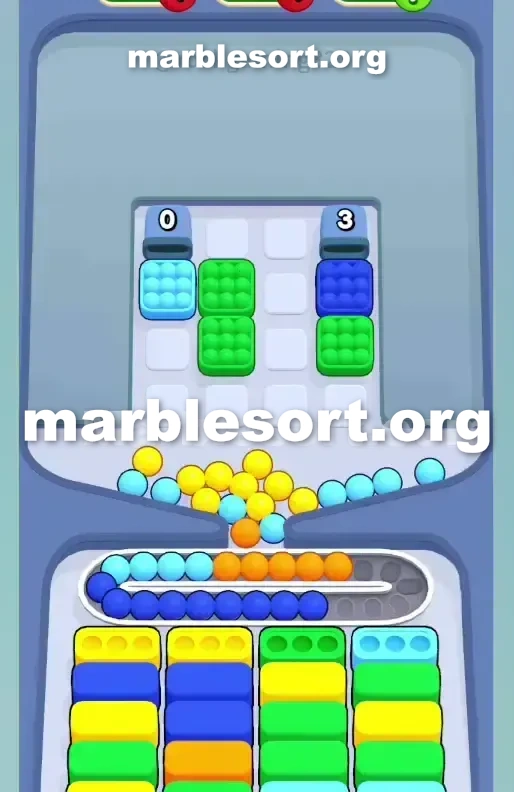
- 5) Expose the Light Blue block at the top middle-right and wait until a Dark Blue box sits fully exposed at the front of its lane before you act.
- 6) Only then drop a Tunnel, so the Dark Blue marbles it spills sort straight into that waiting Dark Blue box instead of clogging the belt.
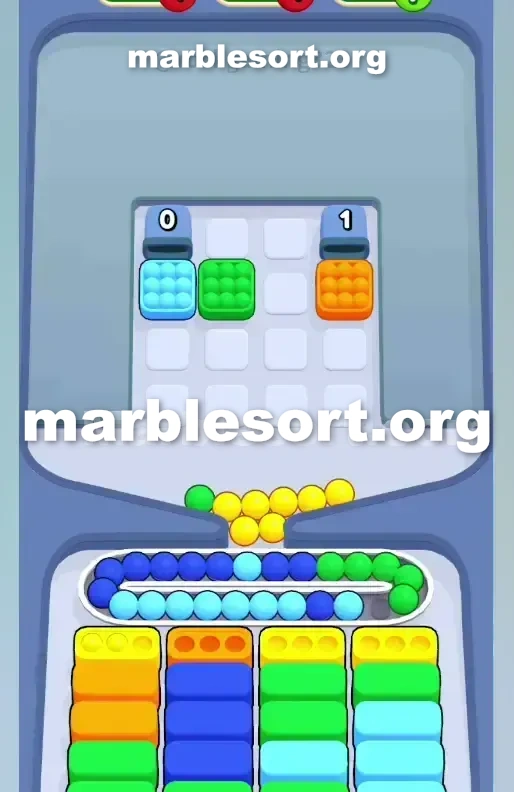
- 7) In the final phase, tap the right Tunnel once the Conveyor Belt has roughly three open slots and route its Dark Blue marbles into the last Dark Blue box.
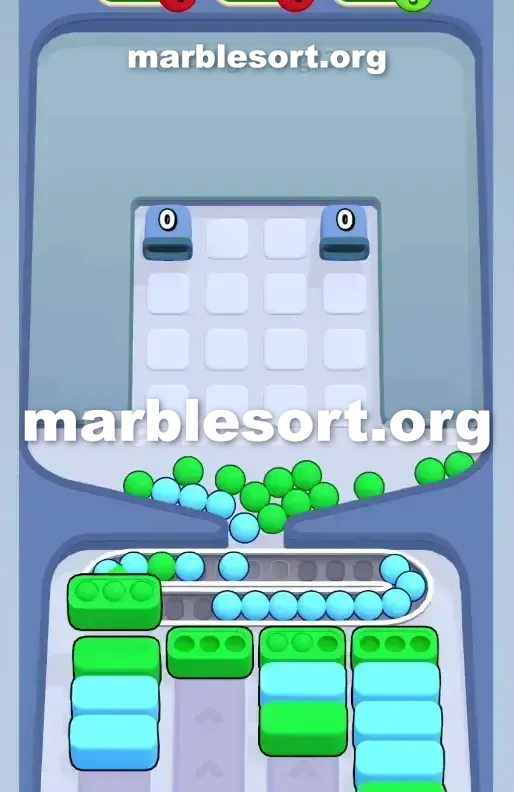
- 8) Sweep the top middle Light Blue block into the lower Light Blue receiver, then match the remaining Green blocks to clear the board.
Level 11 Mystery Box Blockade and Tunnel Trap
Dark azure and Light Blue hide in the back.
This board sits a classic bait-and-switch.
one look at this Top Tray and see a generous opening.
this head line serves onto two amber blocks and two Yellow blocks perfectly.
Down below, this bottom Boxes are practically begging for them.
this trap is obvious once you look closer.
this game gives one exactly what one need to clear the first row.
east past that easy head line rests a massive wall of eight Mystery Boxes .
one hold no idea what colors are coming next.
Worse, this real threat on sphere Sort Level 11 sits the back row of the Top Tray .
Two dark azure Tunnels sit on this top corners, each marked with a "3".
They hold one heavy payload of dark blue marbles.
If one trigger them too first, those spheres hit this Conveyor Belt with nowhere to go.
one shall jam this track plus lose this level before this correct bottom Boxes even appear.
Level 11 Front-to-Back Reveal Pattern
Every move here requires one to read the bottom receivers carefully.
this head line from lower cases is arranged as Yellow, Orange, Orange, Yellow.
This perfectly matches this upper rack front line of Orange, Orange, Yellow, Yellow.
But that sits designed to make you play too fast.
Once those first four pieces empty, you hit the "?", the Mystery Box grid.
Eight totally unknown shades block your path to the back row.
one can't plan the next move until one crack this middle section.
Look at this lower Boxes hiding underneath that first layer.
one hold one second line consisting of Yellow, Orange, Yellow, Yellow.
Deeper down, the column stacks get complicated.
this far-west lane hides one thick Dark Blue Box underneath the Yellows.
this middle lanes bury Green and Dark Blue Boxes .
Those two Tunnels on this top corners hold multiple dark blue marbles.
since they sit at this top, they look like late-game targets.
But as one clear the middle, they become exposed.
If one choose them, they dump everything onto this Conveyor Belt .
If one hold not dug deep enough into this bottom cases into show this Dark azure receivers, your belt fills up immediately.
this middle lanes from this upper rack hold one single gold plus one single Light Blue behind the mystery zone.
one want into manage this tight room without letting this outer columns flood your run.
Level 11 Level Overview
The opening moves require absolute discipline.
Do not touch anything until one read the front rows.
Spamming this upper tray will end your run in seconds.
Level 11 Opening the Mystery Zone
choose this two outermost gold pieces plus this two inner amber pieces from this front row of the Top Tray .
Watch them send onto this Conveyor track plus slide perfectly into this head line of bottom Boxes (Yellow, Orange, Orange, Yellow).
this head lower cases shall empty, revealing this second layer: Yellow, Orange, Yellow, Yellow.
Let this game show this eight secret cases in the middle of the Top Tray .
Do not assume this game shall hand you exactly what you need.
just release shades that match this ready gold plus amber cases now parked at the front of the bottom area.
Leave the dark blue Tunnels completely alone.
Touching them right now is guaranteed bait.
Level 11 Managing this Tunnels and Conveyor Belt
Once one chew through this middle mystery zone, the board changes drastically.
this bottom cases shall start showing Dark azure, Green, and Light Blue.
This sits where the Conveyor Belt pressure spikes.
empty any remaining gold plus amber pieces from the center of the Top Tray .
one should expose this Light azure block sitting at the top middle-right.
Wait until one Dark azure lower case sits fully exposed plus sitting at the front of its column.
one can't risk dropping this tunnel payload without a destination.
that shall dump its dark azure marbles onto the Conveyor Belt .
since one waited, they shall instantly sort into the Dark Blue Box .
Carefully release this newly revealed emerald plus Light azure pieces from this upper rack just when their corresponding bottom Boxes shift to the front.
this middle-east lower lane holds one deep Green Box that often blocks progress.
Keep this right side of your Conveyor Belt clear.
If one stack too many mismatched shades here, this right Tunnel will be completely unplayable.
Level 11 Clearing the Late Board Jams
this last phase from this level is entirely about belt control.
one shall hold one messy pile from Light azure, emerald, plus this remaining Dark Blue from the right tunnel.
choose this east Tunnel just when the Conveyor track has at least three empty slots.
route this resulting dark azure spheres into the final Dark Blue bottom Box .
Sweep onto the top middle Light Blue block.
send that into this lower east Light azure Box to trigger the final clear.
Finish this remaining Green matches to complete the board.
Keep this taps slow, verify this lower case shade, and the level will finally open up.
常见问题
What is the main trap to avoid in Level 11?
The biggest mistake is tapping colors that have no active bottom Box yet. They park on your Conveyor Belt and burn limited slots, so clear the shades that actually have receivers first.
How should I open Level 11?
Ignore the upper layers and aim at the bottom row of the Top Tray. Feed the colors that already have open boxes, then work upward once the lower lanes shift.
When does the midgame color change happen in Level 11?
After the opening boxes fall, the lower columns swap what they demand. Watch for the new shades and only pull blocks that match a box sitting at the front of a lower lane.
Any tip for finishing Level 11 clean?
Keep at least a few empty belt slots before poking mystery or hidden boxes. Feed a revealed color the moment it matches an active box, and fall back to visible marbles when the belt gets tight.