
Marble Sort 第 157 关 — Marble Sort Level 157 Solution: The Move Order That Clears the Board

简单 ★☆☆☆☆ 约 24 步

关卡截图

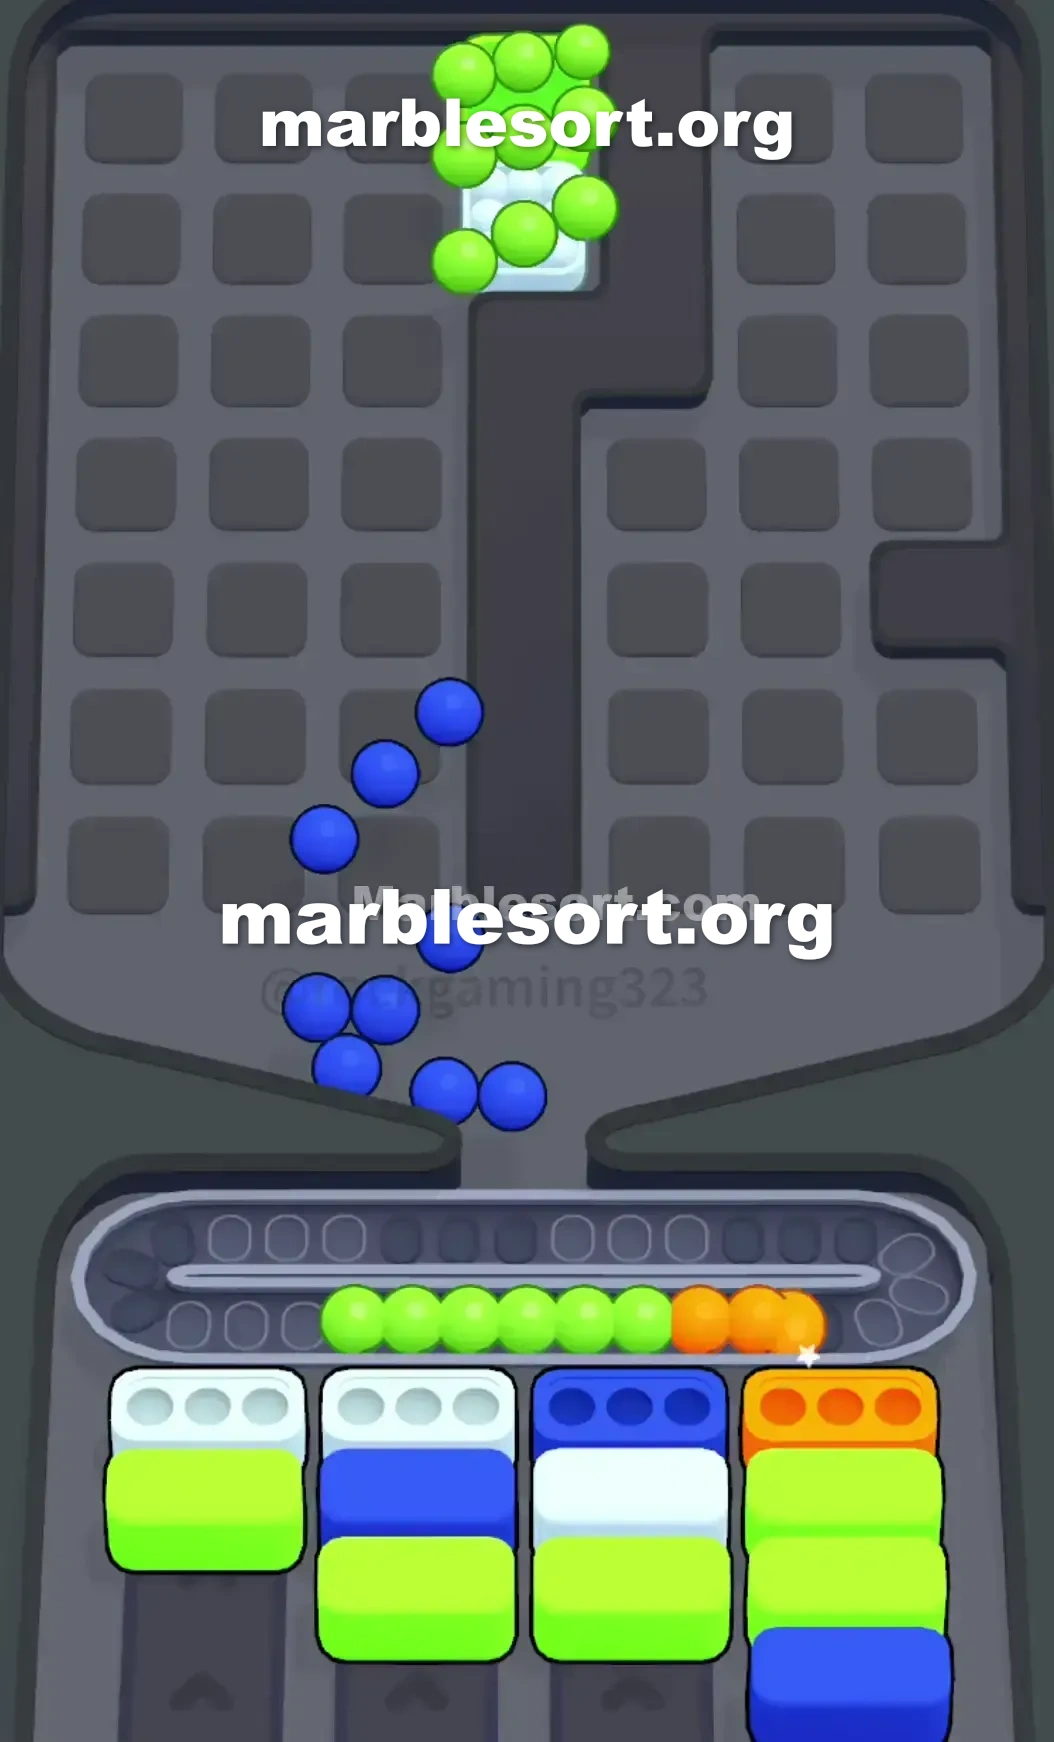
Marble Sort 第 157 关 截图 1Marble Sort 第 157 关 截图 2

逐步解法

快速答案
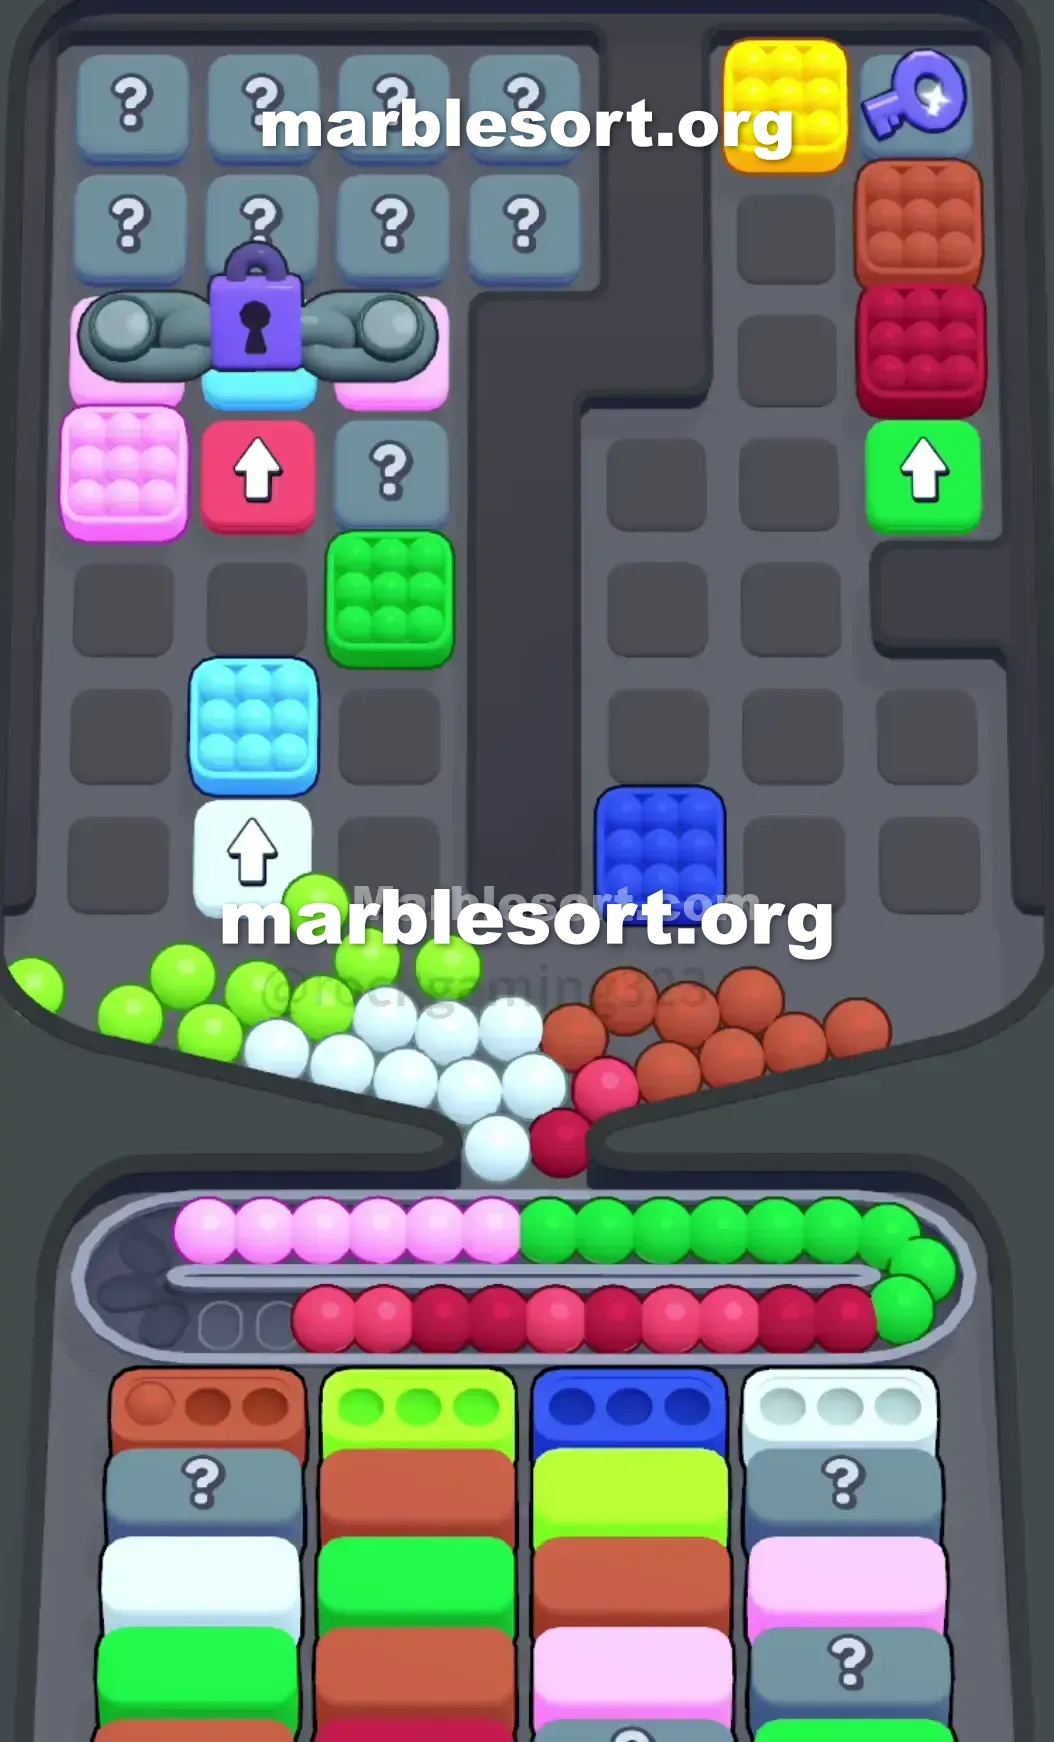
  1. 1) Clear the four opening receivers in order: feed the Light Green box in column two, the Brown box in column one, the White box in column four, and the Dark Blue box from the middle upper grid.
  2. 2) Never touch the red pile in the center choke point during the opening, since no red receiver is active yet and more reds would flood the belt.
  3. 3) Feed the Light Green box using the greens already parked on the belt and the left side of the tray, then route the Brown box with the browns stuck on the right funnel.
  4. 4) After the front row clears, dig down the right side and fill the Brown box below the yellow key box the instant it enters the active row, bypassing the green Arrow Box above the red box.
  5. 5) Once the red box becomes active, carefully drop the reds from the middle of the tray and the belt to clear it, then claim the yellow key box and fill it to shatter the purple padlock.
  6. 6) With the left vault open, clear the cascading Mystery Boxes quickly, but wait to see what color each one demands before releasing anything so the belt stays under control.
  7. 7) Clear the red and light blue Arrow Boxes as their blockers fall, then flush the leftover tray marbles toward the Pink and Green receivers on the lower right to finish.

Level 157 Right-Side Key Trap

sphere Sort Level 157 sits fully dictated via one huge trapped situation over the left side of the board.

One giant violet padlock chains down one huge section of the upper grid.

one can't touch anything over here until you find the key.

this dominant shades on this upper rack are light green, white, red, and brown.

ivory and red are tangled in the middle.

this east funnel sits a solid traffic jam of brown marbles.

east now, the ready lower cases sit showing brown, light emerald, dark azure, and white across the front row.

this gold case holding the required pass sits trapped high onto over the right side of the upper grid.

one hold into carve one very specific path to get it down.

Level 157 Brutal Grid Layout

If one look at this board arrangement, the trap is obvious.

this upper rack sits heavily weighted using light emerald over the left and brown on the right.

crimson spheres sit parked east on this middle choke point, practically begging into be dropped.

the Conveyor track sits already carrying one dangerous amount from red, pink, and light green.

If one let more crimson spheres send east now, one shall instantly fill the Conveyor Belt and lose.

one hold absolutely zero access into one crimson box at the start of this level.

Here sits exactly how the ready lower cases sit stacked from west into east: lane 1: Brown, followed via one secret case , then White, and Green at the bottom.

lane 2: Light emerald, followed via Brown, another Light Green, and Brown.

lane 3: Dark azure, followed by Light Green, Brown, and Pink.

lane 4: ivory, followed via one Mystery Box , Pink, and another Mystery Box .

this west side sits totally shut down via the Lock and Key mechanic.

this seal rests over a massive block of Mystery Boxes .

Below this seal, one hold one rose case and a red Arrow Box pointing upward.

this right side holds your only win condition.

stuck directly beneath that sits one brown case, one red box, and a green Arrow Box .

this middle top grid is just a temporary roadblock.

that holds one emerald case, one light azure pointer case , plus one dark blue box at the bottom edge.

This exact board identity means this entire first game sits about surviving this Conveyor track stress as digging out that gold box on the right.

Level 157 Level Overview

one want one flawless opening order into keep this red marbles from ending your run.

Follow this exact order into control this Conveyor Belt and open the locked vault.

Level 157 Cracking the Front Row

this first taps should empty out this immediate ready head line without dropping unwanted shades from the Top Tray .

Hit this Light emerald Box: Start with the second column.

Fill this ready light emerald case using this light emerald spheres already parked over the Conveyor track plus the left side of the Top Tray .

empty this Far west Brown Box: Move to column one.

route this brown case using this brown spheres stuck over the right side of the Top Tray .

This starts clearing this east funnel without disturbing this dangerous red pile in the middle.

Target this Far east White Box: Go to column four.

Fill this ivory case using this ivory spheres peeking out from this left-middle of the Top Tray .

send this Dark azure Box: Look at the middle upper grid.

this dark azure case at this lower from that stack may now drop into the active area.

Level 157 Releasing this Key and Opening the Vault

Clearing this front row shifts the entire board.

this ready bottom cases shall now show one secret case over this west, brown on lane two, light emerald on lane three, plus another Mystery Box on the right.

Dig Down this east Side: this brown case parked below this gold pass case on the upper grid will eventually drop down.

Prioritize filling that this exact second that enters the active bottom Boxes .

Bypass this pointer case: one shall notice a green Arrow Box pointing up.

That case shall just activate after this red box above it drops and clears.

empty this crimson case: Now one atlast have a use for the red marbles.

Carefully send this crimson spheres from this middle from this upper rack plus this Conveyor track into empty this crimson box once it hits the active area.

Claim this Key: The yellow box is now free.

Let that send into this active lower Boxes and fill it immediately.

This activates the Lock and Key mechanic.

Level 157 Surviving the Mystery Drop

this huge violet padlock on the left side breaks open.

Manage this secret cases: this upper west grid from secret cases shall now start cascading down into the active columns.

one should empty them quickly to reveal their hidden colors.

Watch this Conveyor track: since one sit dealing using secret cases , do not randomly tap the Top Tray .

Wait into spot what shade the box demands before you release anything.

empty this pointer cases: this crimson pointer case over this west plus this light azure pointer case on this middle shall unlock as one clear the boxes above them.

Flush this Remaining Trays: using this seal gone plus this secret cases revealed, this remaining spheres on this upper rack shall easily sort into this bottom right pink and green boxes.

Keep the clicks deliberate and the board will clear.

常见问题

What is the main trap to avoid in Level 157?

The biggest mistake is tapping colors that have no active bottom Box yet. They park on your Conveyor Belt and burn limited slots, so clear the shades that actually have receivers first.

How should I open Level 157?

Ignore the upper layers and aim at the bottom row of the Top Tray. Feed the colors that already have open boxes, then work upward once the lower lanes shift.

When does the midgame color change happen in Level 157?

After the opening boxes fall, the lower columns swap what they demand. Watch for the new shades and only pull blocks that match a box sitting at the front of a lower lane.

Any tip for finishing Level 157 clean?

Keep at least a few empty belt slots before poking mystery or hidden boxes. Feed a revealed color the moment it matches an active box, and fall back to visible marbles when the belt gets tight.