

Marble Sort 第 161 关 — Marble Sort Level 161 Solution: The Move Order That Clears the Board

简单 ★☆☆☆☆ 约 18 步

关卡截图

Marble Sort 第 161 关 截图 1Marble Sort 第 161 关 截图 2Marble Sort 第 161 关 截图 3Marble Sort 第 161 关 截图 4

逐步解法

快速答案
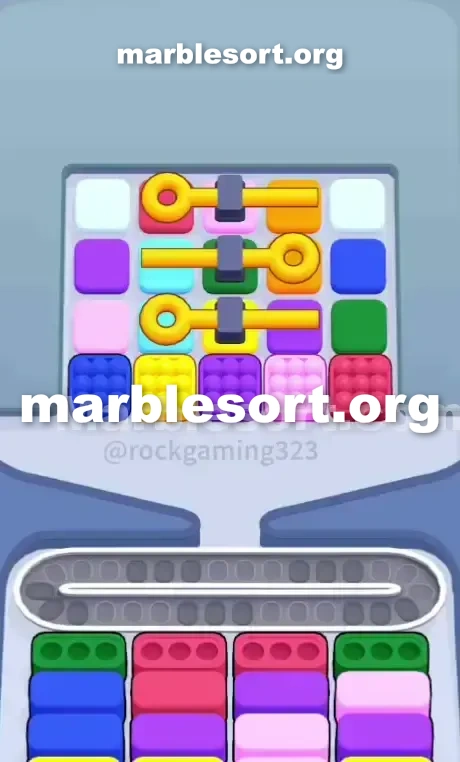
  1. 1) For your opening, ignore the dimpled Blue, Yellow, and Purple blocks sitting at the bottom left, and instead poke the dimpled Red block at the bottom right of the Top Tray so its Red marbles stream into the middle Boxes that are waiting for them.
  2. 2) Poke the dimpled Light Pink block that sits beside it and park that one on the Conveyor Belt for now, then take the Green block out of the far-right outer column and let it fall into one of your starting Green Boxes.
  3. 3) Take the last Red block from the far-right column and use it to complete the front-line Red Boxes, which lets the second layer drop down and reveals fresh Blue and Pink Boxes for you to feed.
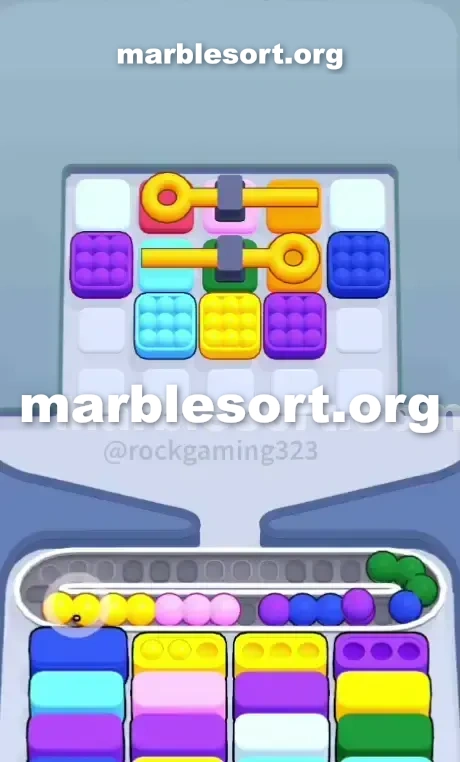
  4. 4) For the midgame, hold off until a Yellow Box becomes active on the bottom, then poke the Yellow block resting under the bottom key so that lock shatters and the hidden Purple and Orange come free.
  5. 5) Move your attention to the far-left outer column, poke the dimpled Blue block down at the bottom-left edge once your Blue Boxes are live, and work down that lane to pick up the Light Pink and Purple blocks waiting there.
  6. 6) Feed the Orange marbles you just freed to drop the middle key, and whenever a shade is hidden underneath the top lock, keep its matching color off the belt for the time being.
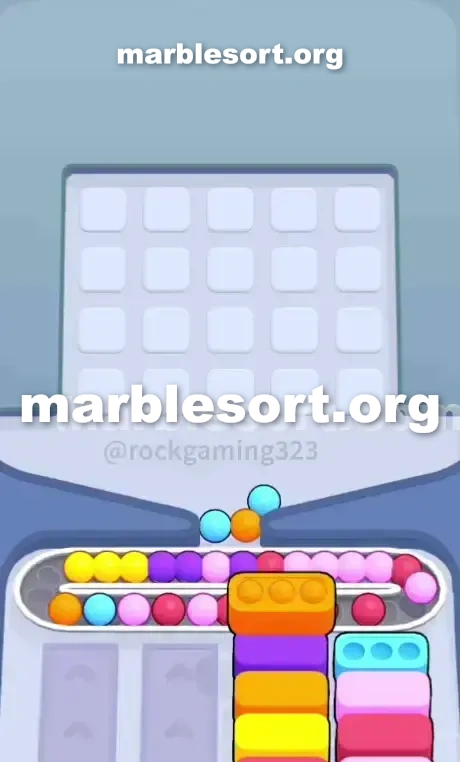
  7. 7) Keep cycling the bottom boxes until a Red Box appears again, then drop the final Red block to release the top barrier, flush the leftover middle blocks, and finish by tapping the White blocks in the top-left and top-right corners.

Level 161 Triple Staggered Lock Trap

one load into this stage plus immediately see the problem.

Three horizontal seal plus pass barriers sit stacked east in the dead center of the board.

this dominant shades clogging the view sit Purple, Pink, Red, White, and Blue.

this trick here is entirely about lateral movement.

this lower cases are begging for Green and Red immediately.

But the emerald plus crimson spheres are scattered in highly specific, annoying spots.

One bad choose over this lower line, plus the Conveyor Belt fills up with dead colors.

Level 161 Staggered Key Pattern

Let’s break down zzz exactly how this board sits trying to kill your run.

this upper rack sits one solid piece from twenty squares, but that operates in three distinct zones.

this west plus east outermost columns are totally free from the locks.

this far-west lane holds ivory, violet, Light rose, plus a dimpled Blue block at the bottom.

this far-east lane holds ivory, Blue, Green, and a dimpled Red block.

The middle three columns are a nightmare.

They sit trapped via three horizontal seal and Key mechanisms that alternate directions.

this lower pass rests over this west over one Yellow block, locking the right side.

this middle pass rests over this east over some Orange block, locking the left side.

this upper pass rests over this west over one Red block, locking the right side again.

Beneath all from this, this lower line from this upper rack features five distinct dimpled pieces: Blue, Yellow, Purple, Light Pink, and Red.

one hold one emerald case over this far west, two crimson cases on this middle, plus another Green Box on the far right.

this dimpled azure, gold, plus violet pieces over this lower west are completely useless to you right now.

Tapping them sits this fastest way to clog your Conveyor Belt .

one should funnel this first taps exclusively into this east side from this board into satisfy those Red and Green Boxes first.

Level 161 Level Overview

one hold into ignore this west side from this board entirely during your first few moves.

We want into crack this outermost right edge to get the board moving.

Level 161 Surviving the Opening Traps

Do not touch this dimpled azure or Yellow blocks on the bottom left.

choose this dimpled crimson piece over the bottom right of the Top Tray .

This sends crimson marbles to the waiting middle Boxes .

choose this dimpled Light rose block right next to it.

Send that into this Conveyor Belt to hold for a moment.

take this emerald block from the far-right outer column.

This shall send down plus empty out one of your starting Green Boxes .

bring this remaining crimson piece from this far-east lane into finish off the front-line Red Boxes .

using this head cases cleared, this second layer of Boxes drops down.

one should now spot azure and Pink Boxes ready to be filled.

Level 161 Cracking the Alternating Locks

this midgame sits all about dismantling those three stacked locks.

Now that the board holds opened onto slightly, one can start digging into the middle columns.

this pass sits parked over this west side, resting directly on a Yellow block.

one should wait until one Yellow Box appears at the bottom.

Once this gold case sits ready, tap the Yellow block under the key.

This sends this pass, breaking this lower seal plus freeing this violet and Orange blocks trapped next to it.

Shift the focus to the far-left outer column.

choose this dimpled Blue block at the bottom left.

the azure cases are active now, so this clears safely.

Dig down this west lane into grab the Light Pink and Purple blocks.

This pass sits over this right side, sitting over an Orange block.

empty this newly freed amber marbles to drop this second key.

If one shade sits trapped under this upper seal, do not bring its matching shade down to the belt yet.

Level 161 Clearing the Final Red Key

this last pass sits over the left, sitting over a Red block.

one should spin the current lower cases until one Red Box cycles back into play.

Hold the remaining White marbles on the top corners.

ivory cases sit at this very back of the lower queue.

Pulling ivory too early is a fatal mistake.

send this last Red block to unlock the top barrier.

Flush this remaining middle blocks down the Conveyor Belt .

choose this upper-west plus upper-east ivory pieces into fill this final White Boxes and clear the board.

常见问题

What is the main trap to avoid in Level 161?

The biggest mistake is tapping colors that have no active bottom Box yet. They park on your Conveyor Belt and burn limited slots, so clear the shades that actually have receivers first.

How should I open Level 161?

Ignore the upper layers and aim at the bottom row of the Top Tray. Feed the colors that already have open boxes, then work upward once the lower lanes shift.

When does the midgame color change happen in Level 161?

After the opening boxes fall, the lower columns swap what they demand. Watch for the new shades and only pull blocks that match a box sitting at the front of a lower lane.

Any tip for finishing Level 161 clean?

Keep at least a few empty belt slots before poking mystery or hidden boxes. Feed a revealed color the moment it matches an active box, and fall back to visible marbles when the belt gets tight.