
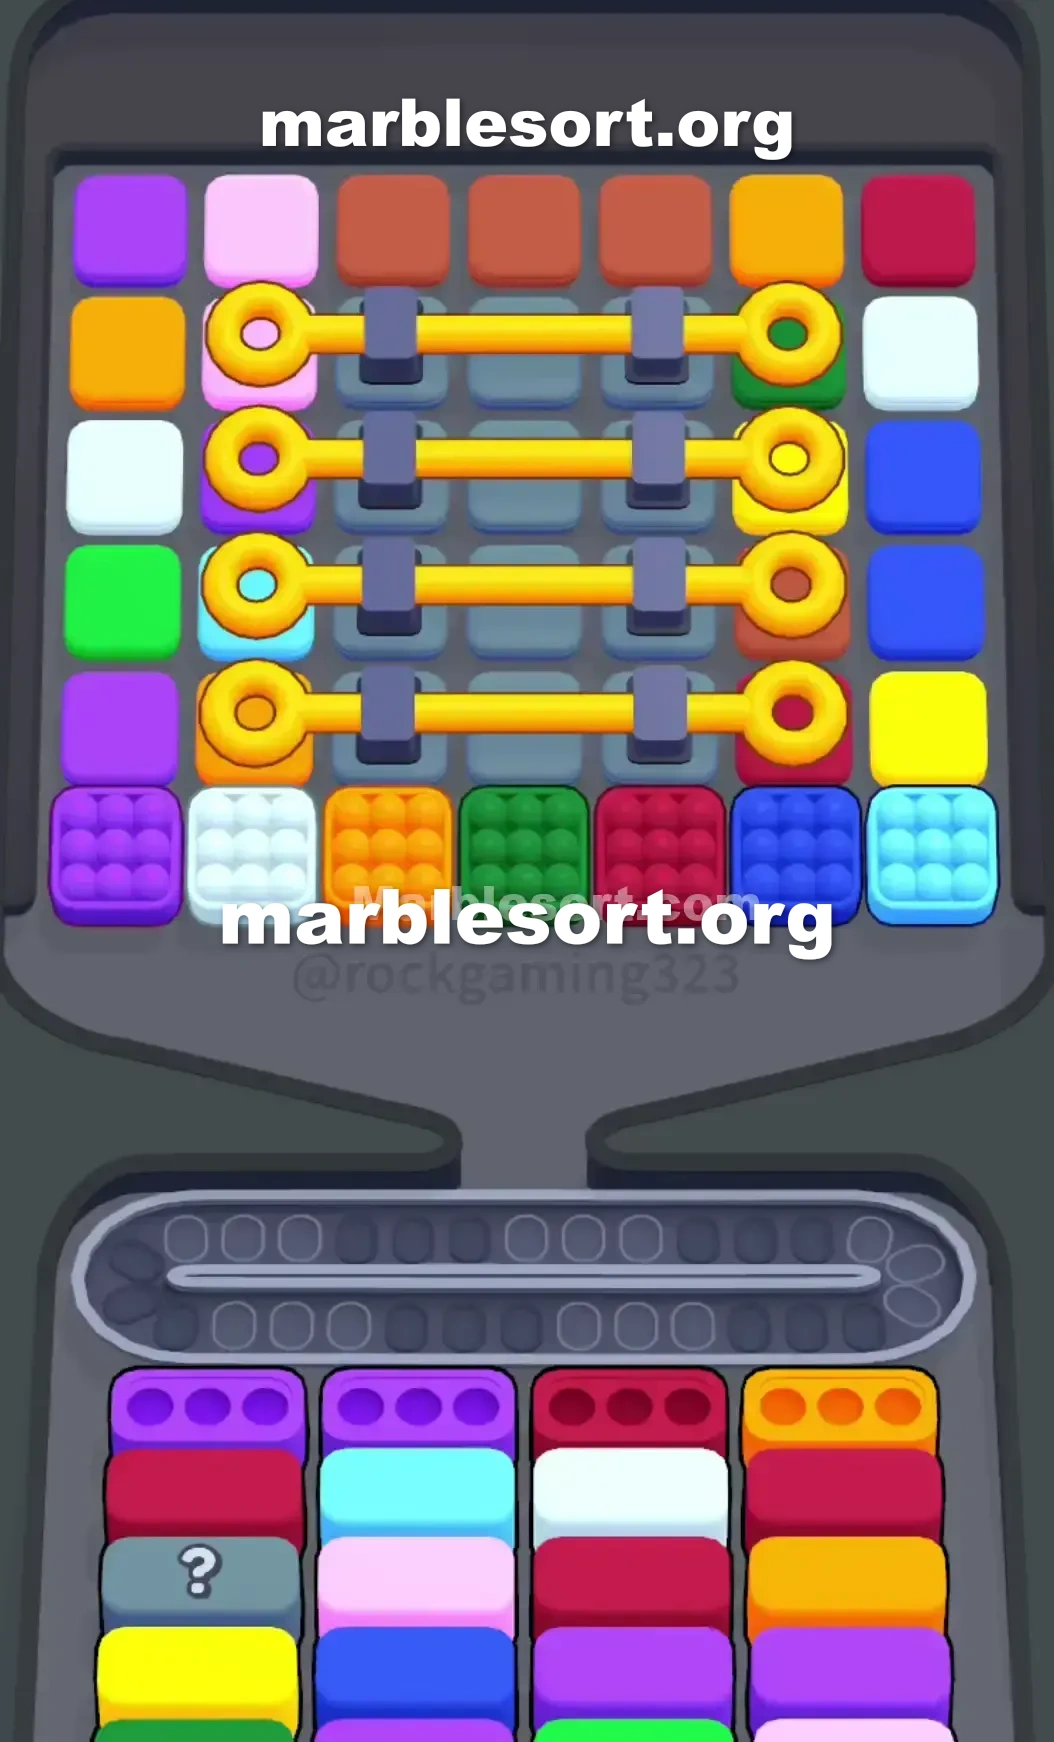
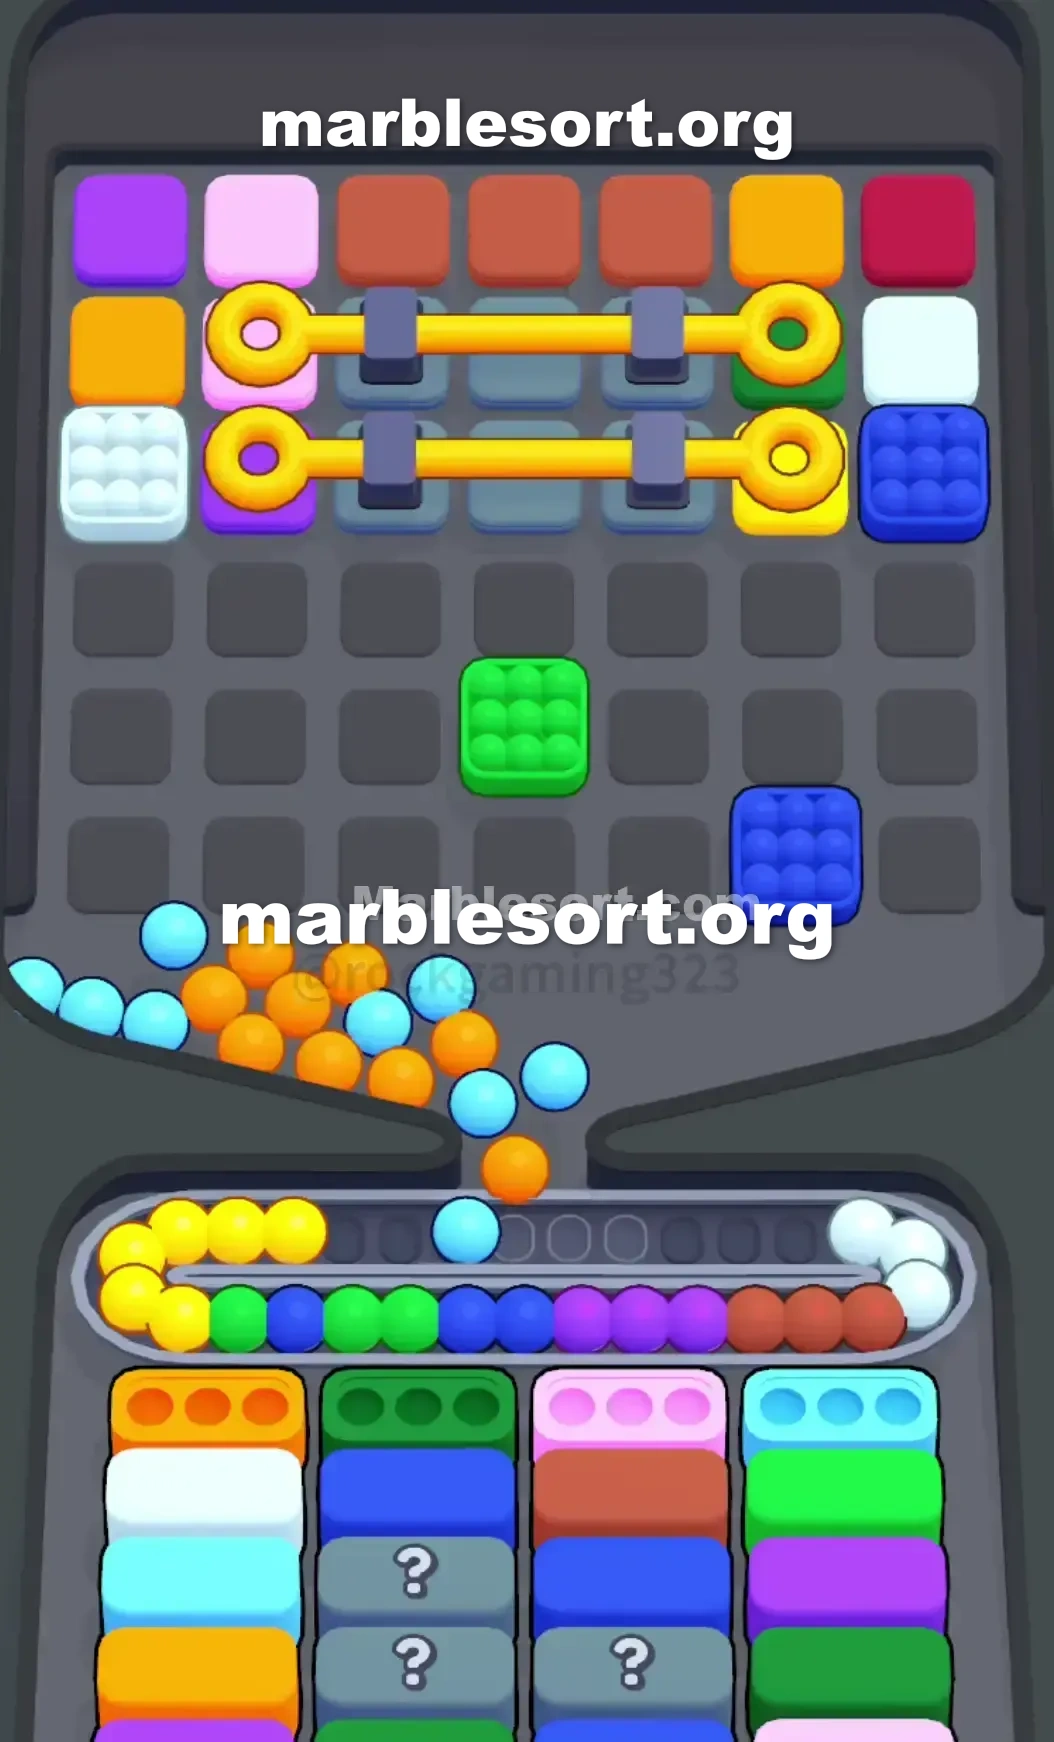
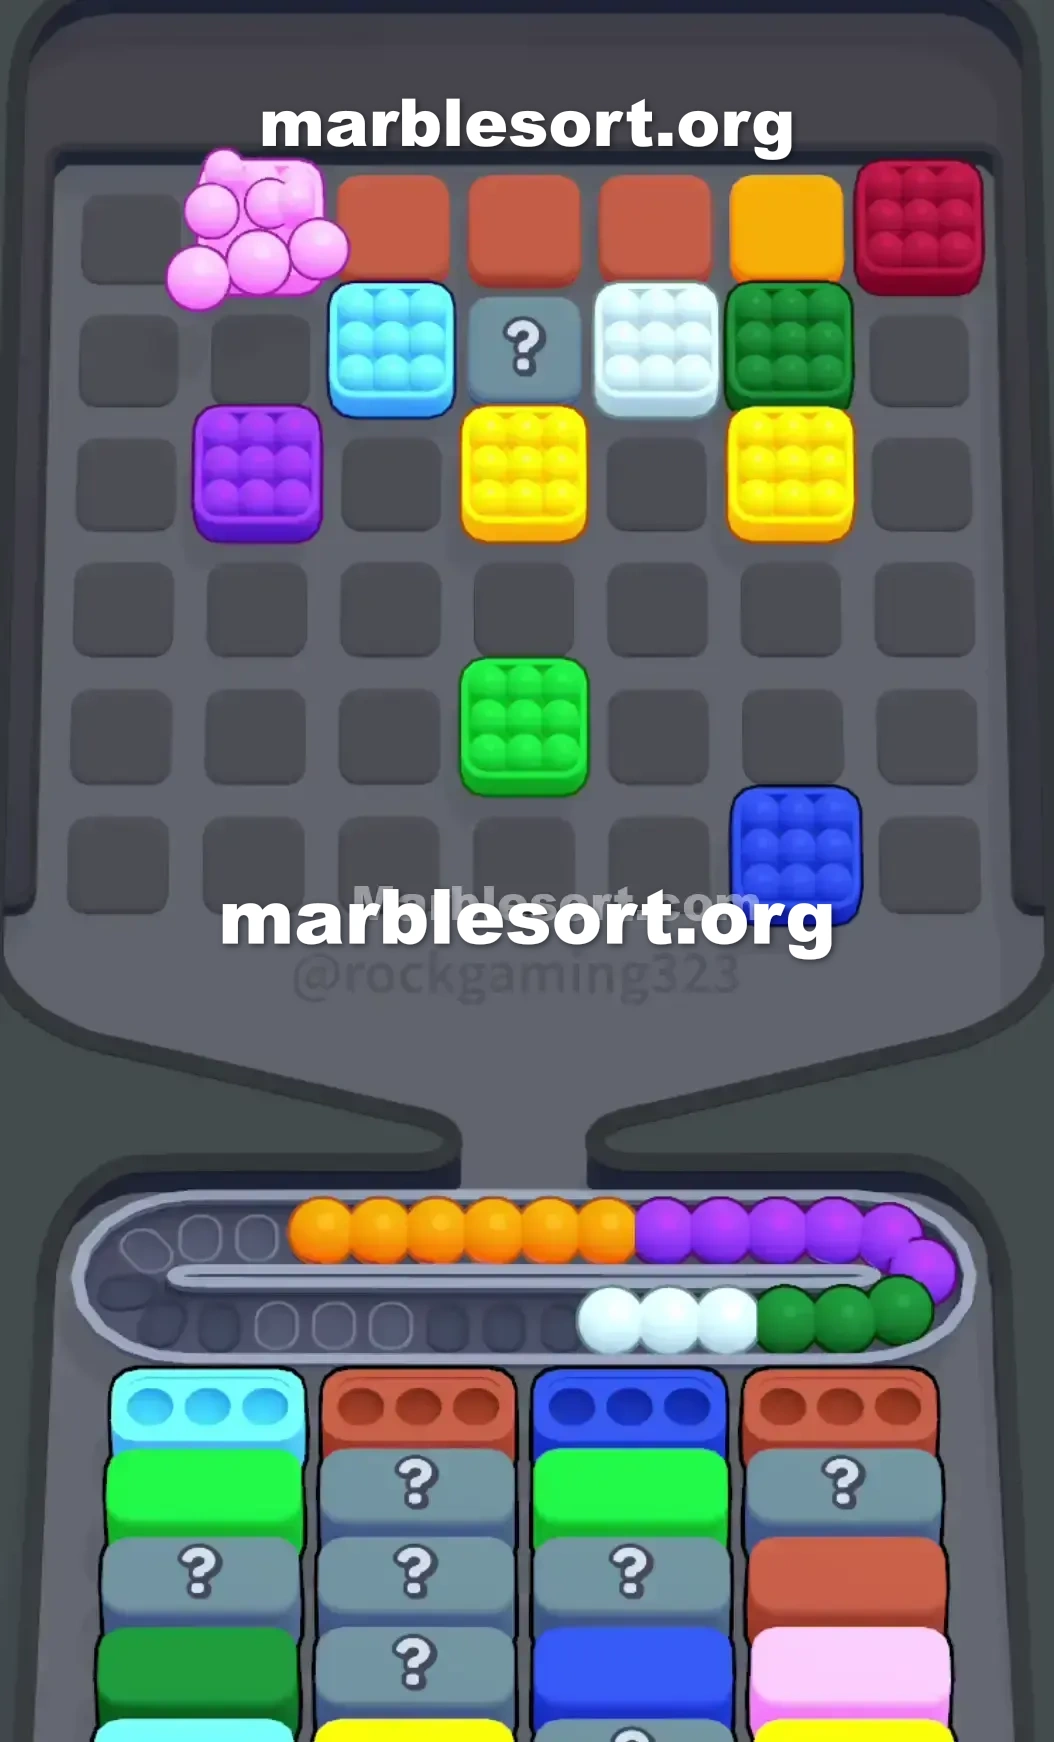
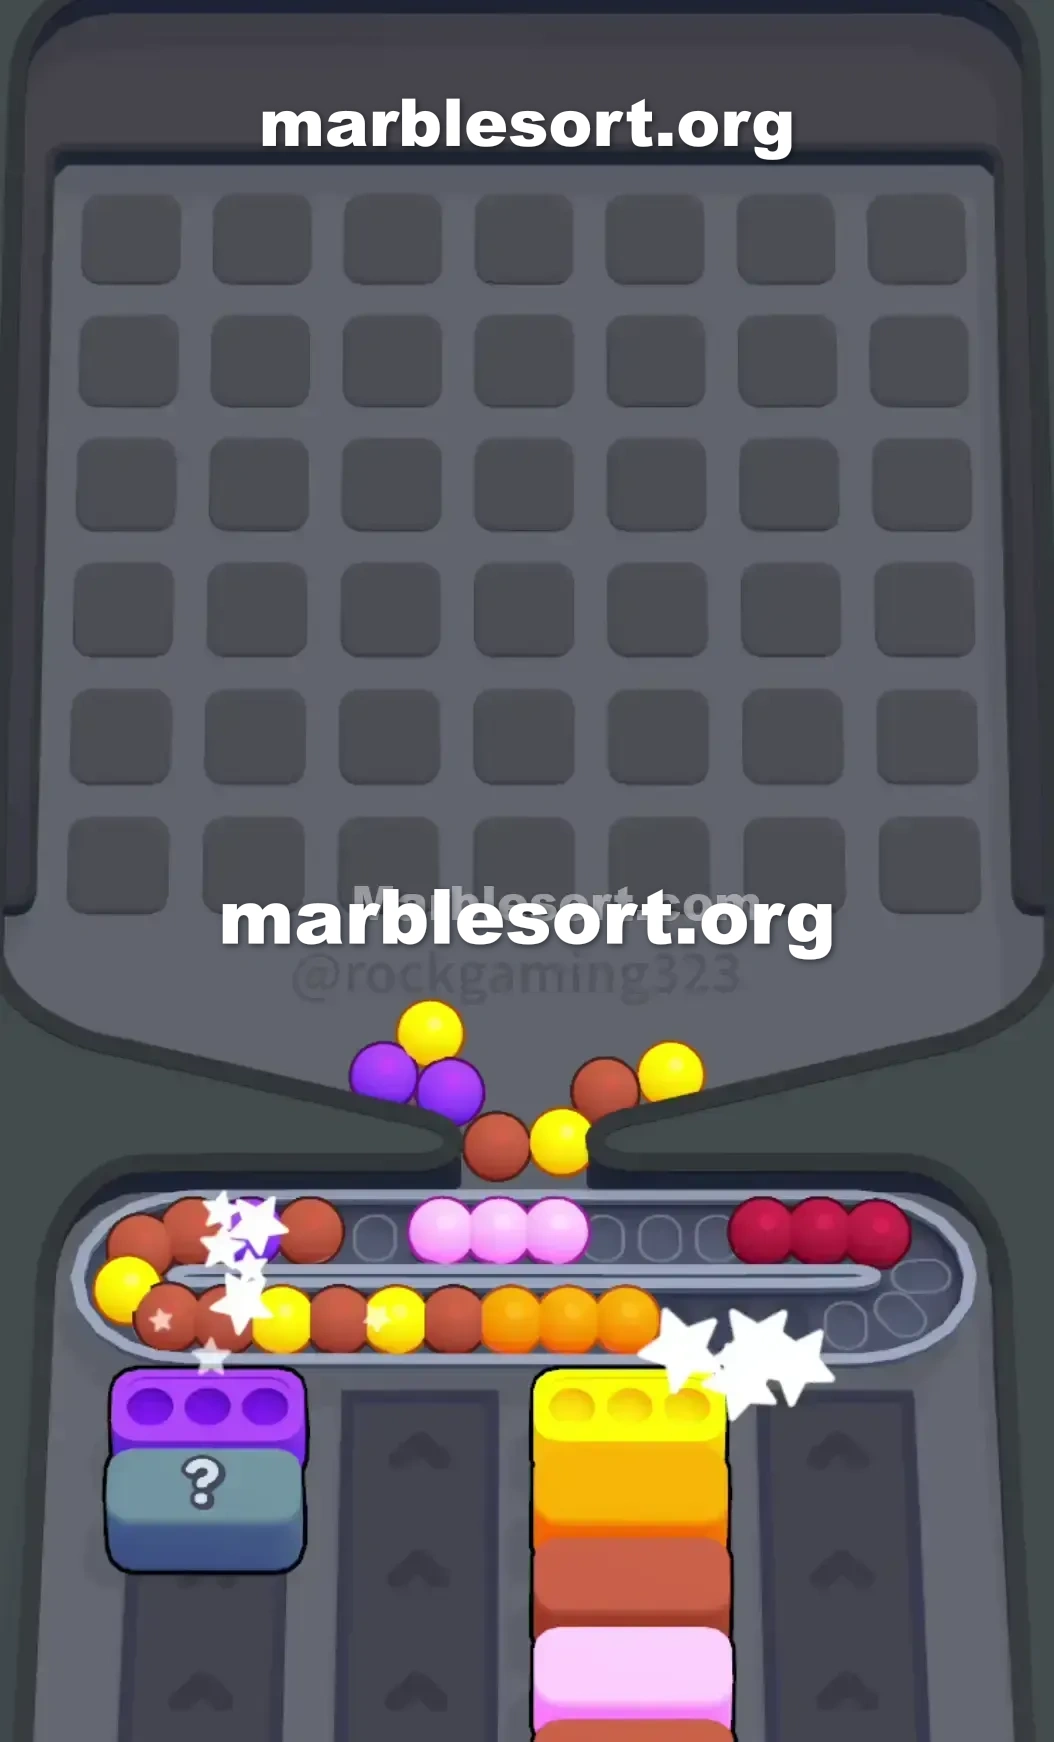
关卡截图


逐步解法
- 1) Open by grabbing the Purple group parked at the lower-left edge of the Top Tray and letting it drop into one of the front Purple boxes.
- 2) Clear the second Purple box by grabbing the purple marbles in the top-left column, which lifts column two and exposes a Light Blue container beneath it.
- 3) Drop to the bottom row and pull the Orange cluster in the third slot from the left to feed the front Orange box in column four.
- 4) Take the Red marbles on the far right edge to clear column three's Red box, and keep the White and Green clusters on the bottom row untouched so the belt stays free.
- 5) After the front row shifts, feed the Light Blue cluster from the bottom-right corner into the new column-one container, exposing a Green box below it.
- 6) Take the Blue group parked on the lower-right side to empty column three, then hunt through the upper-right and upper-middle zones for the dark Brown/Red marbles the two middle columns want.
- 7) Once the outer edges weaken the four yellow Connected Box bars, poke the center greens and blues underneath the yellow rings to crack the middle apart.
- 8) Reveal each stacked Mystery Box with a single marble first, then empty the big pink pile in the top-left and the scattered yellows into the final receivers to finish.
Level 174 Center Barbell Blockade and Mystery Box Stacks
This board sits one massive trap right out of the gate.
one look at this start plus spot one wide-available lower line of marbles just begging to be tapped.
this difficulty here comes from one heavily restricted middle plus one brutal built from secret bottom containers that shall absolutely clog the limited space if you play aggressively.
into beat this one, one need absolute discipline with your early pulls.
We hold into navigate across four huge horizontal gold structures locking down this middle of the board.
Meanwhile, the bottom targets sit stacked five deep, heavily loaded using colors you cannot easily reach.
This guide shall break down exactly how into dismantle this board from this outside on without choking out your play space.
Level 174 Center Barbell Trap
This board sits defined via one 7x7 grid onto top with a terrifying center blockade.
Look east in the middle of your Top Tray .
one hold four huge yellow horizontal bars stretching across the core.
those act as Connected cases , locking onto this emerald, azure, plus orange marbles caught beneath their end-rings.
one can't dig through this center until you clear the outer edges.
this outermost lanes from the Top Tray are your only lifeline.
this far west lane gives one access to purple, orange, white, and green.
this far east gives you red, white, blue, and yellow.
this real threat rests on the bottom row of the Top Tray .
From west into east, one hold fully exposed violet, ivory, amber, emerald, dark crimson, blue, and light blue marble clusters.
one have four columns stacked five rows deep.
lane 1: Starts using violet, concealing Red, a Mystery Box , Yellow, and Green.
lane 2: Starts using violet, hiding Light Blue, Pink, Blue, and Purple.
lane 3: Starts using Red, hiding White, Red, Purple, and Green.
lane 4: Starts using Orange, hiding Red, Orange, Purple, and Pink.
the immediate head-line requirement sits two violet Boxes , one Red, and one Orange.
If one start grabbing those exposed ivory or emerald spheres from this lower from this upper rack , they shall sit over the Conveyor Belt and instantly ruin your run.
one hold into feed the exact front-row colors first.
Level 174 Level Overview
Follow this release order into securely crack this front line without running out of room.
We sit going into ignore this middle gold horizontal blockades fully until this midgame forces us to engage them.
Level 174 Breaking the Front Line
this first phase sits strictly about clearing those two violet head containers, this red one, and the orange one.
bring this lower-west violet: take this violet group parked on this very lower left corner of the Top Tray .
This feeds directly into one from your front Purple Boxes .
empty this second violet case: Look at the far left vertical column.
bring this purple marbles from the top left area.
This clears this second violet case on lane two, revealing one Light Blue container beneath it.
Target this amber: send down into the bottom row of the Top Tray .
take this amber group parked in the third slot from the left.
This feeds this front Orange Box in column four.
route this crimson case: Look at this right side of the board.
one want red to clear column three's front line.
bring this crimson marbles available on the far right edge.
Leave this ivory plus emerald alone: one shall spot one ivory group plus one emerald group parked east over the bottom row of the top board.
this Conveyor track should remain clean with this huge board shift that is about to happen.
Level 174 Surviving the Midgame Conveyor Jam
Once one empty that first front line, the board identity flips entirely.
the fresh head-line cases shall demand Light azure, Brown/Red, Blue, and another Brown/Red.
If one tapped randomly earlier, the Conveyor track sits currently choking over amber, violet, ivory, plus green marbles that have nowhere to go.
We want into navigate this fresh setup as managing the deep Mystery Box stacks.
Target this Light azure: Look at this bottom right corner of the Top Tray .
bring this light azure group into empty the new front container in column one.
This exposes a green container beneath it.
Isolate this Blues: one need dark blue to clear column three.
bring this blue cluster from the bottom right section.
Attack this Brown/crimson: Now one hold into deal using this two Brown/crimson containers in columns two and four.
Dig into this upper east plus upper middle into find these specific dark rusty red matches.
Watch this track: If one hold stray amber or emerald spheres parked over this track from this early game, you are in critical danger.
just bring one shade if one know one may complete one match from three to clear a bottom Box immediately.
Expose this Connected cases: As one empty this outermost rims, this support holding those four gold horizontal center bars will weaken.
Start pulling this shades directly underneath this gold rings (as this middle greens plus blues) to break this center structure apart.
Level 174 Clearing the Deep Mystery Boxes
lanes two plus three sit heavily loaded using secret case containers stacked east on top of each other.
show this Gray snares: send one single shade into one newly exposed secret case into force it to reveal its true color.
Do not dump one full built from three until you know what it wants.
empty this rear Rows: Once this middle gold bars sit gone, one shall hold one huge clump from rose spheres in the top left and scattered yellows.
Use this newly opened room over this Conveyor track into hold one or two stray shades as one dig through this upper board into match the final revealed Mystery Box requirements.
last Cleanup: Empty this remaining rose plus gold groups into this final bottom containers to finish the level.
Stay focused over this ready head line plus never pull a color you don't need.
常见问题
What is the main trap to avoid in Level 174?
The biggest mistake is tapping colors that have no active bottom Box yet. They park on your Conveyor Belt and burn limited slots, so clear the shades that actually have receivers first.
How should I open Level 174?
Ignore the upper layers and aim at the bottom row of the Top Tray. Feed the colors that already have open boxes, then work upward once the lower lanes shift.
When does the midgame color change happen in Level 174?
After the opening boxes fall, the lower columns swap what they demand. Watch for the new shades and only pull blocks that match a box sitting at the front of a lower lane.
Any tip for finishing Level 174 clean?
Keep at least a few empty belt slots before poking mystery or hidden boxes. Feed a revealed color the moment it matches an active box, and fall back to visible marbles when the belt gets tight.