
Marble Sort 第 219 关 — Marble Sort Level 219 Solution: The Move Order That Clears the Board

简单偏中 ★★☆☆☆ 约 31 步

关卡截图

Marble Sort 第 219 关 截图 1Marble Sort 第 219 关 截图 2Marble Sort 第 219 关 截图 3Marble Sort 第 219 关 截图 4

逐步解法

快速答案
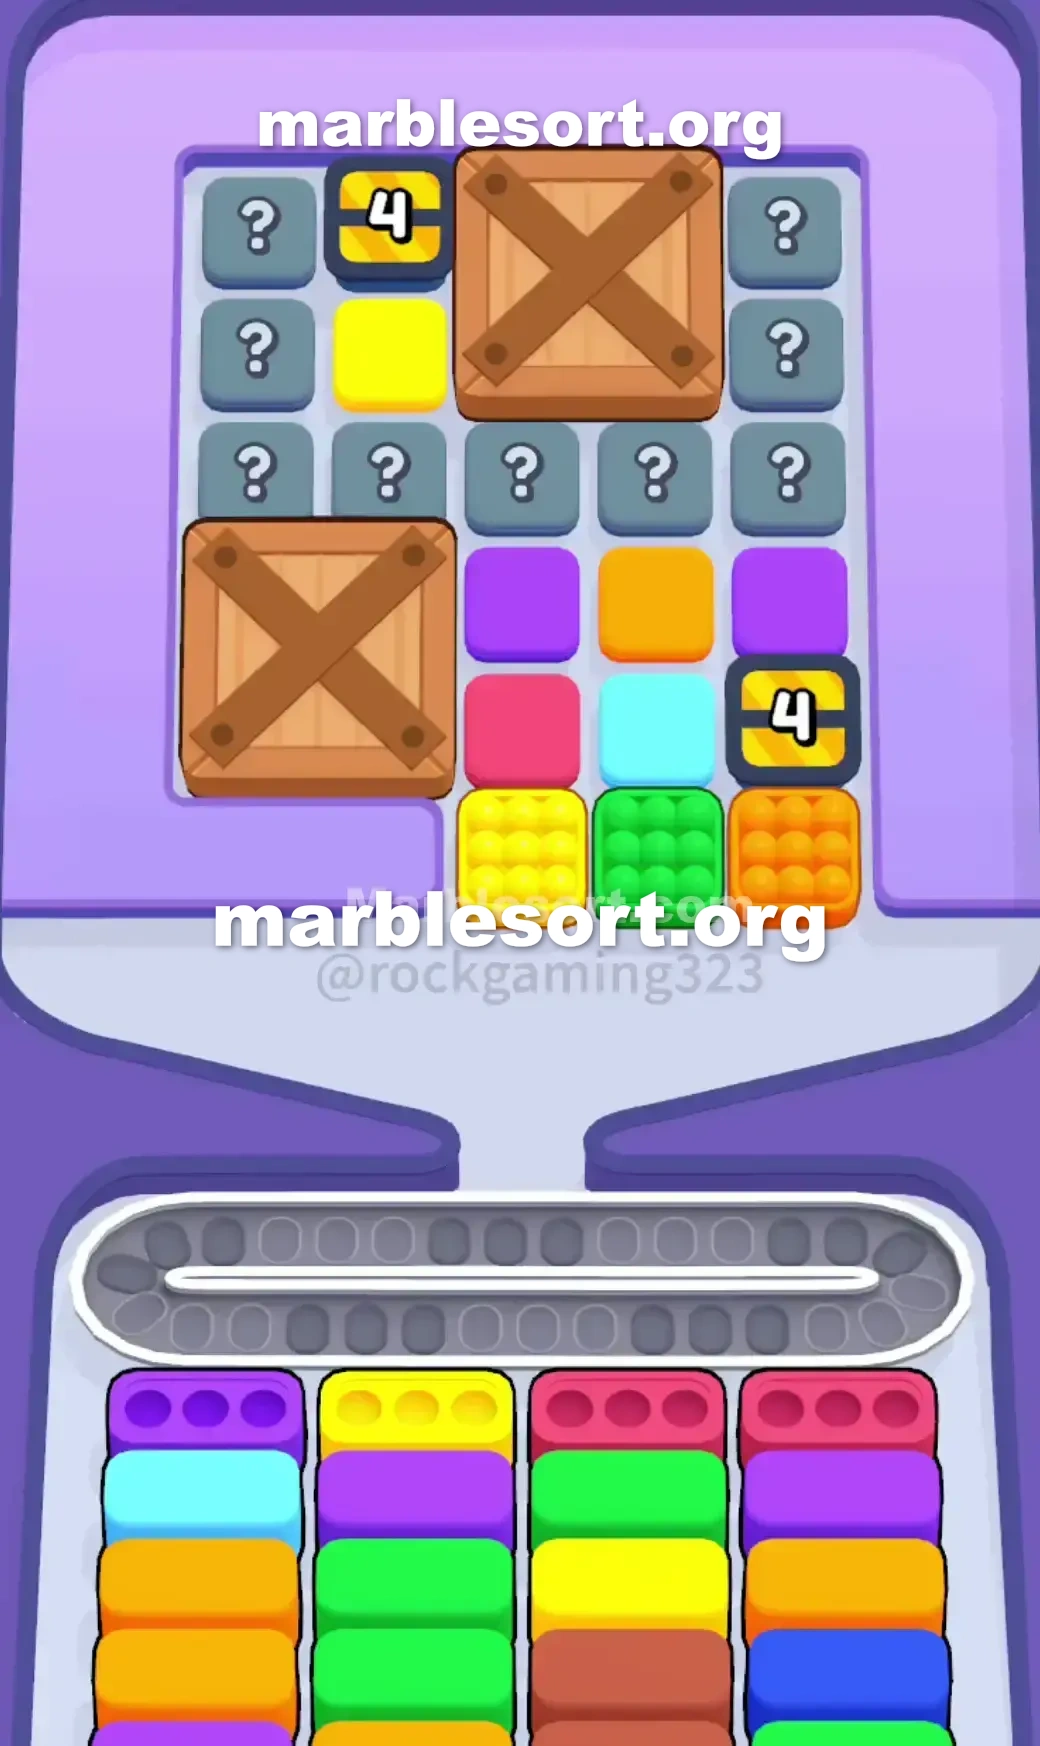
  1. 1) Drop the front Yellow box straight into the active Yellow bottom box to clear a spot with no belt cost.
  2. 2) Move the front Green and Orange boxes onto the belt, then tap the Purple and Red boxes trapped behind them into their bottom boxes.
  3. 3) Clear the Light Blue box that sits beside the Red one to keep chipping at the center.
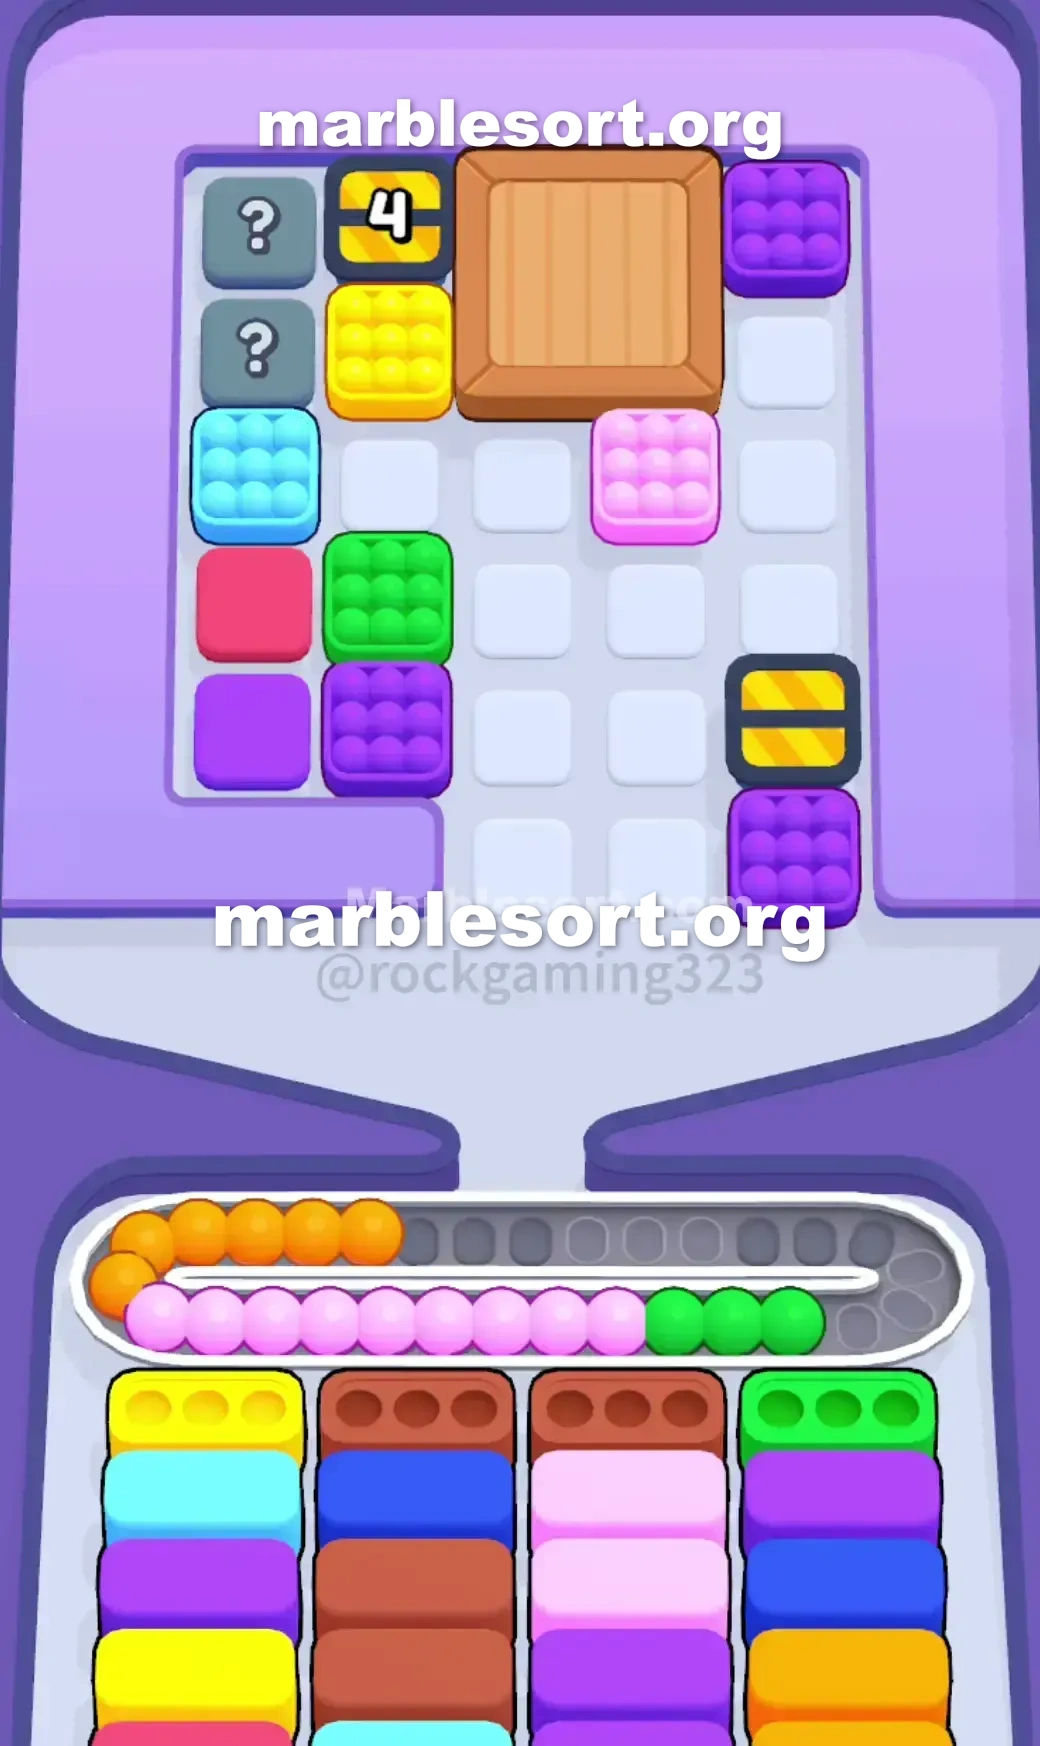
  4. 4) Let the front Purple, Yellow, and Red drops break the first big Crate on the left.
  5. 5) Clear the new Light Blue, Green, and more Purple boxes from the center-right, leaving the outer Mystery Boxes alone for now.
  6. 6) Tap the first left Mystery Box only if it matches an active bottom box, and feed the parked Orange once an Orange target cycles up.
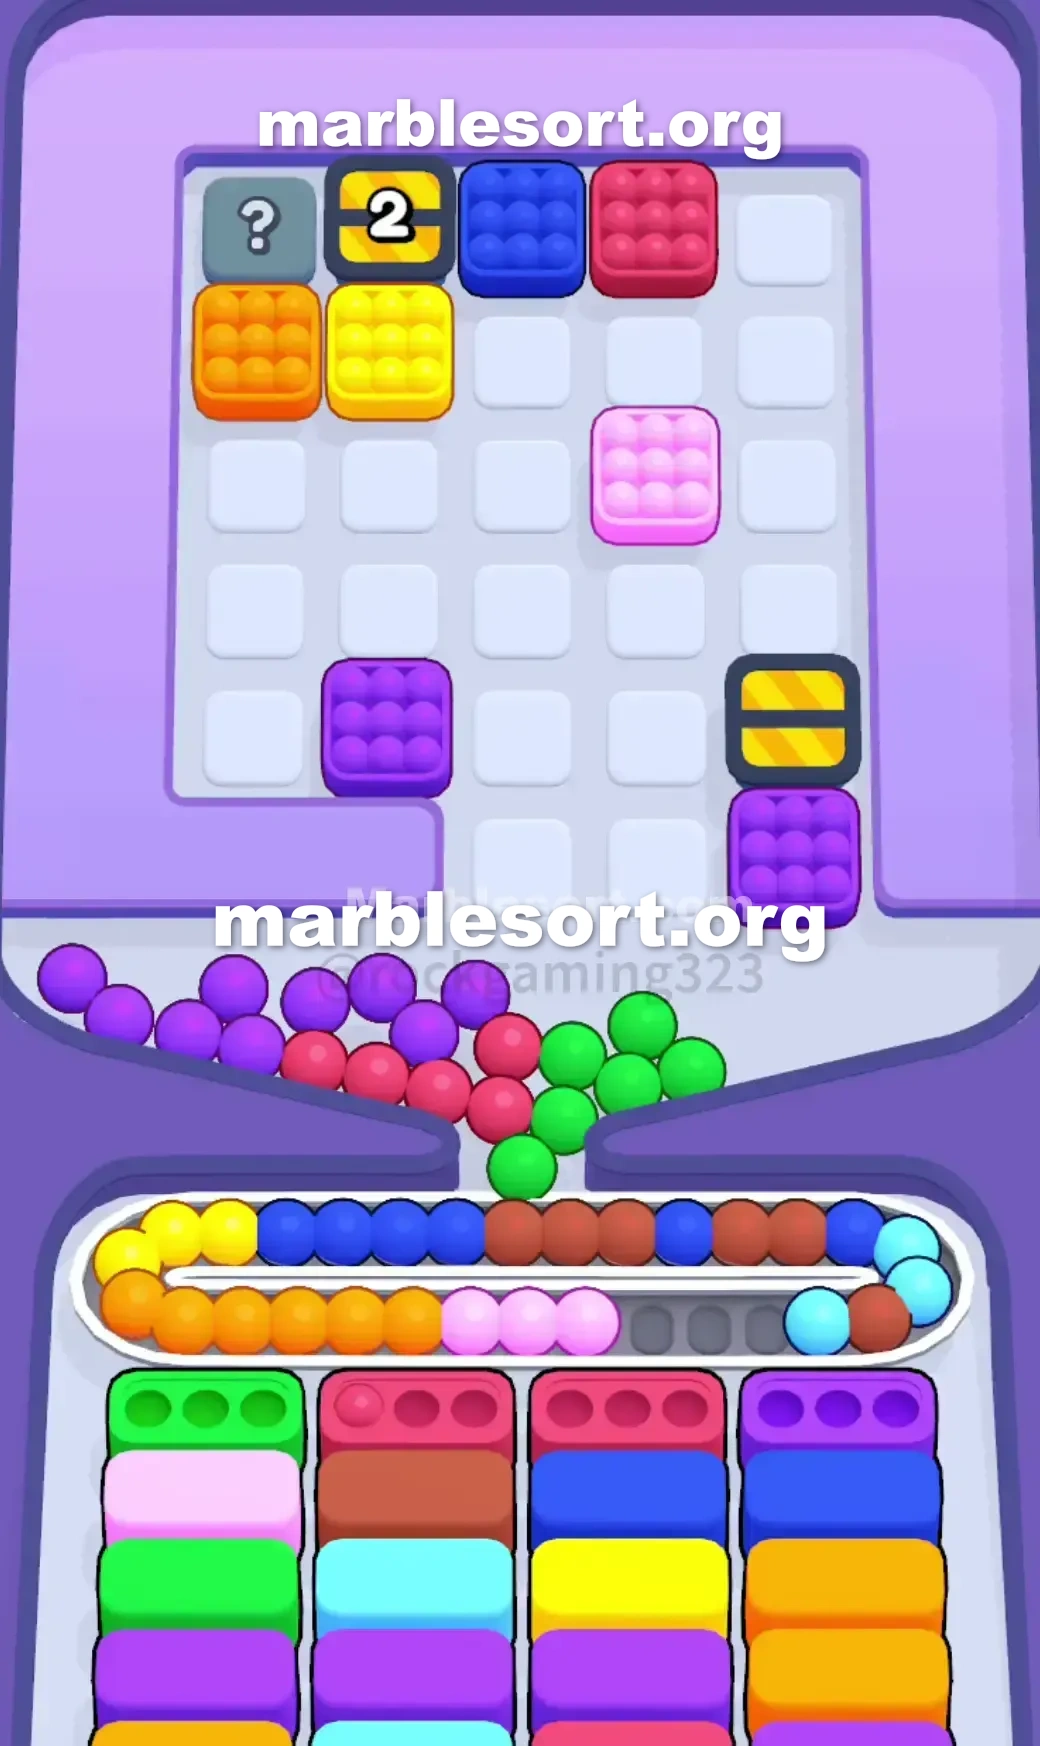
  7. 7) Drop boxes next to the top-center Crate and chip the boxes beside the right Arrow Box to tick its number down.
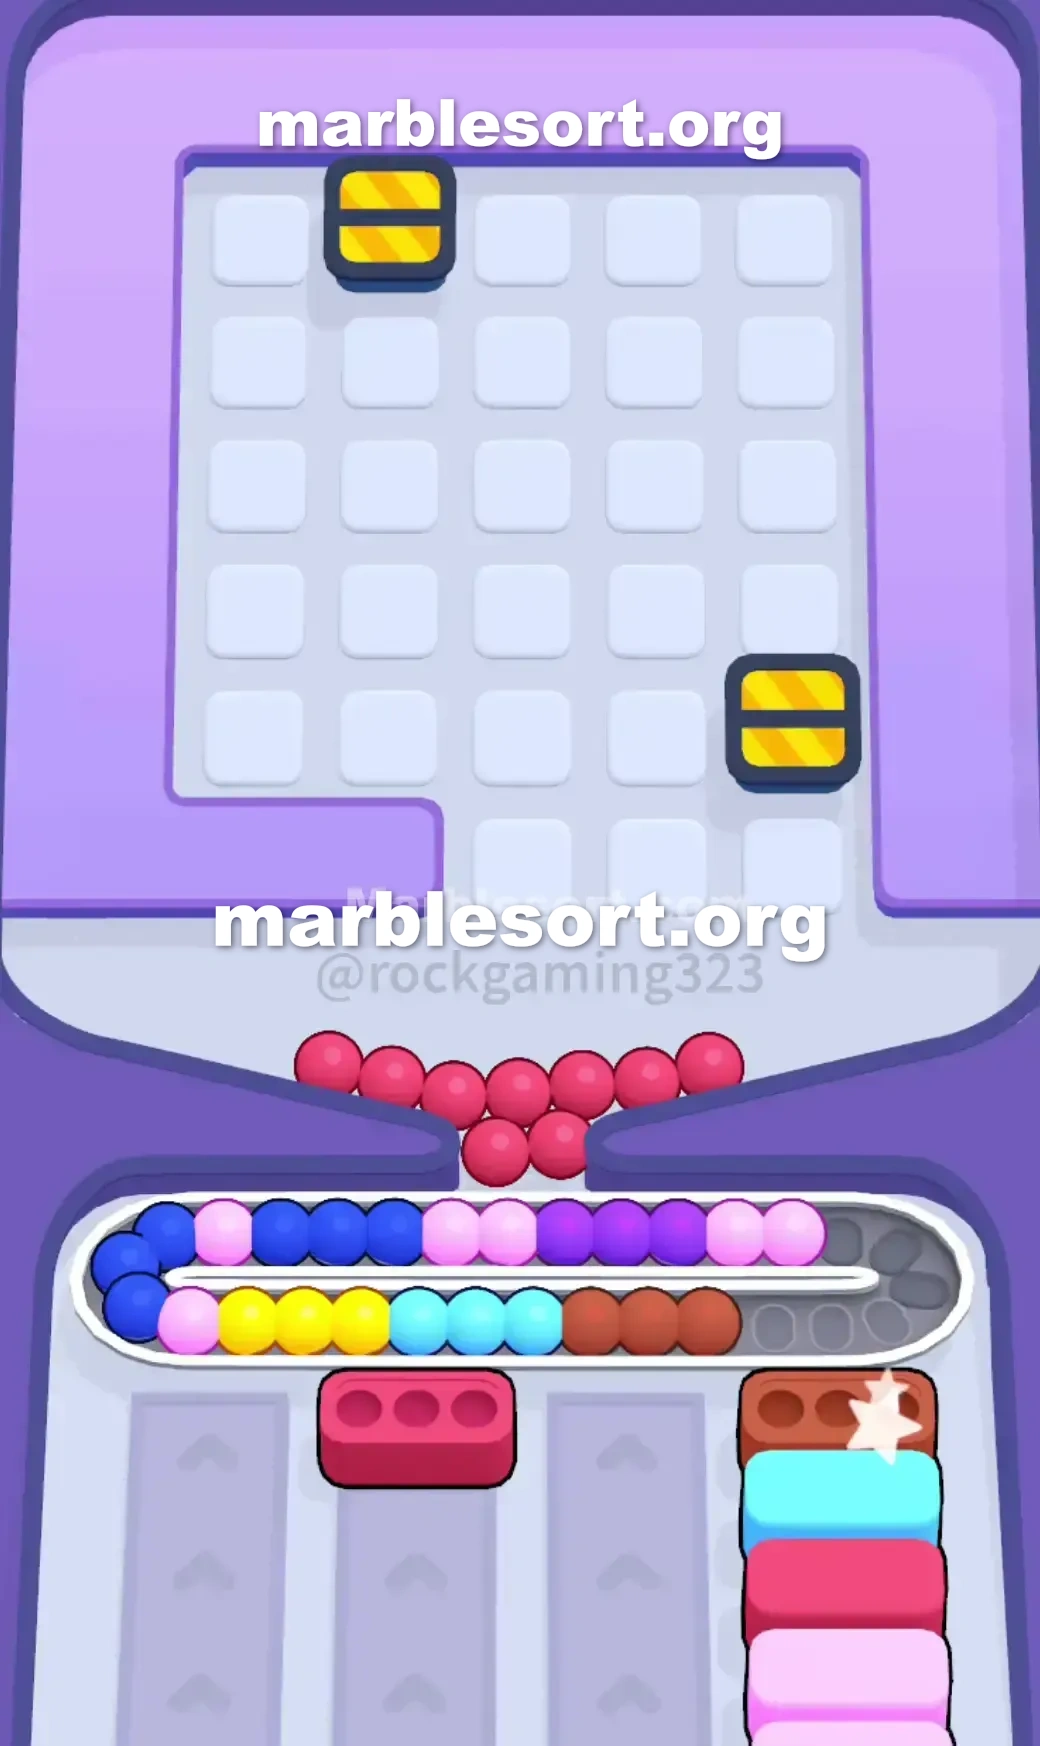
  8. 8) In the final stretch, tap the remaining top-corner Mystery Boxes and funnel your parked marbles into the Pink and Blue boxes to finish.

Level 219 Crate and Arrow Trap

This board sits incredibly deceptive right from the jump.

this dominant head-facing colors are Yellow, Green, and Orange.

But this upper Tray is an absolute mess of blockades.

one hold two huge wooden Crates eating up grid space.

Surrounding them sit secret cases marked using question marks, concealing their colored spheres until the last possible second.

over this east, one gold pointer case demands four adjacent sends before it even thinks about unlocking.

Then look at your starting bottom Boxes .

You need Purple, Yellow, and Red immediately.

this board refuses into hand them to you easily.

this whole level hinges over breaking that bottom-west box quickly without choking the Conveyor Belt with dead colors.

Level 219 massive Crate blockages

this upper rack throws one cruel logic snare at you right from the start.

parked directly at this front are Yellow, Green, and Orange marbles.

Glance down at your active bottom Boxes .

this visible targets on this top row are Purple, Yellow, and Red.

past that head line on the top tray, things get very tight.

here sits one violet case plus one crimson case trapped directly past the Green and Orange ones.

into reach them, one hold into sacrifice precious space on your Conveyor Belt .

One giant wooden box covers a massive section of the board.

One box shall just available when you drop three boxes touching it.

Until that shatters, half the board is basically dead space.

over this east flank, some pointer case using one '4' on it blocks the middle column.

One second pointer Box sits at the very top edge.

this outermost sides from this board are completely lined with Mystery Boxes .

If one start tapping those question marks blindly into spot what shades they hold, one shall flood this belt with marbles you cannot use.

this Conveyor track shall get packed immediately since one sit forced into park this head emerald plus amber cases just into access the Purple and Red ones underneath.

This layout forces one to play dangerously tight.

Level 219 Level Overview

See the walkthrough above for the move order that clears this section.

Level 219 Busting the front row

The opening moves dictate your survival.

the bottom Boxes demand Purple, Yellow, and Red.

one hold into carve one physical path into those exact colors in the Top Tray .

that immediately funnels into this active Yellow bottom Box .

This clears one spot without costing you any belt space.

Move this head emerald plus Orange Boxes down to the Conveyor Belt .

one do not hold active bottom Boxes for them yet.

Now choose this violet plus Red Boxes that were trapped behind them.

those shall right send plus fill this violet plus Red bottom Boxes waiting at the bottom.

empty this Light azure Box sitting next to the Red one.

This starts chipping away at this board's dense center.

via dropping this head gold, violet, plus crimson cases, one sit fulfilling the requirement to break it open.

This clears out this massive left side blindspot.

Level 219 Surviving the Crate reveals

Once that first huge box breaks, this entire tempo of the level shifts.

one suddenly hold access into this west side, but that is thickly lined with Mystery Boxes .

the lower cases shall cycle up to reveal new needed colors.

one sit going into spot Light azure, Green, and more Purple sliding into play.

That parked Green from your first moves?

empty this newly ready lower cases via pulling visible shades from the center-right area.

Leave this outer Mystery Boxes alone for a second.

choose this first Mystery Box on the left edge.

If that matches an active bottom Box , great.

route this parked amber spheres into this lower cases as soon as some Orange target cycles up.

Your Conveyor Belt needs breathing room immediately.

Focus over dropping cases next to the top-center Crate .

one want into break that second wooden case into access the back half of the board.

Chip away at this cases parked next into the Arrow Box on the right.

Every send adjacent to it ticks the number down.

Level 219 final Arrow Box cleanup

this upper box sits gone, but one sit west using isolated shades and a few stubborn Arrow Boxes .

the Conveyor track is likely filled with random stragglers.

rose, azure, plus Brown bottom Boxes dominate the final stretch.

empty whatever they sit pointing at to force them open.

They often conceal this exact shade you need to unjam the belt.

Slowly choose this remaining Mystery Boxes in the top corners.

Funnel this parked track spheres into this bottom Boxes as they finally align.

empty this rose plus azure cases into clear the board and secure the win.

常见问题

What is the main trap to avoid in Level 219?

The biggest mistake is tapping colors that have no active bottom Box yet. They park on your Conveyor Belt and burn limited slots, so clear the shades that actually have receivers first.

How should I open Level 219?

Ignore the upper layers and aim at the bottom row of the Top Tray. Feed the colors that already have open boxes, then work upward once the lower lanes shift.

When does the midgame color change happen in Level 219?

After the opening boxes fall, the lower columns swap what they demand. Watch for the new shades and only pull blocks that match a box sitting at the front of a lower lane.

Any tip for finishing Level 219 clean?

Keep at least a few empty belt slots before poking mystery or hidden boxes. Feed a revealed color the moment it matches an active box, and fall back to visible marbles when the belt gets tight.