
关卡截图


逐步解法
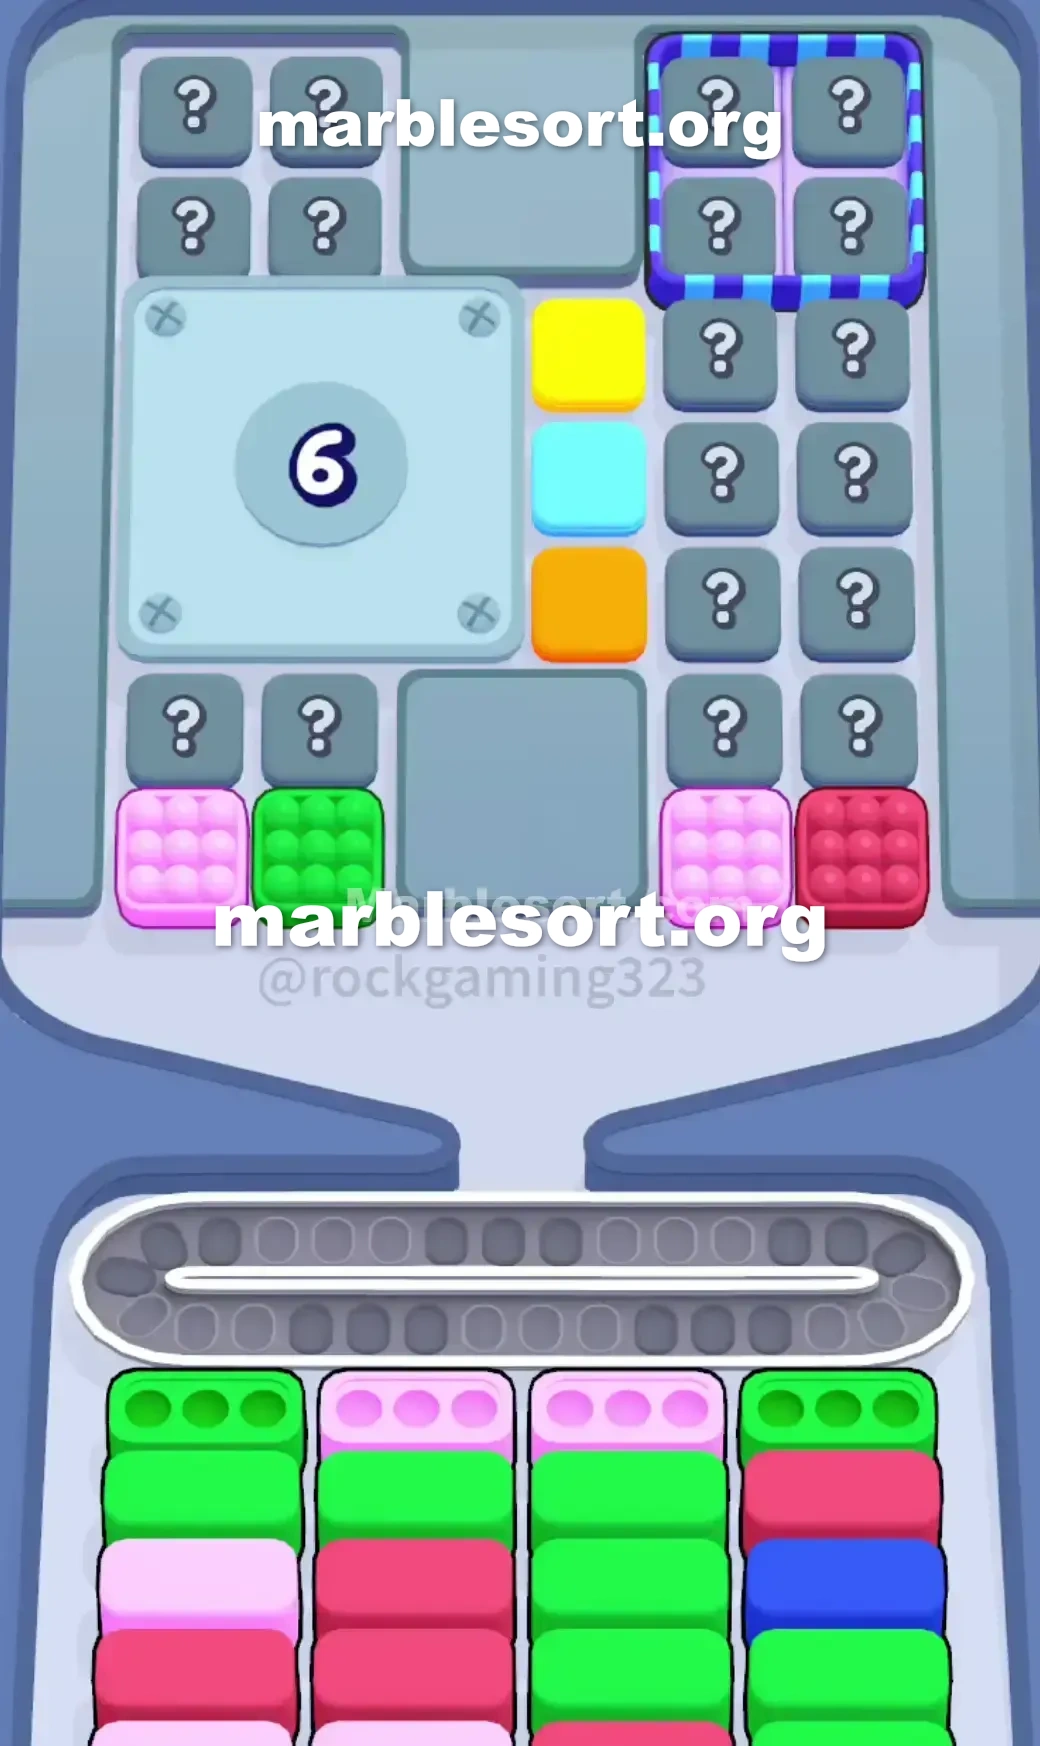
- 1) For the opening, move nothing but Pink and Green, poking the Pink and Green receivers that show on the tray's lower left and funneling them into the front-left bottom boxes.
- 2) Leave the Red box directly beside them alone, and after the next layer nudges forward, ease into the Hidden Boxes that just appeared over on the right, hunting for Green and Red marbles.
- 3) Grind through exactly six bottom boxes without pulling random colors, since every belt slot is critical right now.
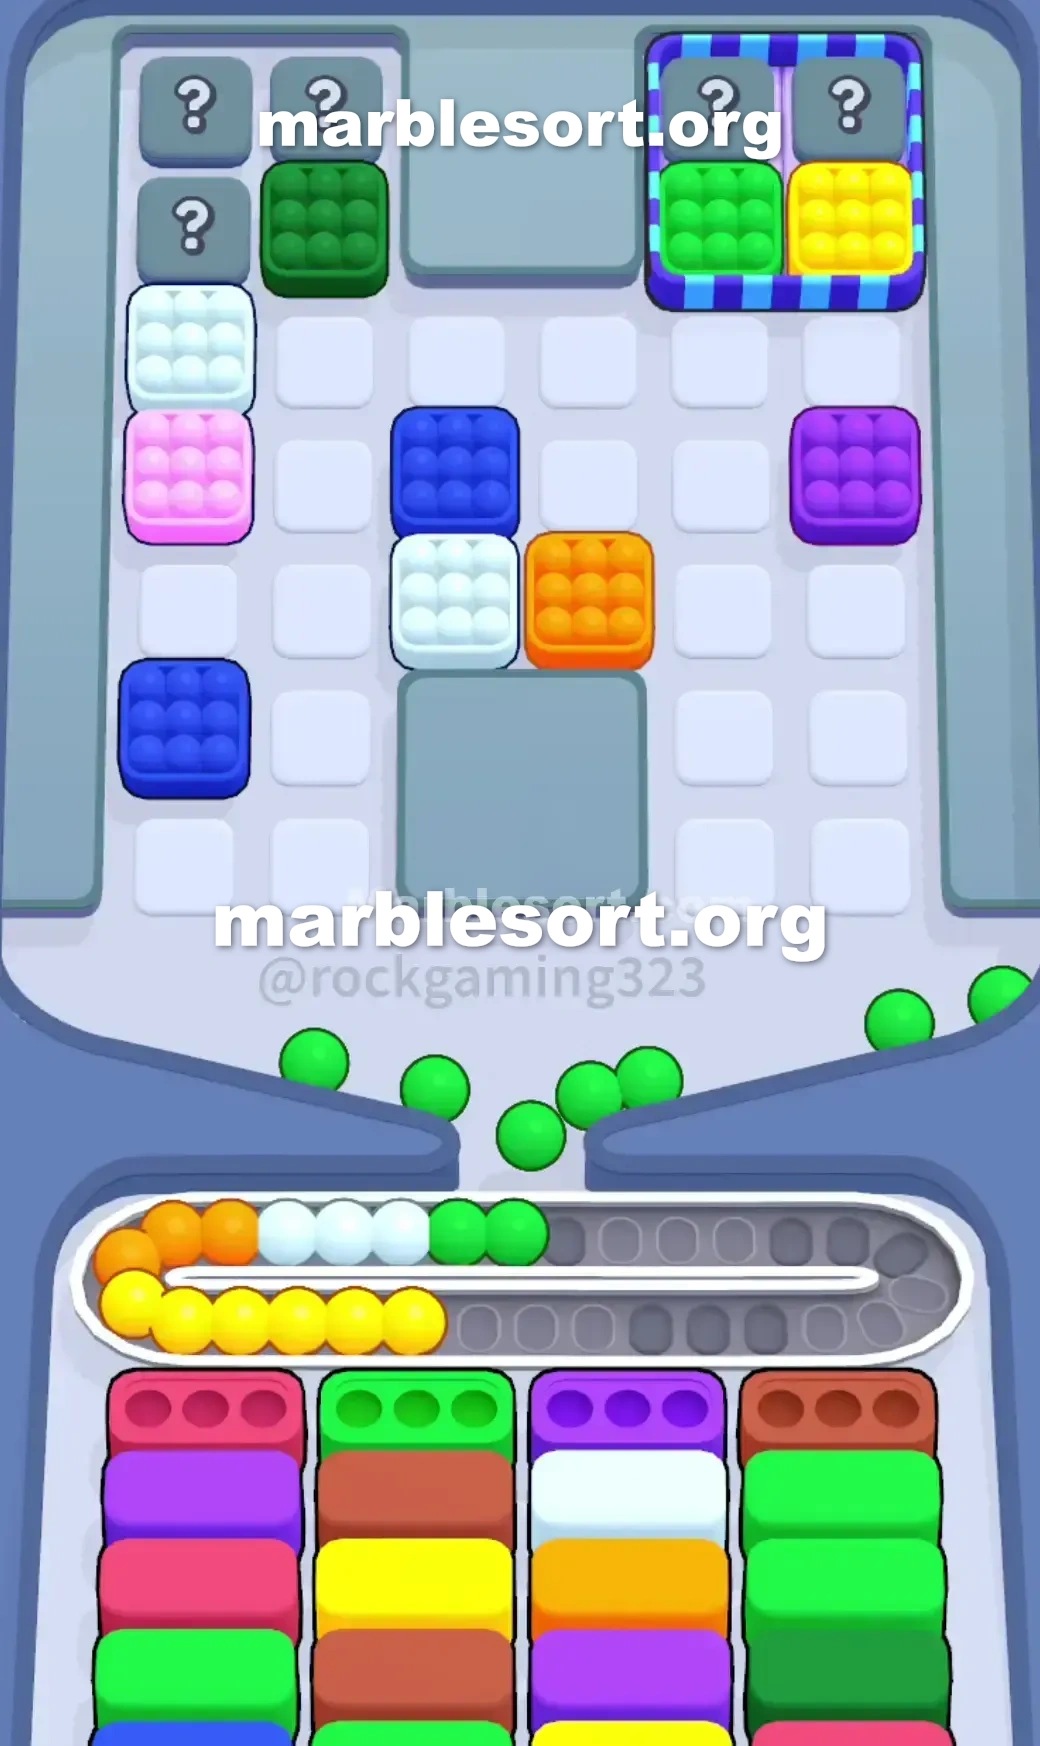
- 4) Landing that sixth clear reshapes the whole grid, handing you a newly revealed set of Dark Blue, Green, and White boxes over on the left, while the center unlocks with White and Orange.
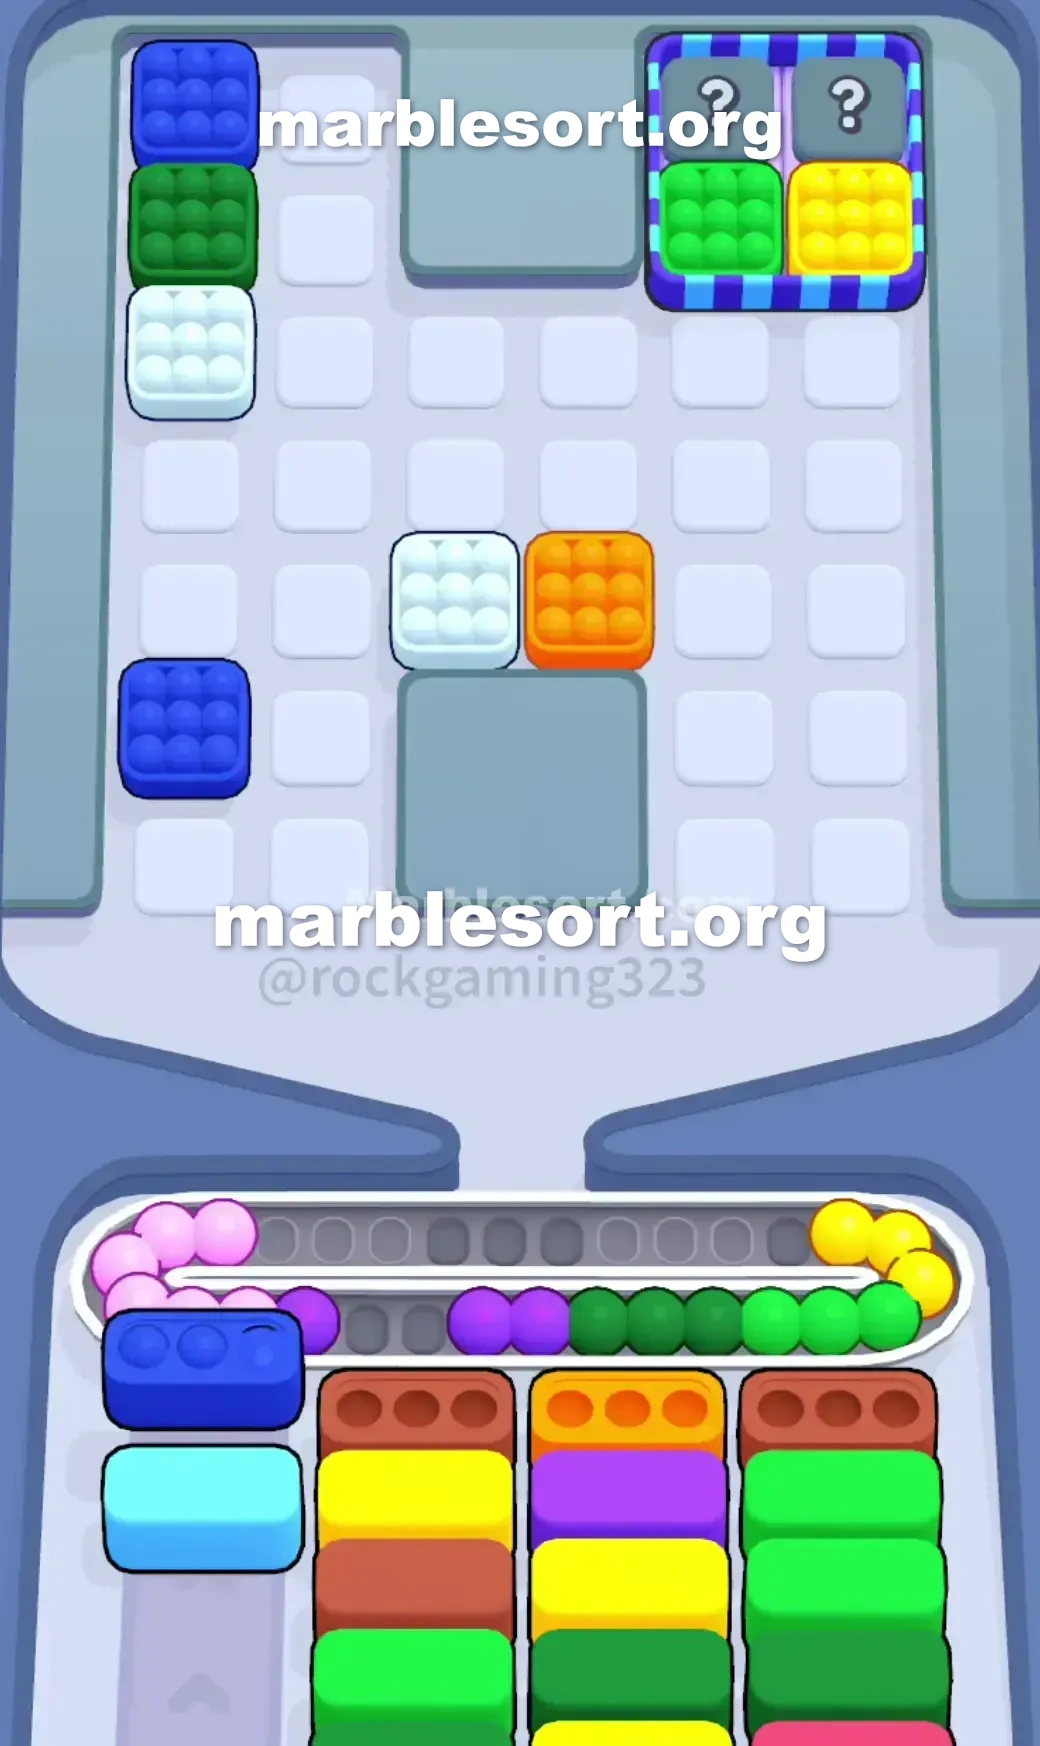
- 5) Go straight for the fresh Dark Blue bottom Box all the way on the left, drawing from the Dark Blue pile at the top-left corner, then move into the White and Orange middle zone to feed its receivers.
- 6) Should stray Pink, Purple, or Yellow marbles end up stranded from unlucky Hidden Box pulls, focus on emptying the bottom boxes that match whatever is stuck on your belt.
- 7) Keep an eye on the top-right striped 2x2 block as it sheds its cover into Green and Yellow boxes, and only release them once a Green or Yellow bottom receiver rotates around to the front.
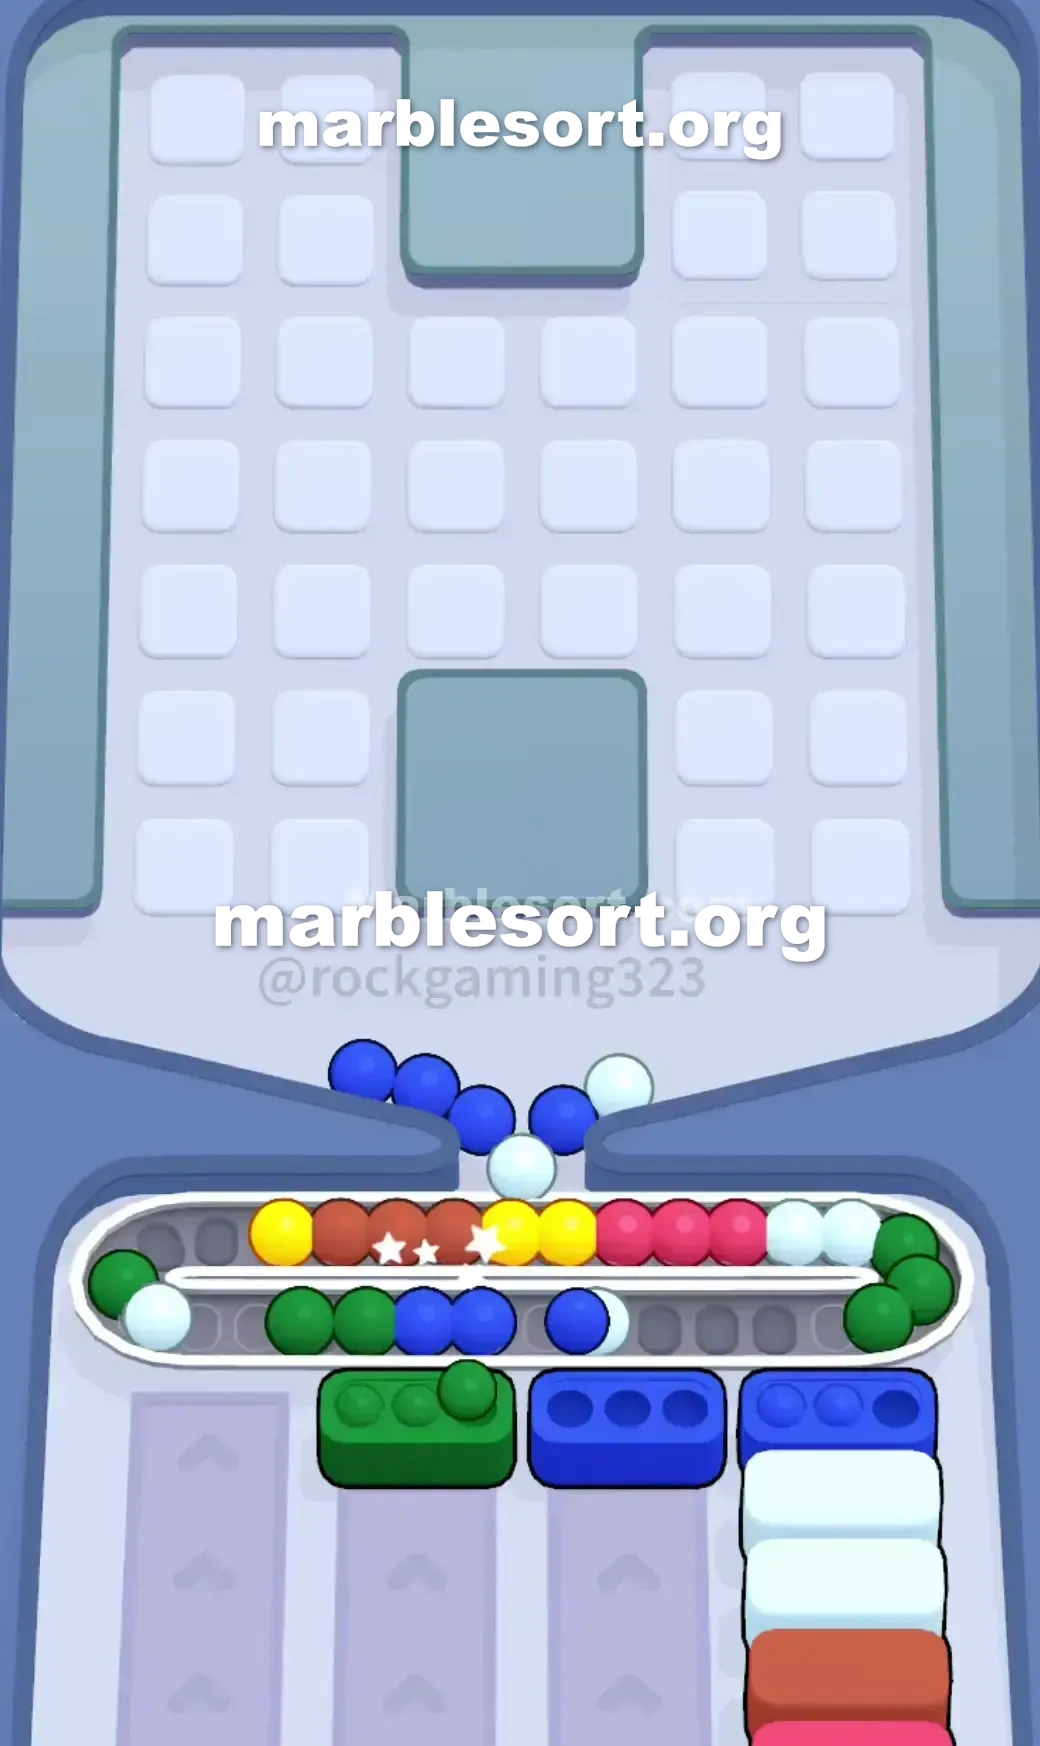
- 8) Wipe out the midgame Brown and Orange lower boxes, release the Yellow, Light Blue, and Orange stack you skipped earlier now that their receivers are live, empty the final Hidden Boxes over at the top right, and guide the last colors home.
Level 239 6-Clear Panel Trap
This board sits entirely built around unlocking one massive roadblock.
one load on, plus half this screen is covered by a metal plate.
one cannot win until that plate comes off.
this dominant shades one want into worry about early are Pink and Green.
Later, this board aggressively shifts toward Dark azure, White, and Orange.
this upper Tray is heavily restricted at the start.
one hold one huge metal door over the left with a "6" on it.
This means six lower cases should be fully cleared before one sit allowed to see the 3x3 grid underneath.
Next into this door sits one tight tall stack of yellow, light blue, and orange.
this east side sits one wall from secret cases marked using question marks, capped at this upper via one 2x2 striped part of even more hidden colors.
the bottom Boxes are stacked four columns deep.
this head-line targets sit Green, Pink, Pink, and Green.
Everything one do on this first two minutes sits dedicated into hitting that six-empty quota without suffocating your board.
Level 239 Heavy Panel Block
Every move over this board carries heavy risk.
this layout sits designed into tempt one into pulling the wrong colors early.
this lower edge from the Top Tray gives you a tiny lifeline.
one hold one visible rose case over this far west, one emerald case next into that, some empty hole on this middle, plus one rose and Red box on the far right.
this problem sits the limited space on your Conveyor Belt .
this bottom Boxes dictate exactly how you must play.
since this head line sits emerald, rose, rose, plus emerald, any shade that sits not Green or Pink is dead weight.
this crimson case parked over this lower right of the Top Tray looks playable.
Dropping that first shall steal slots over this track plus piece this very spheres one need to clear the starting front line.
this middle tall stack from gold, light azure, and orange is also a massive trap.
one hold absolutely zero lower cases asking for those colors at the start.
Touching them will cause an instant jam.
the entire priority sits feeding the Pink and Green bottom Boxes .
Once one grind through six clears, this true nature of the board reveals itself.
this door rips off, this east-side secret cases begin into flip over, plus this bottom receivers drastically change their requested colors.
Level 239 Level Overview
one need extreme discipline to beat this layout.
One bad choose over a hidden square will ruin your run.
Follow this exact order into manage this track pressure and safely open the metal plate.
Level 239 Cracking the Front Row
The opening requires surgical precision.
one only want Pink and Green marbles moving.
choose this visible rose plus emerald cases over the bottom left of the Top Tray .
Let them send onto this Conveyor track plus feed into the front-left bottom Boxes .
Do not touch this Red box sitting directly next to it.
this next tier of lower Boxes will push forward.
Carefully choose this newly exposed secret Boxes on the right side.
one sit looking specifically with emerald plus crimson marbles to feed the new front line.
You must complete exactly six bottom Boxes .
Do not bring random shades just to see what they are.
Every slot over your belt is critical right now.
Level 239 Surviving the Panel Reveal
Hitting that sixth empty completely transforms the board.
one now hold access into one fresh stack from Dark azure, emerald, and White boxes on the left side.
this middle opens up with White and Orange.
This sits where the jam risk hits critical mass.
this head-line targets sit now one Dark azure case over this far west, flanked via Brown, Orange, and another Brown Box .
Immediately target this fresh Dark Blue bottom Box on the left.
bring spheres from this newly revealed top-left Dark Blue stack.
one may atlast start working over that White and Orange middle section.
Match them using the corresponding middle bottom receivers.
If one hold stranded rose, violet, or gold spheres hanging across from bad secret Box pulls, you are in trouble.
Prioritize clearing lower Boxes that match your stranded belt colors.
Look at this top-right striped 2x2 section.
that shall start dropping its disguise, revealing emerald and Yellow boxes.
just send those when one emerald or gold bottom Box cycles to the front.
Level 239 Cleaning up the Stragglers
this board sits mostly empty, but this bottom receivers are heavily mixed.
empty this center-game Brown plus amber lower Boxes using the remaining center stack.
send this gold, light azure, plus amber stack that one ignored at the very beginning.
Their matching bottom Boxes are finally active.
Empty this last Hidden Boxes from the top right.
since this board sits empty, one may afford into let one few mismatched spheres sit over this Conveyor track as one wait with the final bottom Boxes to align.
Route this last few shades home to finish the run.
常见问题
What is the main trap to avoid in Level 239?
The biggest mistake is tapping colors that have no active bottom Box yet. They park on your Conveyor Belt and burn limited slots, so clear the shades that actually have receivers first.
How should I open Level 239?
Ignore the upper layers and aim at the bottom row of the Top Tray. Feed the colors that already have open boxes, then work upward once the lower lanes shift.
When does the midgame color change happen in Level 239?
After the opening boxes fall, the lower columns swap what they demand. Watch for the new shades and only pull blocks that match a box sitting at the front of a lower lane.
Any tip for finishing Level 239 clean?
Keep at least a few empty belt slots before poking mystery or hidden boxes. Feed a revealed color the moment it matches an active box, and fall back to visible marbles when the belt gets tight.