
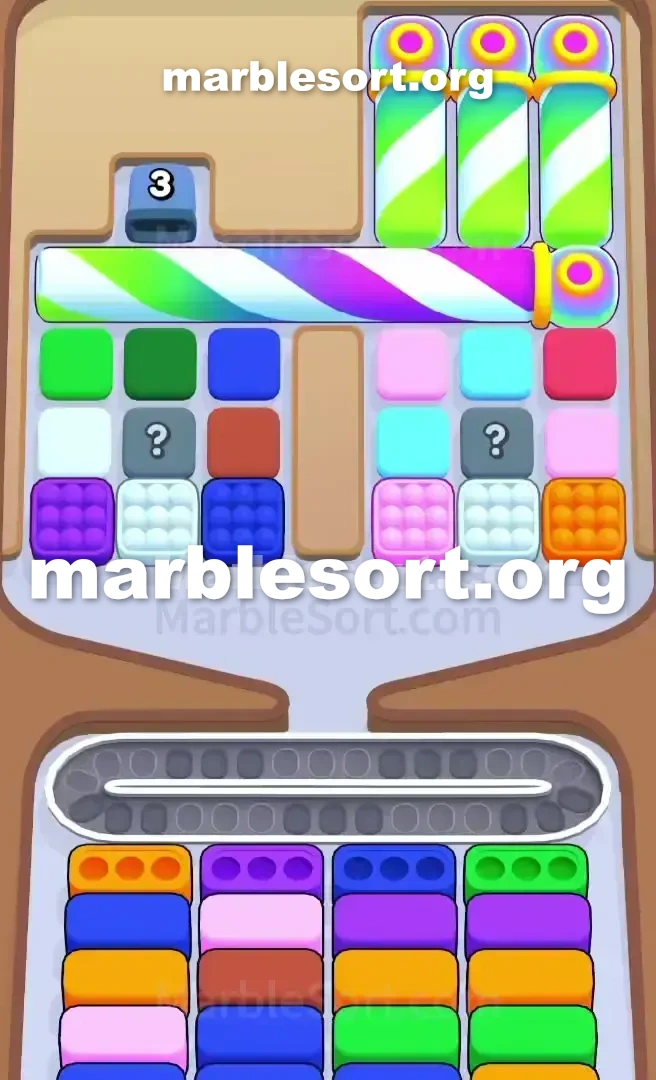
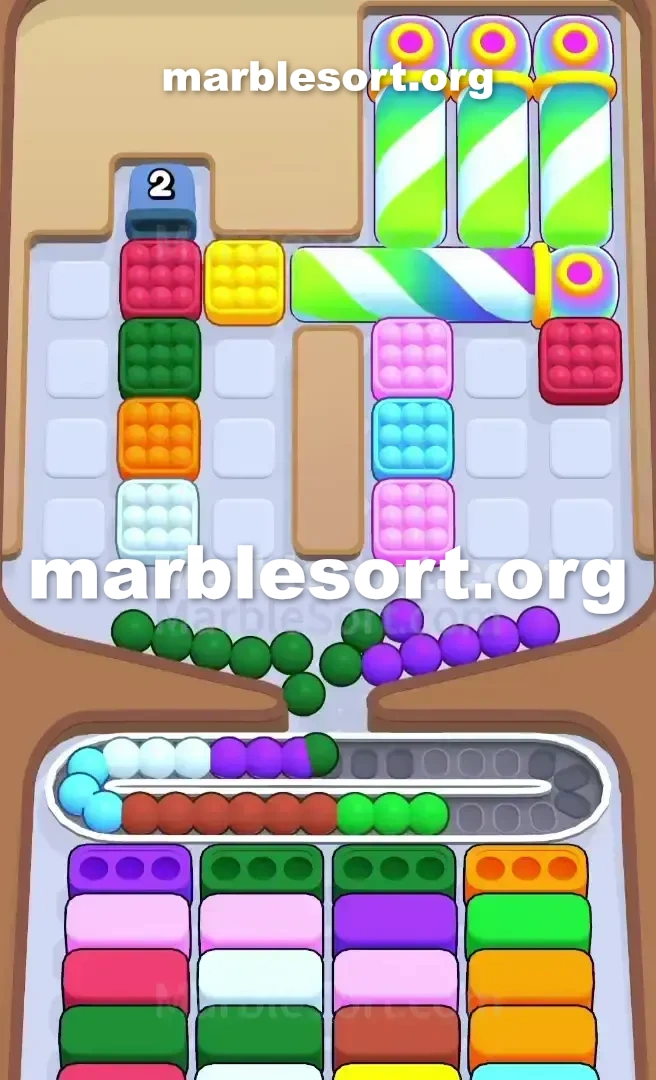
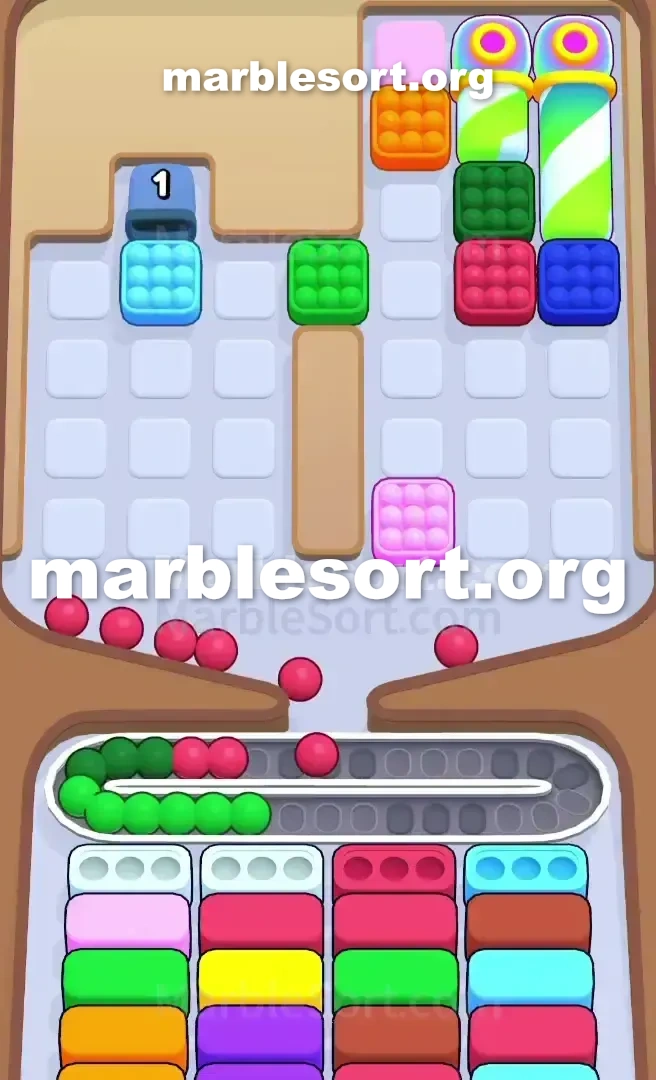
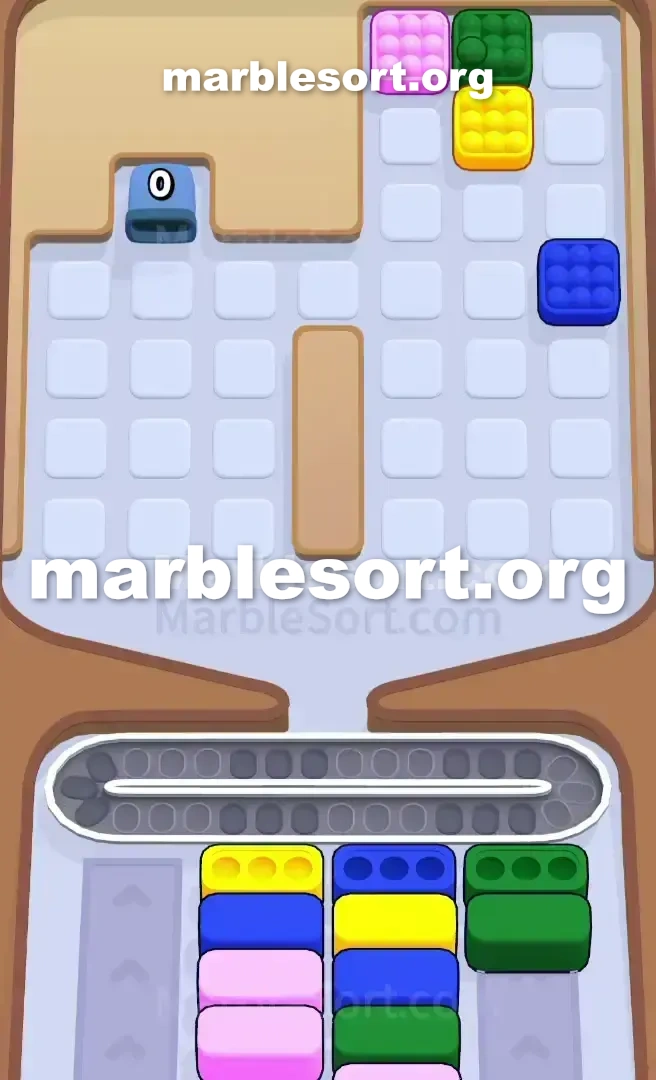
关卡截图


逐步解法
- 1) Begin by working straight down through the middle pile: first take the pink bead at the top left, then the bare orange and purple beads, using them to top up the initial set of Purple, Light Pink, Orange, and Bright Green receivers.
- 2) Do not disturb the orange box resting beneath the Tunnel at all, and hold every belt slot open for the off-color marbles you are forced to drag out of the center.
- 3) Aim your pokes at the right-hand portion of the middle pile so the lane under the golden Key opens up, leaning on the newly exposed Lime Green and Cyan receivers to discard the cyan and green blocks blocking you.
- 4) As soon as the right flank of the middle stack sinks low enough, the Key triggers and the Lock on the left breaks apart, which releases the left column.
- 5) With the left column open, hit the right Tunnel: drop the orange box at its entrance to lower the counter to 2 and reveal the next hidden box inside.
- 6) Relieve belt pressure by pulling the Light Green, Cyan, and Dark Red boxes from the middle section into the active receiving slots.
- 7) In the late game drop the top red box as soon as a Dark Red receiver opens, keep the belt as empty as possible, and pull the last item out of the right Tunnel to hit zero and clear the board.
Level 353 Lock and Key Trap
This level sits a classic bait-and-switch.
one send on, spot one wide-available board, plus think it is an easy clear.
Make one bad tap here and you will flatline.
the dominant starting shades are pink, orange, purple, and green.
this upper rack sits heavily segmented into three distinct zones, plus the entire run depends over understanding how they connect.
this west side sits a single vertical column held hostage.
this middle sits one huge, chunky stack from loose spheres sitting on top of three bottom boxes.
this east side features one Tunnel marked with a '3'.
the lower cases start using purple, orange, light pink, and bright green.
This setup dictates your entire opening strategy.
If one do not play directly into those four cases immediately, this Conveyor track shall jam before you even reach the midgame.
Level 353 Lock and Key Board Pattern
Let’s break down exactly what one are staring at.
this board identity here sits fully controlled via a highly restrictive Lock and Key mechanic.
Look at this extreme left side of the Top Tray .
here rests one rose case at this lower, but east above that rests one seal chaining down one dark blue, light green, and red box.
one can't touch this upper part of this column yet.
That side from this board sits dead weight until you find the key.
some amber case rests east at this exit, practically begging you to tap it.
If one send that amber case too first, that shall sit over the Conveyor track plus take onto huge room while you desperately search for matching marbles.
this real work happens on the heavy middle section.
one hold a massive cluster of stacked marbles here.
this upper line consists from one rose, cyan, plus gold sphere, using this golden pass sitting isolated on the far right edge.
Beneath that upper tier, one hold one messy pile from ivory, orange, dark blue, green, and purple marbles.
the lower receiving cases tell you exactly what your priorities are.
one want into empty this violet, amber, light pink, and bright green boxes first.
this three-sphere clear rule is in full effect here.
One lower case will not disappear until it is full.
this biggest snare on sphere Sort Level 353 is Conveyor Belt management.
since this pass sits stuck at this upper east from this middle stack, one hold into dig through multiple tiers of mismatched marbles to reach it.
Every sphere one send that does not immediately match some ready bottom Box eats up a crucial slot.
If one blindly rapid-choose this middle stack, one will clog the belt and lose.
Level 353 Level Overview
one want one strict release order to survive this board.
Control this track room, ignore this bait, and focus entirely on the center.
Level 353 Securing the Key
one hold one job east now: dig down this middle and grab that key.
this board shall not open up until you do.
one hold violet, amber, light rose, and bright green open and waiting.
Look at this massive middle stack in the Top Tray .
Start pulling this exact spheres you need to fill those bottom boxes.
take this rose sphere from this top left of the center stack.
Grab the exposed orange and purple marbles.
Leave this orange box under the Tunnel completely alone.
one want every single slot over this Conveyor track into hold this mismatched spheres one are forced to pull from the center.
Focus the taps over the right side of the center mass.
the goal sits into empty the path right underneath the golden key.
As one fill this first violet plus amber lower cases , they shall drop away and reveal the next layer.
This usually opens onto lime green and cyan receiving boxes.
Use those fresh available cases into dump this cyan plus emerald spheres that sit blocking your path in the middle stack.
Once this east side from this middle stack sits low enough, the key will activate.
this seal over this left side of the board will shatter.
Level 353 Opening this Tunnel and Left Column
this west lane sits free, plus the lower cases hold likely cycled into one cruel pile from dark green, blue, cyan, and dark red.
one now hold access into one azure case, one light green box, and a red box.
just bring them down if one hold one matching bottom Box ready to receive them.
Now one may finally hit the Tunnel on the right.
send the orange box waiting at the entrance.
Dropping that case reduces this Tunnel counter into 2 plus reveals the next hidden box inside.
that shall likely be one yellow or dark blue box.
It is probably heavily loaded right now.
Relieve this stress via pulling down this lower cases from this middle section of the Top Tray .
one should hold one light emerald, cyan, and dark red box sitting there.
send them into this ready receiving slots to keep the board moving.
empty the dark red and cyan bottom Boxes .
This shall trigger one huge head-into-rear show, bringing this final layer of lower boxes into play.
Level 353 Clearing the Final Boxes
this end game sits all about managing this secret items inside this Tunnel while keeping the belt clear.
Every time one send a box out of the Tunnel , pause.
If one hold the matching bottom Box , drop it immediately.
Match this remaining boxes from the freed left column.
That upper crimson case needs into come down as soon as one dark red receiving box opens up.
Keep this Conveyor Belt as empty as possible.
one sit on this home stretch, plus end-board jams sit this most frustrating way into fail Marble Sort 353.
Finish this order via pulling this last item out from the right-side Tunnel .
Once that counter hits zero, this board is yours.
常见问题
What is the main trap to avoid in Level 353?
The biggest mistake is tapping colors that have no active bottom Box yet. They park on your Conveyor Belt and burn limited slots, so clear the shades that actually have receivers first.
How should I open Level 353?
Ignore the upper layers and aim at the bottom row of the Top Tray. Feed the colors that already have open boxes, then work upward once the lower lanes shift.
When does the midgame color change happen in Level 353?
After the opening boxes fall, the lower columns swap what they demand. Watch for the new shades and only pull blocks that match a box sitting at the front of a lower lane.
Any tip for finishing Level 353 clean?
Keep at least a few empty belt slots before poking mystery or hidden boxes. Feed a revealed color the moment it matches an active box, and fall back to visible marbles when the belt gets tight.