
关卡截图


逐步解法
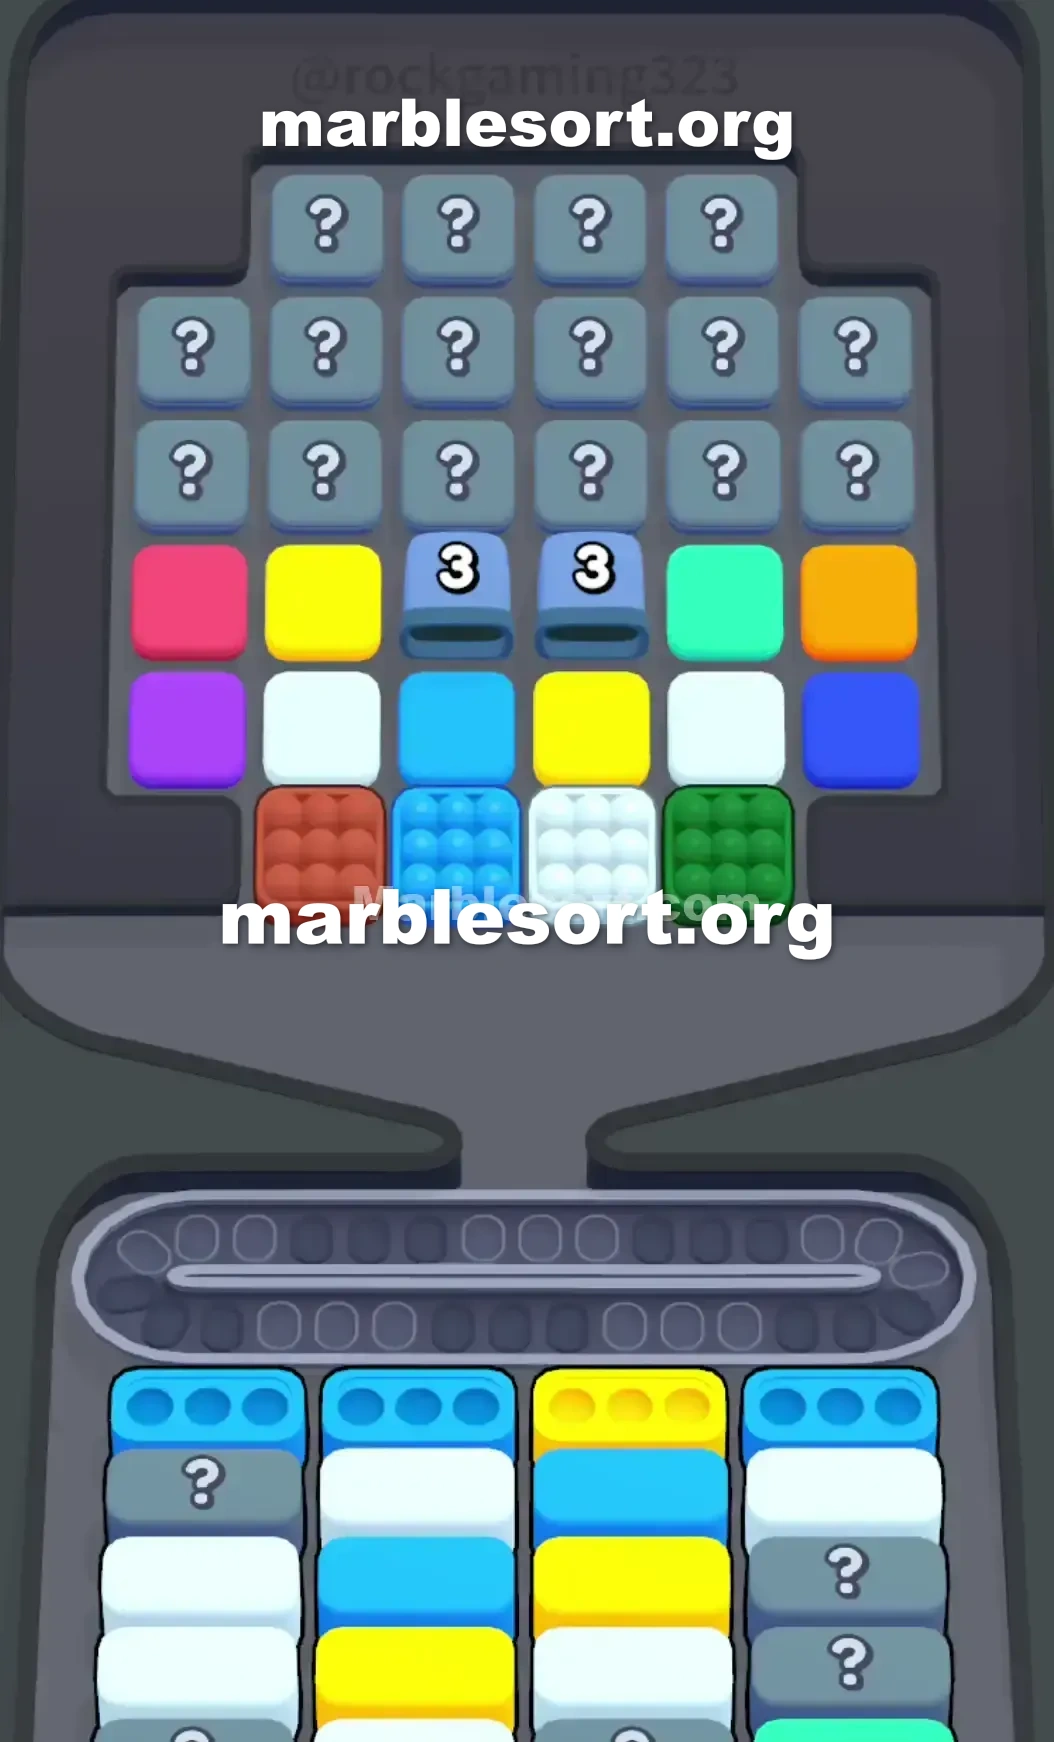
- 1) Do not touch the bottom-row Red or Green clusters yet, since no Red or Green box exists at the start. Poke the Light Blue cluster sitting along the bottom edge of the Top Tray to fill the three Light Blue Boxes waiting below.
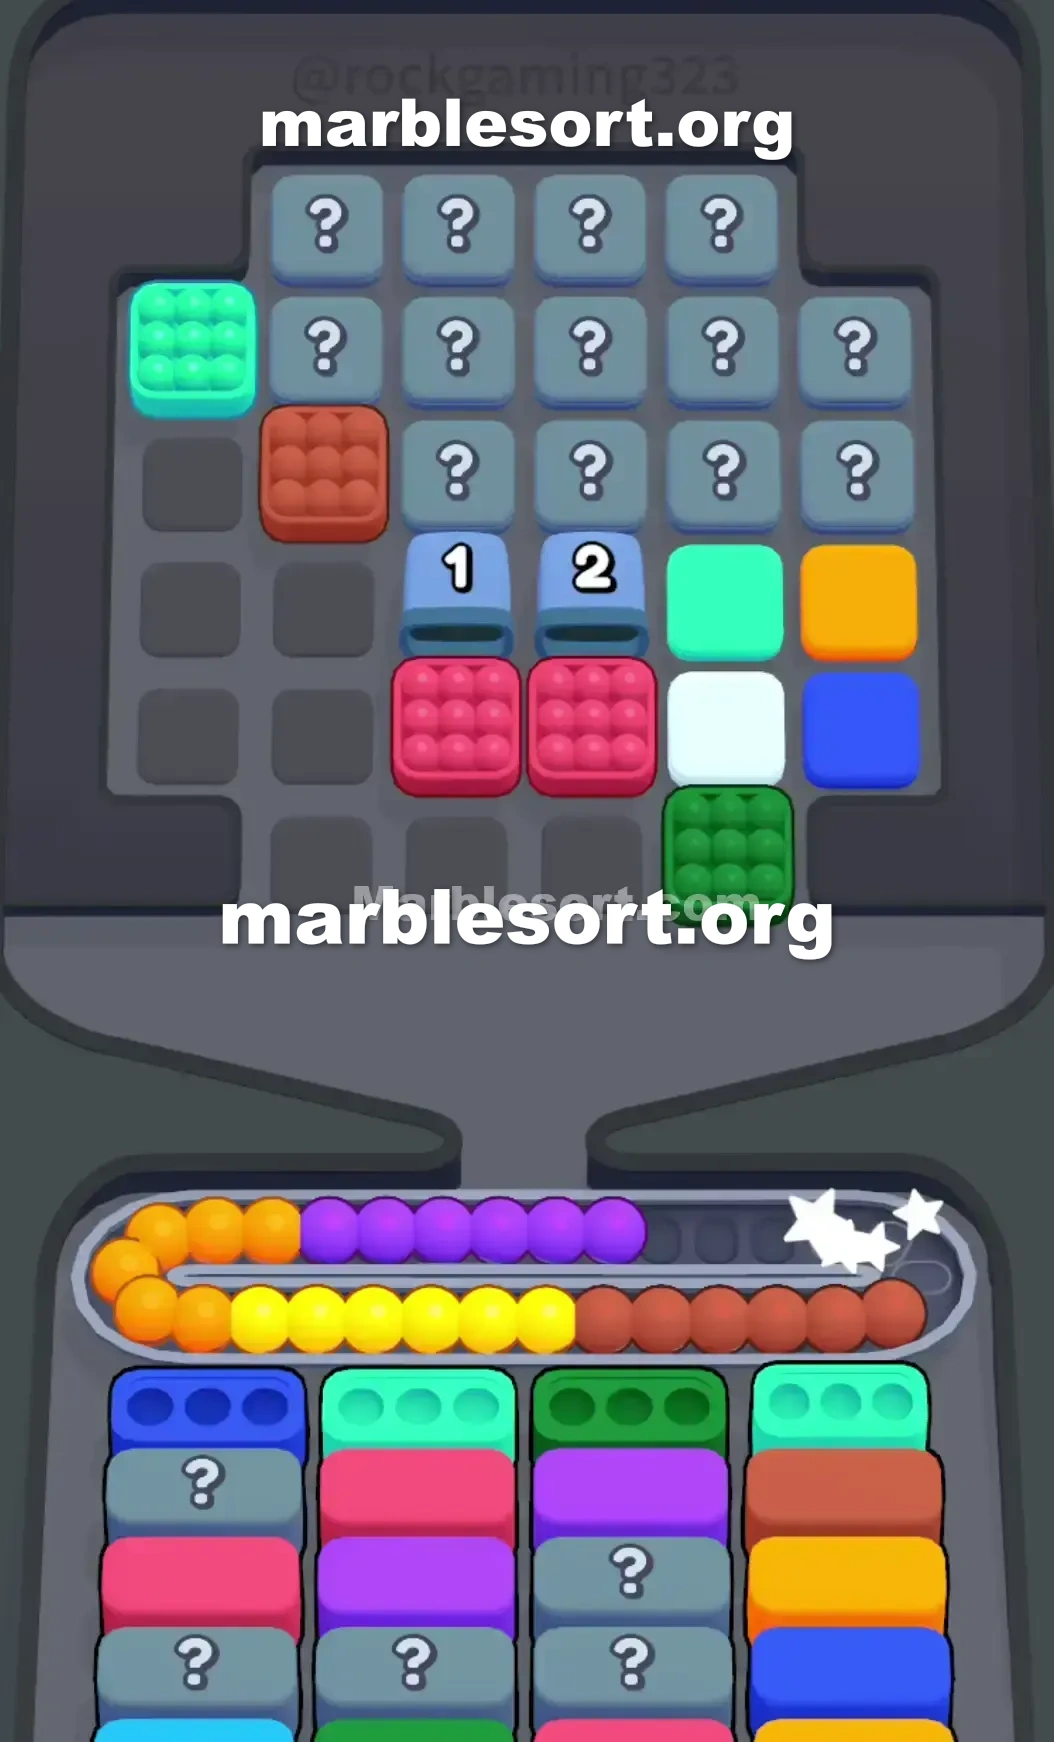
- 2) Take the lone Light Blue marble out of the second row to finish the last Light Blue Box, then collect the single Yellow marble in the second row and slot it into the free Yellow Box that waits in column three.
- 3) Collect the White marbles in the second row and drop the wide White cluster off the bottom row down into the freshly exposed White Boxes, which pushes the two Panels down to zero.
- 4) When the Panels vanish, route the Mint Green and Orange spheres from the board's outer rims into the newly activated boxes, and send the lone Purple marble parked on the left side of the second row into the active first-column Purple Box.
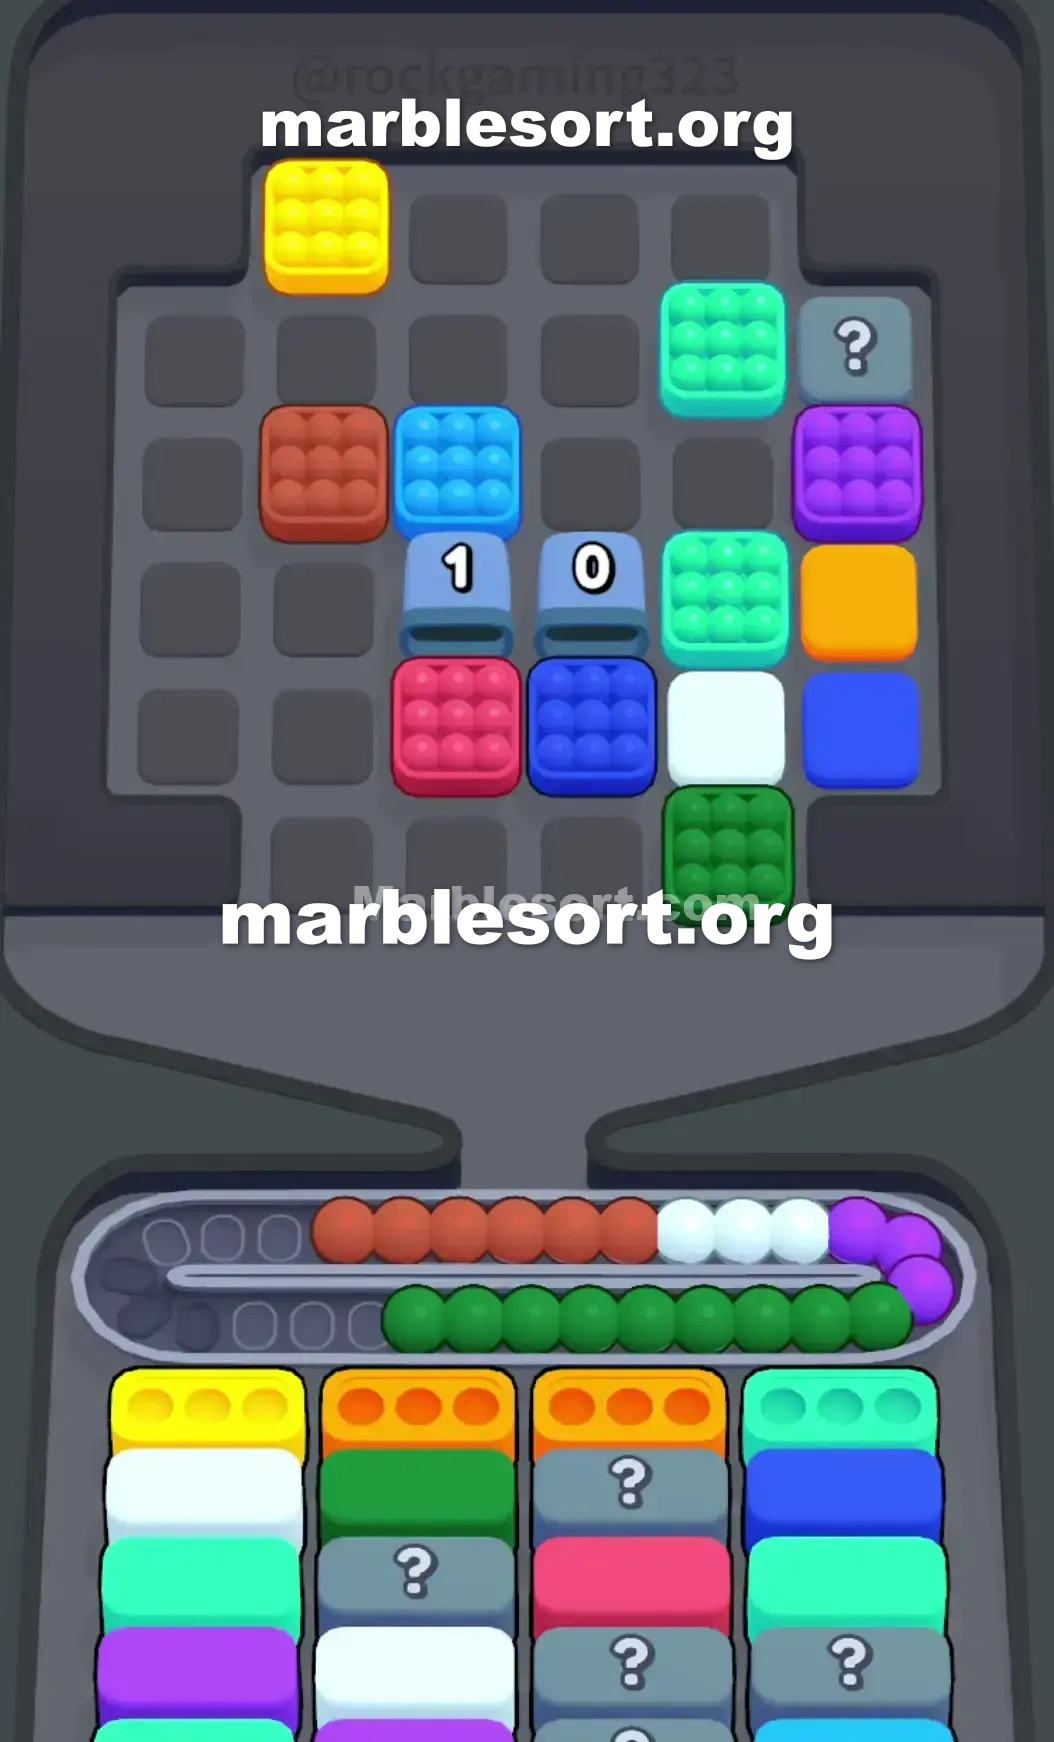
- 5) Now that the front stacks are gone, tap the bottom-right Green cluster so it flies through the belt into the exposed Green Boxes, then feed the Red clusters into the ready Red Boxes.
- 6) Start pulling from the top mystery tiles, which reveal hidden Yellow, Dark Blue, and Pink, and prioritize routing the large Yellow cluster near the top left into the Yellow Boxes in the bottom row.
- 7) Use spare belt space to stash any mismatched mystery tile, and draw from the upper tiles only when you can line up a clean match for an active bottom Box.
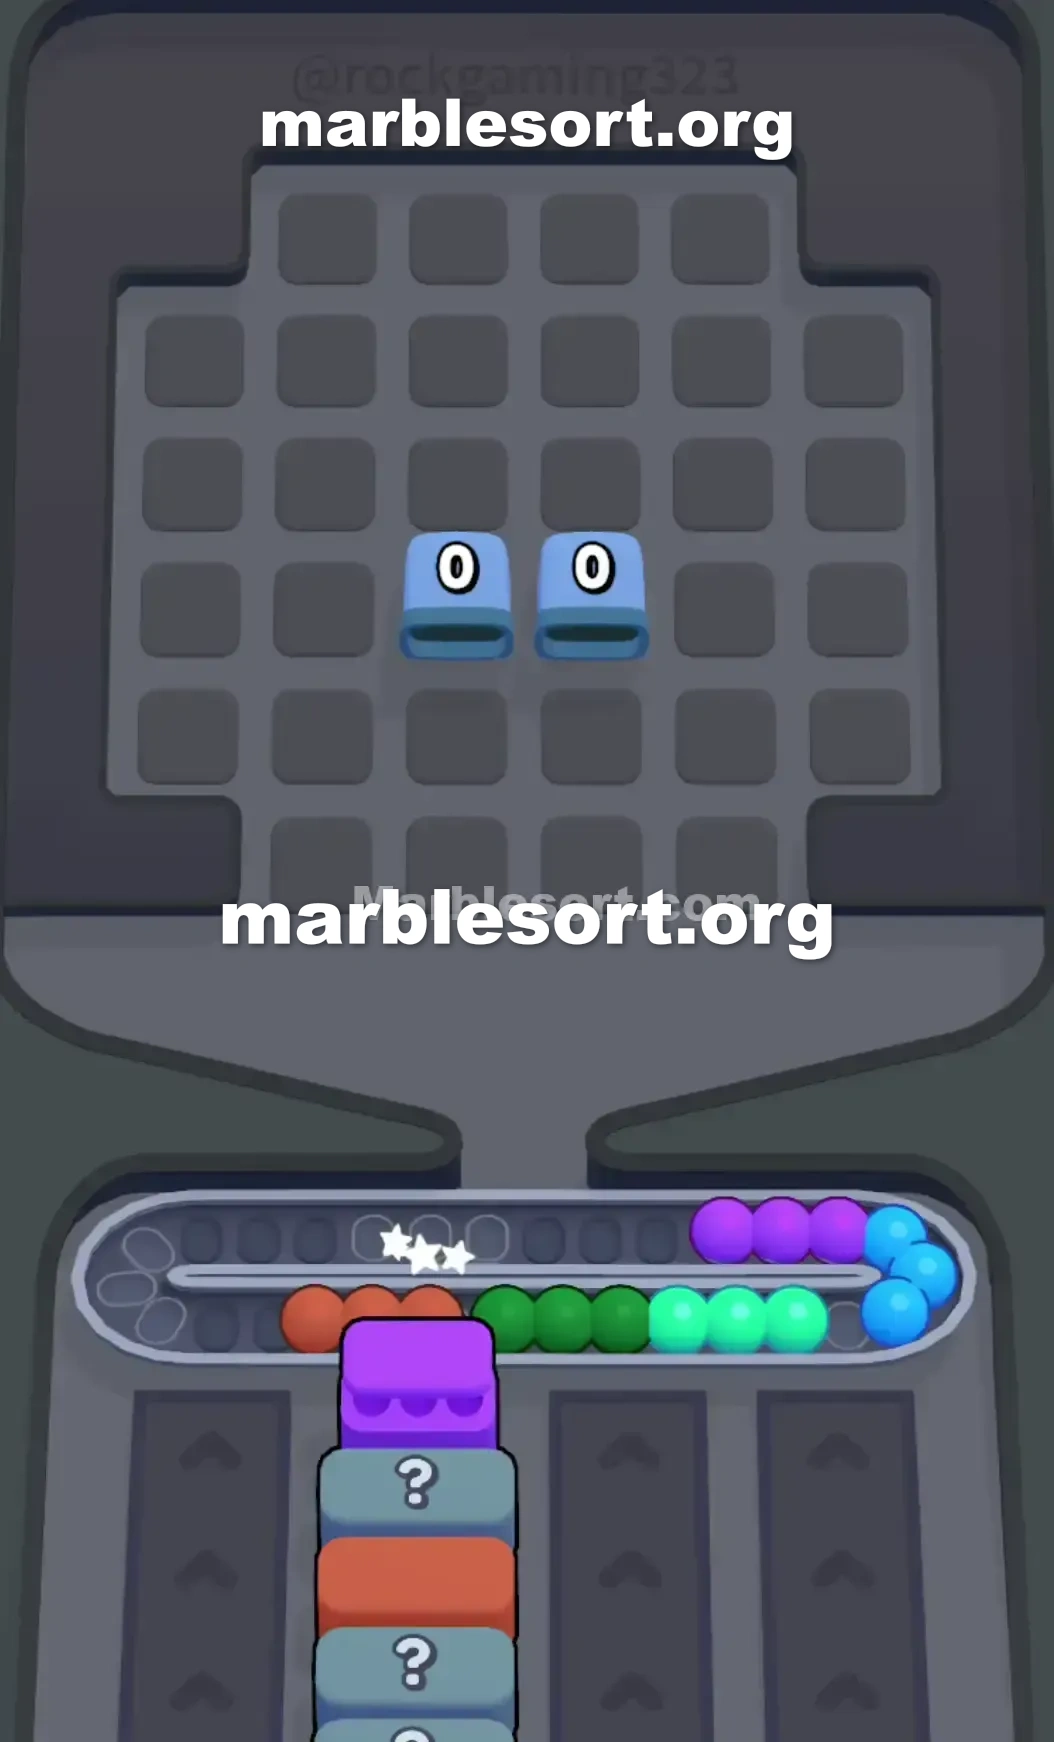
- 8) Wind down by matching the last Dark Blue and Mint Green marbles.
Level 40 Twin Panel Trap
sphere Sort Level 40 sits a masterclass in bait.
one load on plus immediately spot four huge, juicy sphere groups parked east at the bottom of the Top Tray .
crimson, Light azure, ivory, plus emerald sit all lined onto, practically begging to be tapped.
this upper half from the board is completely hidden by mystery tiles.
this middle sits jammed via two blue Panels , both numbered '3'.
one can't reach this rear from this board until one empty three bottom Boxes to break those Panels .
the entire focus holds into be over finding one safe route into three quick clears without totally filling your Conveyor Belt .
If one panic plus start dropping those lower groups too first, one will run out of space in seconds.
Level 40 Bait and Switch Layout
Let’s break down exactly what one are staring at in the Top Tray .
From west to right: Red, Light Blue, White, Green.
Directly above them rests one line from single spheres: violet, White, Light Blue, Yellow, White, Dark Blue.
Two azure Panels using a '3' block the central columns.
this right edge has Mint Green and Orange.
Now look down at the starting bottom Boxes .
this upper tier asks with three Light azure Boxes and one Yellow Box .
here sit absolutely zero crimson or Green Boxes available at the start.
If one choose that lower-west crimson group or that lower-east emerald group, they shall send straight onto the Conveyor Belt and sit there.
since this level features so many secret cases stuck on this bottom stacks, one hold zero idea when crimson or Green will actually become playable.
Releasing them now sits one guaranteed way into clog your board and fail the level.
the Conveyor track stress gets extremely high right around the midgame.
Once this head Light azure cases empty, ivory cases available onto, followed via one chaotic pile of Orange, Mint Green, and Purple.
one want empty slots over your belt to juggle these shifting colors.
Level 40 Level Overview
We sit going into ignore this trap, break this Panels , plus carefully dig into this mystery tiles at the top.
Level 40 Escaping the Opening Trap
the first goal sits into empty three Boxes to destroy those central Panels .
choose this Light azure group parked over the bottom row of the Top Tray .
that immediately fills this matching Light azure Boxes waiting at the bottom.
take this single Light azure sphere from this second line into top off the remaining Light Blue Box .
This gives one the first clears and ticks down the Panels .
Now take this single Yellow marble from the second row.
send that into this open Yellow Box in the third column.
Look at this crimson and Green clusters on the bottom row.
take the White marbles from the second row.
Dropping this Light azure Boxes just exposed several White Boxes underneath.
send this big ivory group from this lower row into the newly revealed White Boxes .
Level 40 Breaking the Panels
Clearing those Light azure plus ivory cases shall force this two '3' Panels to hit zero.
this Panels vanish, exposing this center of the board.
one now hold access into one fresh tier from spheres, including Dark azure and Red in the center.
this first wave from Hidden Boxes is now revealing itself.
one shall spot amber, Mint emerald, and Purple Boxes start to activate.
Match this Mint emerald plus amber spheres from this outermost rims from the Top Tray to these new Boxes .
this violet case in the first column is now active.
send this single violet sphere from this west side from the second row to clear it.
Level 40 Surviving the Midgame Conveyor Crush
This sits where the level usually ends runs.
this secret cases on this lower stacks sit going to start demanding Green and Red.
Finally, tap that bottom-right Green cluster.
this emerald cases sit now exposed, so this group shall fly through this Conveyor Belt and instantly clear them.
Now that this head stacks sit gone, this Red Boxes are ready to receive them.
Start pulling from the top mystery tiles.
this game shall show hidden Yellow, Dark Blue, and Pink marbles.
Prioritize this big gold group parked near this top left of the mystery zone.
Route that directly into this Yellow Boxes waiting in the bottom row.
Use the remaining Conveyor track space to hold any mismatched mystery tiles.
just bring from this upper when one hold one direct shade match for an open bottom Box .
empty this last Dark azure plus Mint Green matches to finish the board.
常见问题
What is the main trap to avoid in Level 40?
The biggest mistake is tapping colors that have no active bottom Box yet. They park on your Conveyor Belt and burn limited slots, so clear the shades that actually have receivers first.
How should I open Level 40?
Ignore the upper layers and aim at the bottom row of the Top Tray. Feed the colors that already have open boxes, then work upward once the lower lanes shift.
When does the midgame color change happen in Level 40?
After the opening boxes fall, the lower columns swap what they demand. Watch for the new shades and only pull blocks that match a box sitting at the front of a lower lane.
Any tip for finishing Level 40 clean?
Keep at least a few empty belt slots before poking mystery or hidden boxes. Feed a revealed color the moment it matches an active box, and fall back to visible marbles when the belt gets tight.