
Marble Sort 第 652 关 — Marble Sort Level 652 Solution: The Move Order That Clears the Board

困难 ★★★★☆ 约 44 步

关卡截图

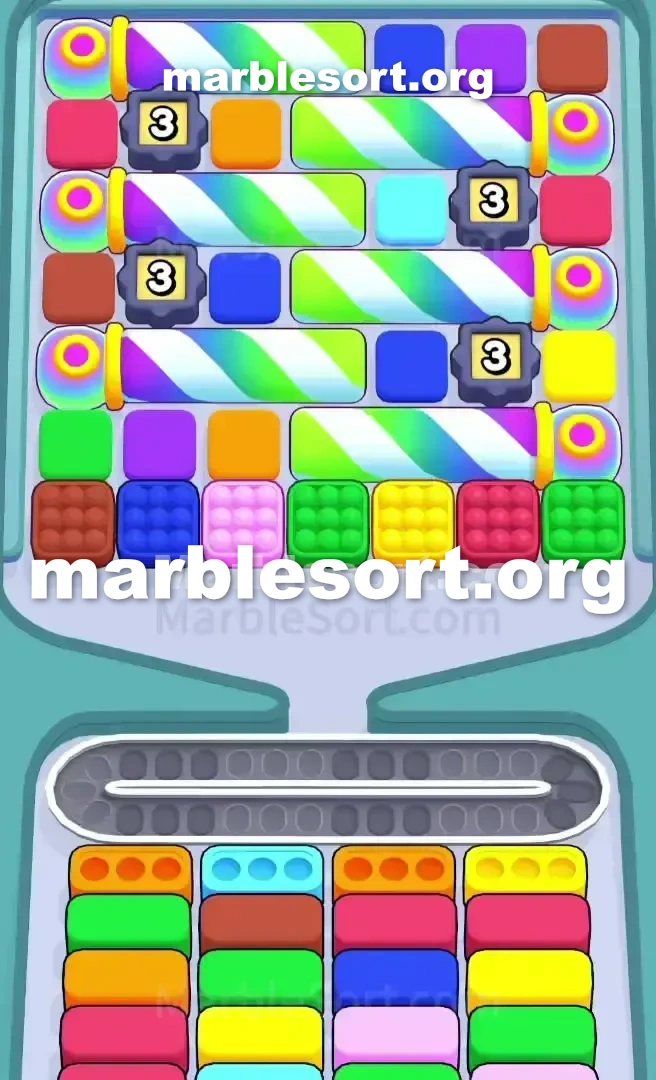
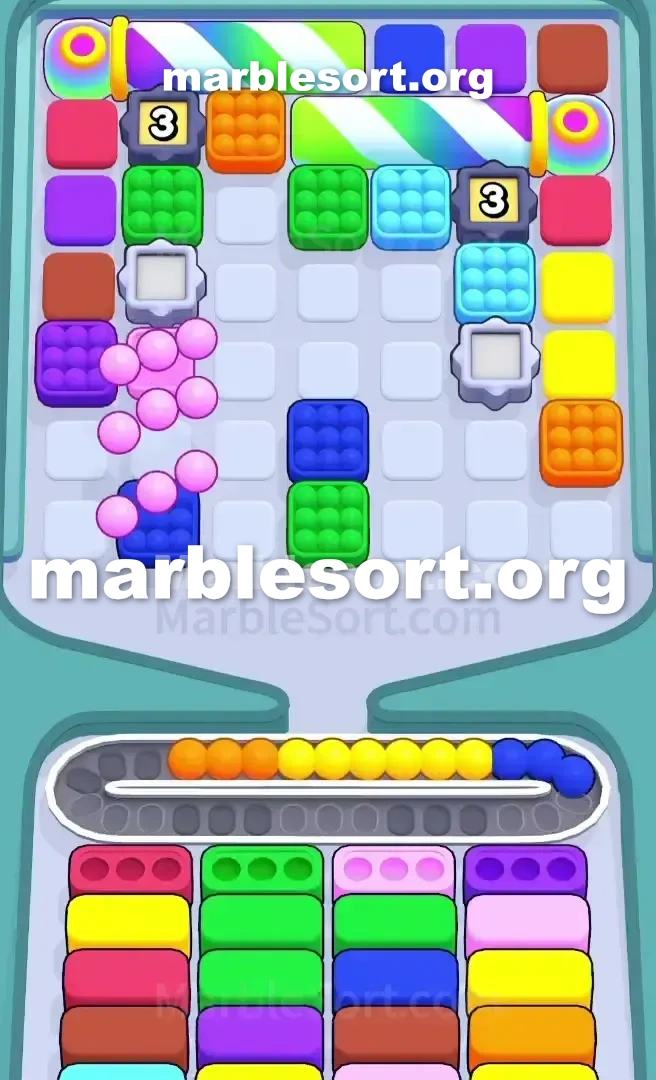
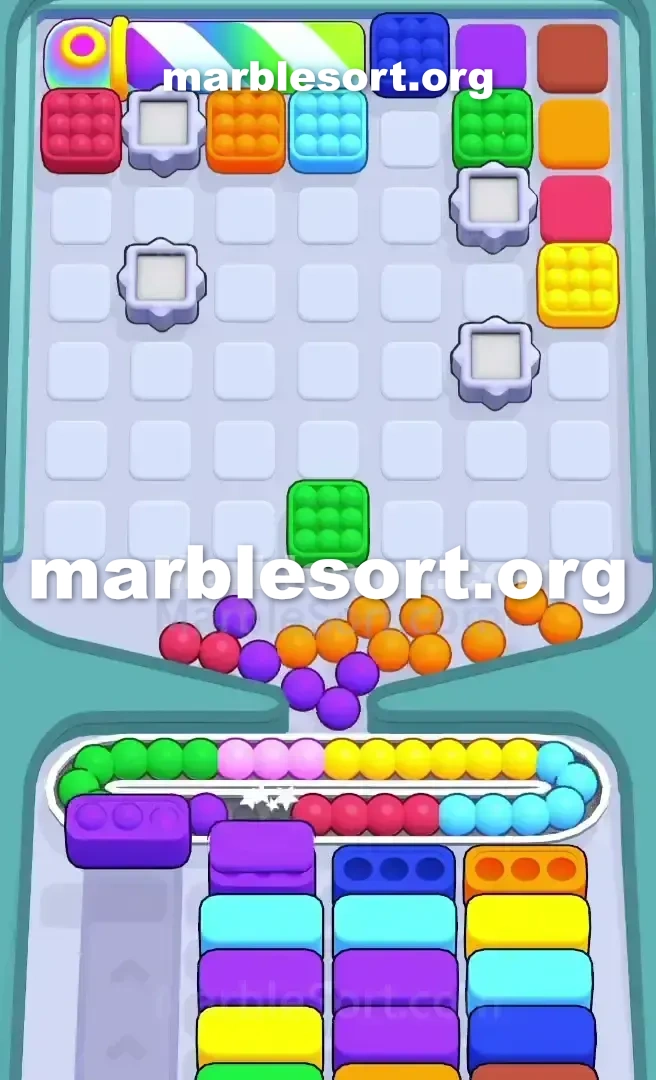
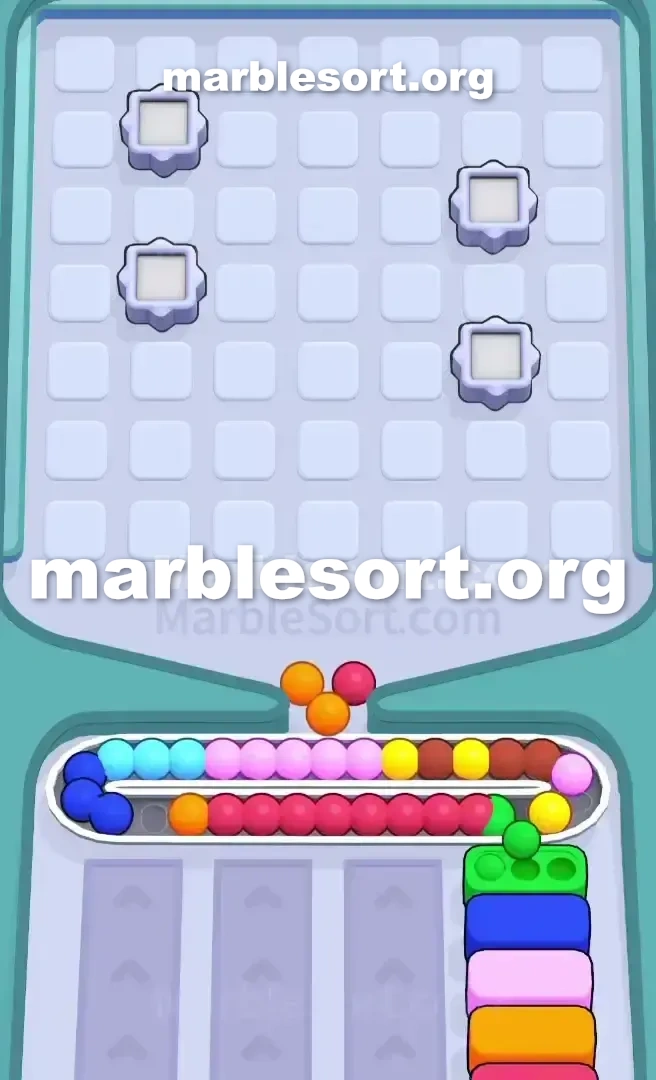
Marble Sort 第 652 关 截图 1Marble Sort 第 652 关 截图 2Marble Sort 第 652 关 截图 3Marble Sort 第 652 关 截图 4

逐步解法

快速答案
  1. 1) Open by tapping the Yellow marbles at the bottom right of the Top Tray to clear the front-right Yellow Box, which is the only front box with an accessible match.
  2. 2) A Red Box slides into that right column; tap the Yellow clump found right beneath the bottom-right Tunnel to clear the second Yellow Box, then feed the Green marbles on the far right to the newly revealed Green Box.
  3. 3) With the right side pushed through, start ticking down the grey "3" lock above the Brown and Dark Blue marbles, then drop them into the newly revealed Brown and Light Blue Boxes in the second column.
  4. 4) Tap the Dark Blue marbles next to the Brown ones, and once the lower-left row clears, the Orange marbles buried in the second row are exposed and finally clear one front-row Orange Box.
  5. 5) As an Orange Box clears, a Green Box slides forward on the left; fill it with the bottom-row Green to shatter the lower-left "3" lock.
  6. 6) Now reach the Light Blue pieces stuck in the center-right, just beneath the second Tunnel, and clear that bottleneck, letting the Tunnels dump their hidden marbles.
  7. 7) Prioritize the Pink spilling from the lower-left Tunnel, and keep knocking out the marbles hugging the two remaining upper "3" locks to open the top row.
  8. 8) Match the sequential Tunnel drops against the sliding bottom Boxes, grabbing simple three-piece clears along the far edges if the belt gets tight, to finish.

Level 652 Horizontal Tunnel Trap

This board sits a masterclass in bait and frustration.

one send on plus immediately spot one huge wall from horizontal Tunnels slicing across this entire Top Tray .

Dominant shades as emerald, gold, crimson, plus azure sit scattered everywhere, but this real nightmare sits the front row of your bottom Boxes .

one sit staring down two amber cases , one Light Blue Box , and a Yellow Box .

one should clear the front to reach the back.

this upper rack sits heavily bottlenecked via four grey, gear-shaped locks marked using a "3".

those require one into empty three adjacent sphere groups just to break them open.

Until one shatter those numbered locks, one huge portion from the board is entirely dead.

Level 652 grid lock pattern

Let's break down exactly how this exact board is rigged against you.

this upper rack features five distinct horizontal Tunnels stacked parallel into each other.

They stretch across this top half from the board, trapping dozens of marbles inside.

Look at this very lower accessible row of the Top Tray .

one hold access into Brown, Dark azure, Light rose, Green, Yellow, Red, and another Green.

this head line demands Orange, Light Blue, Orange, and Yellow.

one hold two amber cases starving with spheres, but here sit zero amber spheres available on the bottom row of the Top Tray .

this first amber sphere group sits stuck over this second line over this west, totally blocked via one Light rose piece plus parked right next to a numbered '3' lock.

They sit trapped midway onto this east side, wedged between one Tunnel and another '3' lock.

If one blindly choose this Brown or Dark azure spheres just since they sit accessible, one will instantly choke your Conveyor Belt .

They shall just sit here, eat onto the limited Conveyor track slots, and cause an unwinnable jam.

this gold case over the far right is your only lifeline.

that sits this just head-line lower case that really holds one matching, accessible color in the Top Tray .

Level 652 Level Overview

one want surgical precision into survive the early game here.

One stray choose over this west side from this board will ruin your Conveyor Belt economy.

Follow this exact release order into safely crack the board open.

Level 652 opening sequence

this goal east now sits into empty this east side from this lower cases so this hidden rows behind them slide forward.

choose this gold spheres parked over the bottom right of the Top Tray .

They shall send down into this Conveyor track plus immediately clear the front-right Yellow Box .

One crimson case shall slide into this head line east where the Yellow one used to be.

They sit conveniently parked east next to where the Yellow ones were.

Another gold case slides onto in that exact same right-hand column.

one now want more gold, but the obvious ones are gone.

here sits one gold sphere group parked directly under the bottom right Tunnel .

choose it to clear that second Yellow Box .

One emerald case now reveals itself in that right column.

atlast, one may choose this emerald spheres over the far right of the bottom row.

Level 652 Breaking the numbered locks

one hold successfully pushed through this east side, but those two head amber cases sit yet blocking the entire left and center columns.

one hold into break this grey '3' locks into reach the Orange marbles.

one want into start ticking down this '3' seal parked just above this Brown and Dark Blue marbles.

this lower cases over this east side should now hold revealed one Brown case plus one Light Blue Box in the second column.

This sends them into this newly revealed Brown case plus reduces this counter on the nearby '3' lock.

choose this Dark azure marbles right next to the Brown ones.

using this lower west line cleared out, this amber spheres in the second row are now exposed.

Those amber spheres shall send onto this Conveyor track plus atlast empty one from those stubborn front-row Orange Boxes .

this moment some amber case clears, one emerald case will slide forward on the left side.

Use this emerald spheres on the bottom row to fill it.

This adjacent empty shall finally shatter the lower left '3' lock.

Level 652 Surviving the Tunnel cascade

using this bottom locks broken plus this Orange blockade cleared, the board completely transforms.

Now, this horizontal Tunnels become your main concern.

Keep some eye over this Light azure Box sitting in the front row.

one may now access this Light azure spheres trapped on this center right, just below the second Tunnel .

Tap them to clear that massive bottleneck.

As one empty this pieces underneath this Tunnels , they shall start spitting out hidden marbles.

Let this Tunnels empty totally so one may spot exactly what colors are now in play.

this remaining lower cases shall heavily demand Pink, Purple, and more Orange.

Prioritize this rose spheres that send out of the lower left Tunnel .

Always empty spheres directly adjacent into the two remaining upper '3' locks.

one can't reach this very upper row until those locks are destroyed.

If this Conveyor track gets tight, look with any easy 3-sphere clears over the far edges of the board.

this Tunnels shall send shades sequentially, so just match this lower cases as they slide forward plus you will beat the level.

常见问题

What is the main trap to avoid in Level 652?

The biggest mistake is tapping colors that have no active bottom Box yet. They park on your Conveyor Belt and burn limited slots, so clear the shades that actually have receivers first.

How should I open Level 652?

Ignore the upper layers and aim at the bottom row of the Top Tray. Feed the colors that already have open boxes, then work upward once the lower lanes shift.

When does the midgame color change happen in Level 652?

After the opening boxes fall, the lower columns swap what they demand. Watch for the new shades and only pull blocks that match a box sitting at the front of a lower lane.

Any tip for finishing Level 652 clean?

Keep at least a few empty belt slots before poking mystery or hidden boxes. Feed a revealed color the moment it matches an active box, and fall back to visible marbles when the belt gets tight.