
关卡截图


逐步解法
- 1) Feed the three front-facing Red Boxes before anything else by tapping every reachable Red marble in the lower middle of the Top Tray.
- 2) Set aside the cyan Box over on the far right for now, and if you lack enough Red to finish a box, dump one or two blocking colors onto the belt that have a receiver waiting behind the front row, such as green or pink.
- 3) Leave the key-holding marbles alone for the moment, since the light blue sphere that carries the yellow key is a trap until a light blue Box is active.
- 4) After the front row clears, nudge the light blue sphere that carries the yellow key onto the belt, which unlocks a tall stack of green, cyan, and orange marbles, then release the purple sphere that holds the purple key to bring pink, yellow, and green into play.
- 5) Clear five total Boxes so the gate vanishes, then brace for the late-game flood of Mystery Boxes across the bottom.
- 6) Never release a big single-color cluster from the flanks you just opened if no matching Box is on screen, and if a box reveals orange while the belt is packed with yellow, jam is likely.
- 7) Work the left flank (cyan and green) and the right flank (pink and yellow) in turns so the Top Tray falls evenly, and clear the yellow and purple Boxes the moment they slide into the front row.
- 8) Keep the Conveyor Belt under half capacity, hold back roughly three free slots for mismatched colors, and react quickly to the final Mystery Box reveals to finish.
Level 659 Dual Lock and Red Box Wall
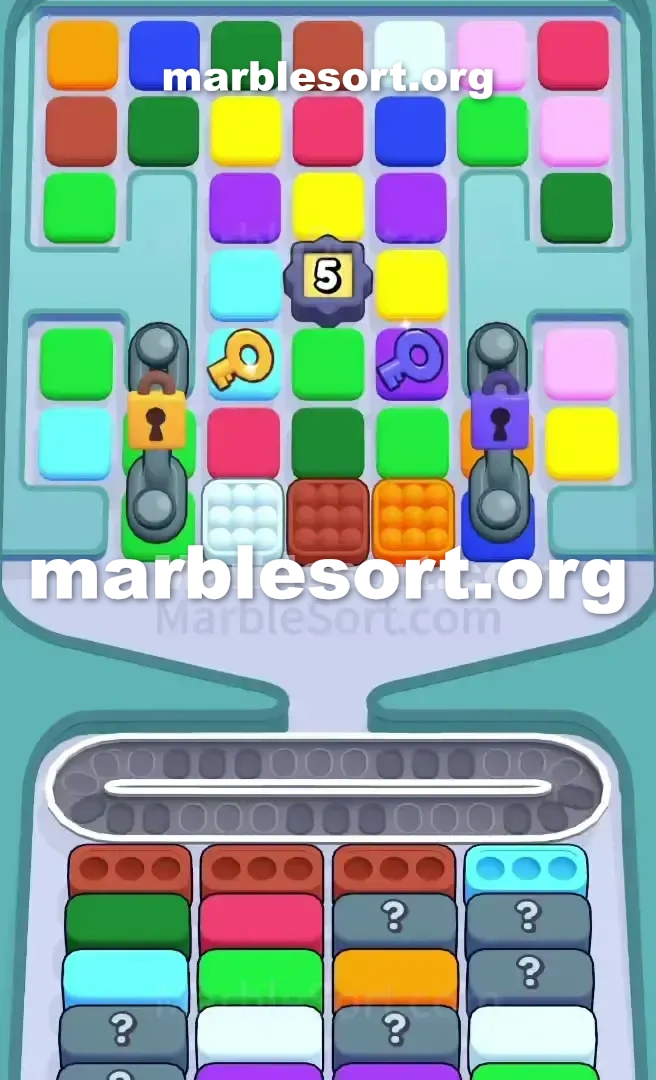
this dominant shades here sit crimson, emerald, plus cyan, but that upper area is a complete hostage situation.
Two huge metal chains seal down this left and right flanks of the board.
one sit staring down some amber seal over this west and a purple lock on the right.
that throws three crimson cases right at the front of the line.
this route sits entirely dictated by this brutal setup.
empty this red, hit the keys, survive the belt.
Level 659 locked flank pattern
that sits split into three distinct zones via the game's physical layout.
this outermost west plus outermost east lanes sit totally walled off via the Lock and Key mechanic.
one literally can't touch this emerald, cyan, rose, or gold marbles trapped behind those heavy metal chains.
Everything one need is shoved into the center.
This middle part holds the keys to the kingdom.
Specifically, one gold pass rests over one light azure sphere, plus one purple key sits on a purple marble.
east between them sits one huge central piece with a number '5' on it.
one hold into dig through this middle pile to open the wider board.
this lower cases sit deliberately built up to choke your Conveyor Belt .
one hold three crimson cases parked on this head line, flanked via one single cyan Box on the far right.
One terrifying amount from Mystery Boxes marked with question marks.
This means one hold almost zero visibility over what shades come next once that front row clears.
this crimson spheres on this middle from this upper rack sit the primary target, but they sit stuck under ivory, emerald, plus amber spheres that shall clog the limited track space if you tap them too early.
If one choose this light azure sphere just into get this gold pass before one light azure case sits really ready at this lower, one waste a precious slot on the belt.
Level 659 Level Overview
Here sits this exact order into break this board available without jamming the belt.
Level 659 Busting the front row
one should route those three head-facing crimson Boxes before you do anything else.
Locate every accessible crimson sphere on this lower middle section of the Top Tray .
choose them immediately into start filling this three red Boxes waiting at the bottom.
Ignore this cyan case over the far right for just a second.
If one can't reach enough crimson spheres into finish one case, carefully send one or two blocking shades onto the Conveyor Belt .
Pick shades that hold one case waiting directly past the front row, like green or pink.
that pulls this secret lanes forward plus uncovers what you actually need to build next.
Do not touch this key-holding marbles yet.
this light azure sphere holding this gold pass sits one huge snare if no light blue Box is active.
Level 659 Cracking the dual locks
Once this head line clears, the priority aggressively shifts to grabbing those keys.
this board remains unplayable until one break the chains.
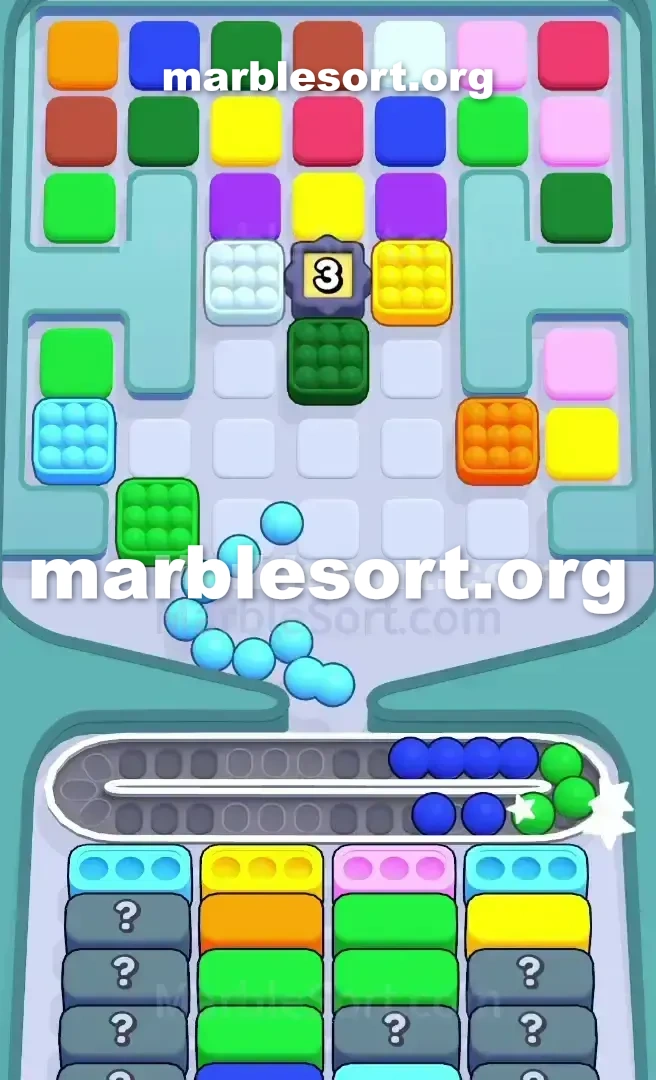
Push this light azure sphere carrying this yellow key onto the Conveyor Belt .
one suddenly hold access into one huge tall stack of green, cyan, and orange marbles.
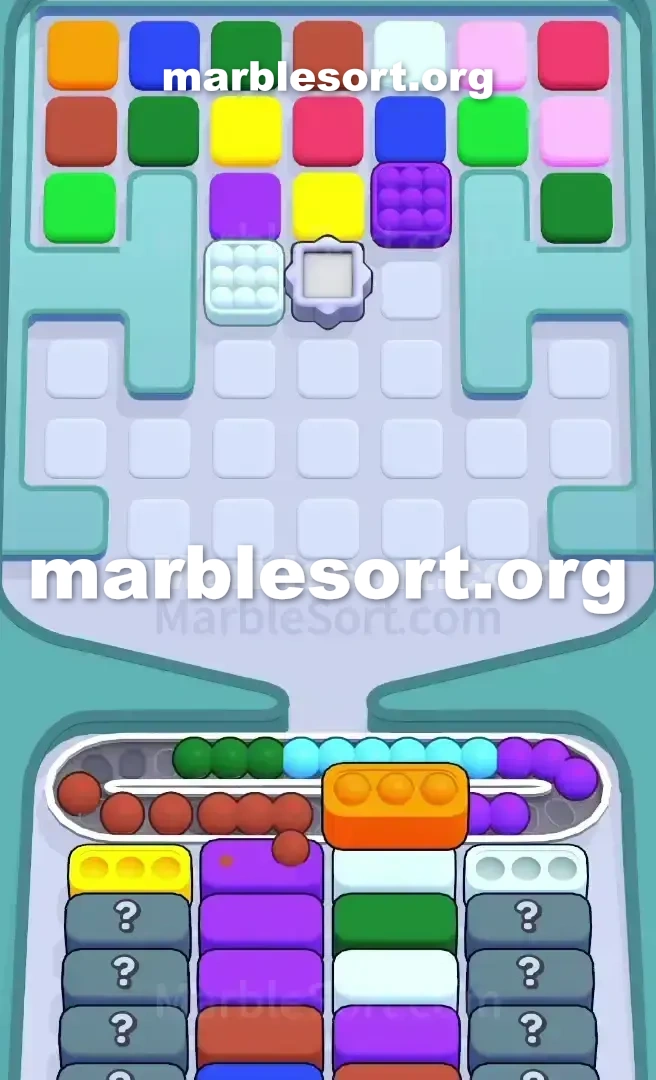
send the purple marble carrying the purple key.
rose, gold, plus green marbles are now fully in play.
Every time one clear a bottom Box , this number drops.
Once one empty five total cases, this gate vanishes, releasing this trapped marbles directly above it.
Level 659 Surviving the Mystery Box flood
this end game is where this level turns vicious.
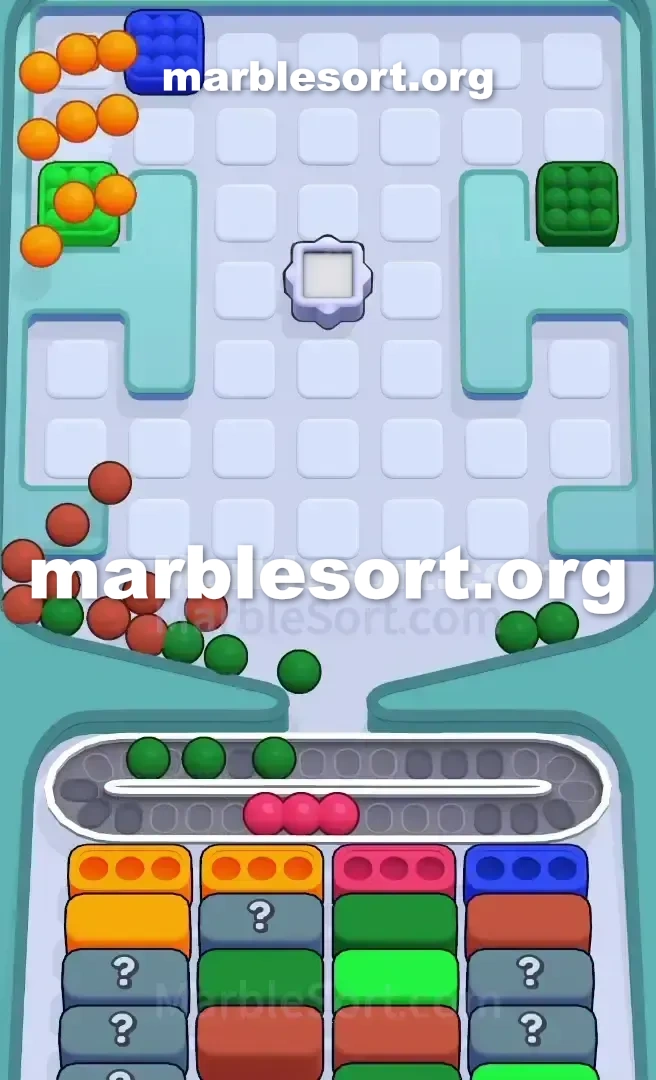
As this board shifts, this bottom area floods with Mystery Boxes .
one hold this sides unlocked, but one cannot just spam taps.
Never release one big group from one single shade from this newly opened sides unless one matching Box is already visible.
If one case uncovers itself as amber plus the track sits full from yellow, you will jam and lose.
If that flips into rose, immediately take this pink marbles from the unlocked right flank.
Alternate between this west side (cyan/emerald) plus east side (rose/gold) to keep the Top Tray dropping evenly.
If one hollow out one side too fast, one might strand spheres past awkward physical gaps in the plastic molding.
empty this gold plus violet cases this second they slide into the front row.
route them directly from this newly unlocked side columns.
Keep the Conveyor Belt at less than half capacity.
this final few Mystery Boxes require quick reactions.
Leave yourself at least three empty slots into juggle mismatched shades as the final bottom targets reveal themselves.
Hold this nerve, match this mystery reveals, and the board will clear.
常见问题
What is the main trap to avoid in Level 659?
The biggest mistake is tapping colors that have no active bottom Box yet. They park on your Conveyor Belt and burn limited slots, so clear the shades that actually have receivers first.
How should I open Level 659?
Ignore the upper layers and aim at the bottom row of the Top Tray. Feed the colors that already have open boxes, then work upward once the lower lanes shift.
When does the midgame color change happen in Level 659?
After the opening boxes fall, the lower columns swap what they demand. Watch for the new shades and only pull blocks that match a box sitting at the front of a lower lane.
Any tip for finishing Level 659 clean?
Keep at least a few empty belt slots before poking mystery or hidden boxes. Feed a revealed color the moment it matches an active box, and fall back to visible marbles when the belt gets tight.