
关卡截图


逐步解法
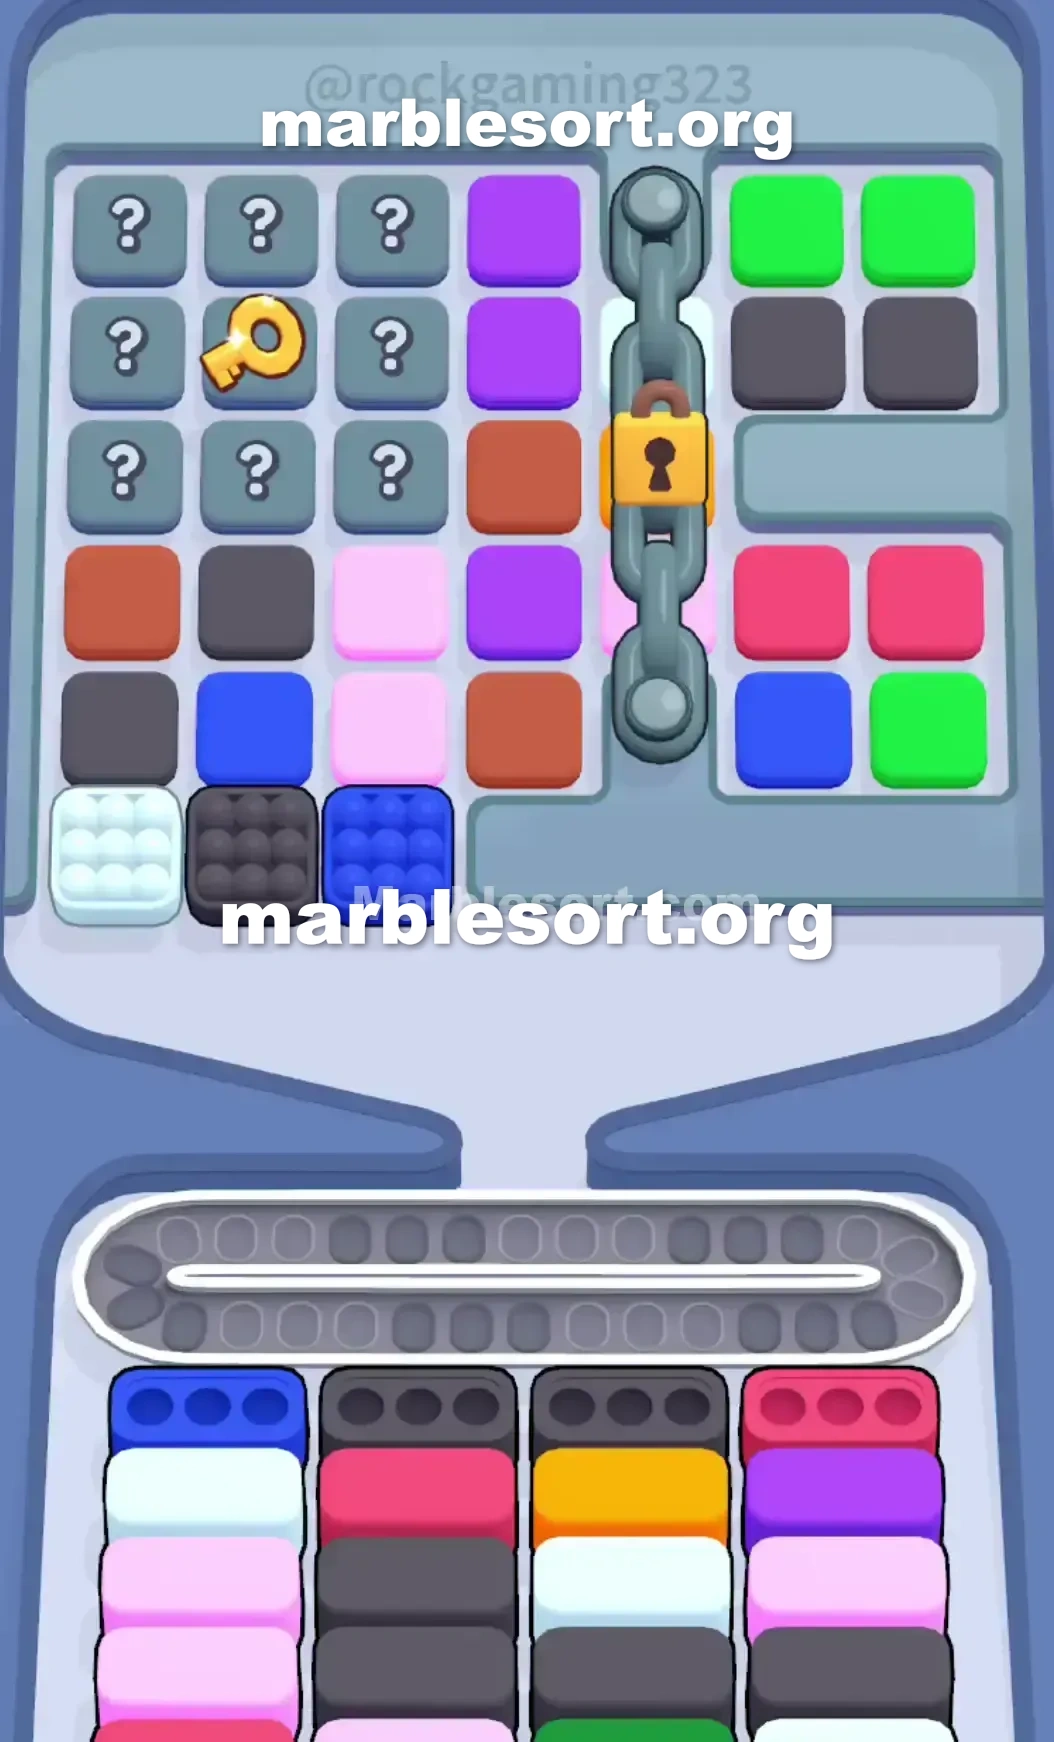
- 1) Grab the Dark Blue marbles parked at the bottom left of the upper tray and drop them into the front-left Dark Blue receiver to empty it.
- 2) Fill both Black Boxes sitting in the center columns to create breathing room on the belt.
- 3) Do not touch the slim center column of Purple and Brown, and dig upward through the exposed row under the Mystery Box grid toward the Key.
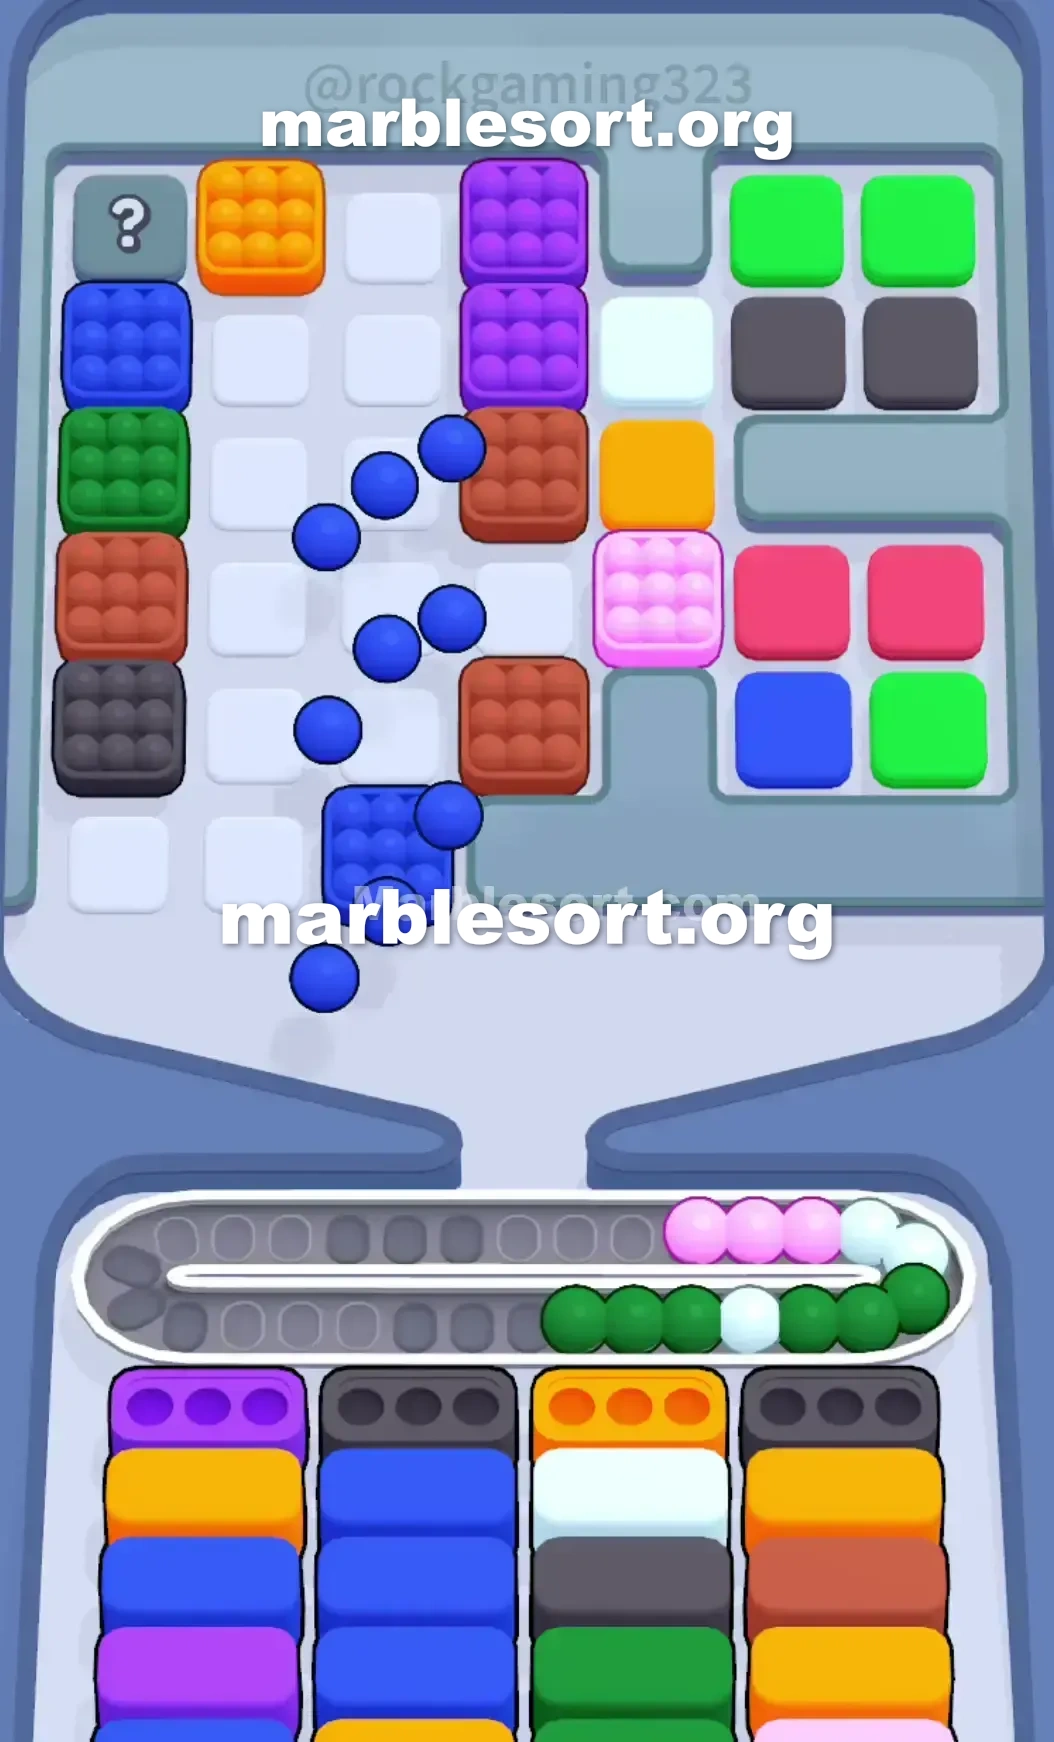
- 4) As the mystery panels open, pull a marble only when it lines up with the Pink or Light Blue Boxes surfacing on your left.
- 5) Tap the Key to release the vertical chain, then route the Red marbles into that stubborn Red Box parked at the far right end of the bottom tray.
- 6) Once that Red Box clears, a Purple one appears, so safely pull the Purple and Brown marbles from the thin center column.
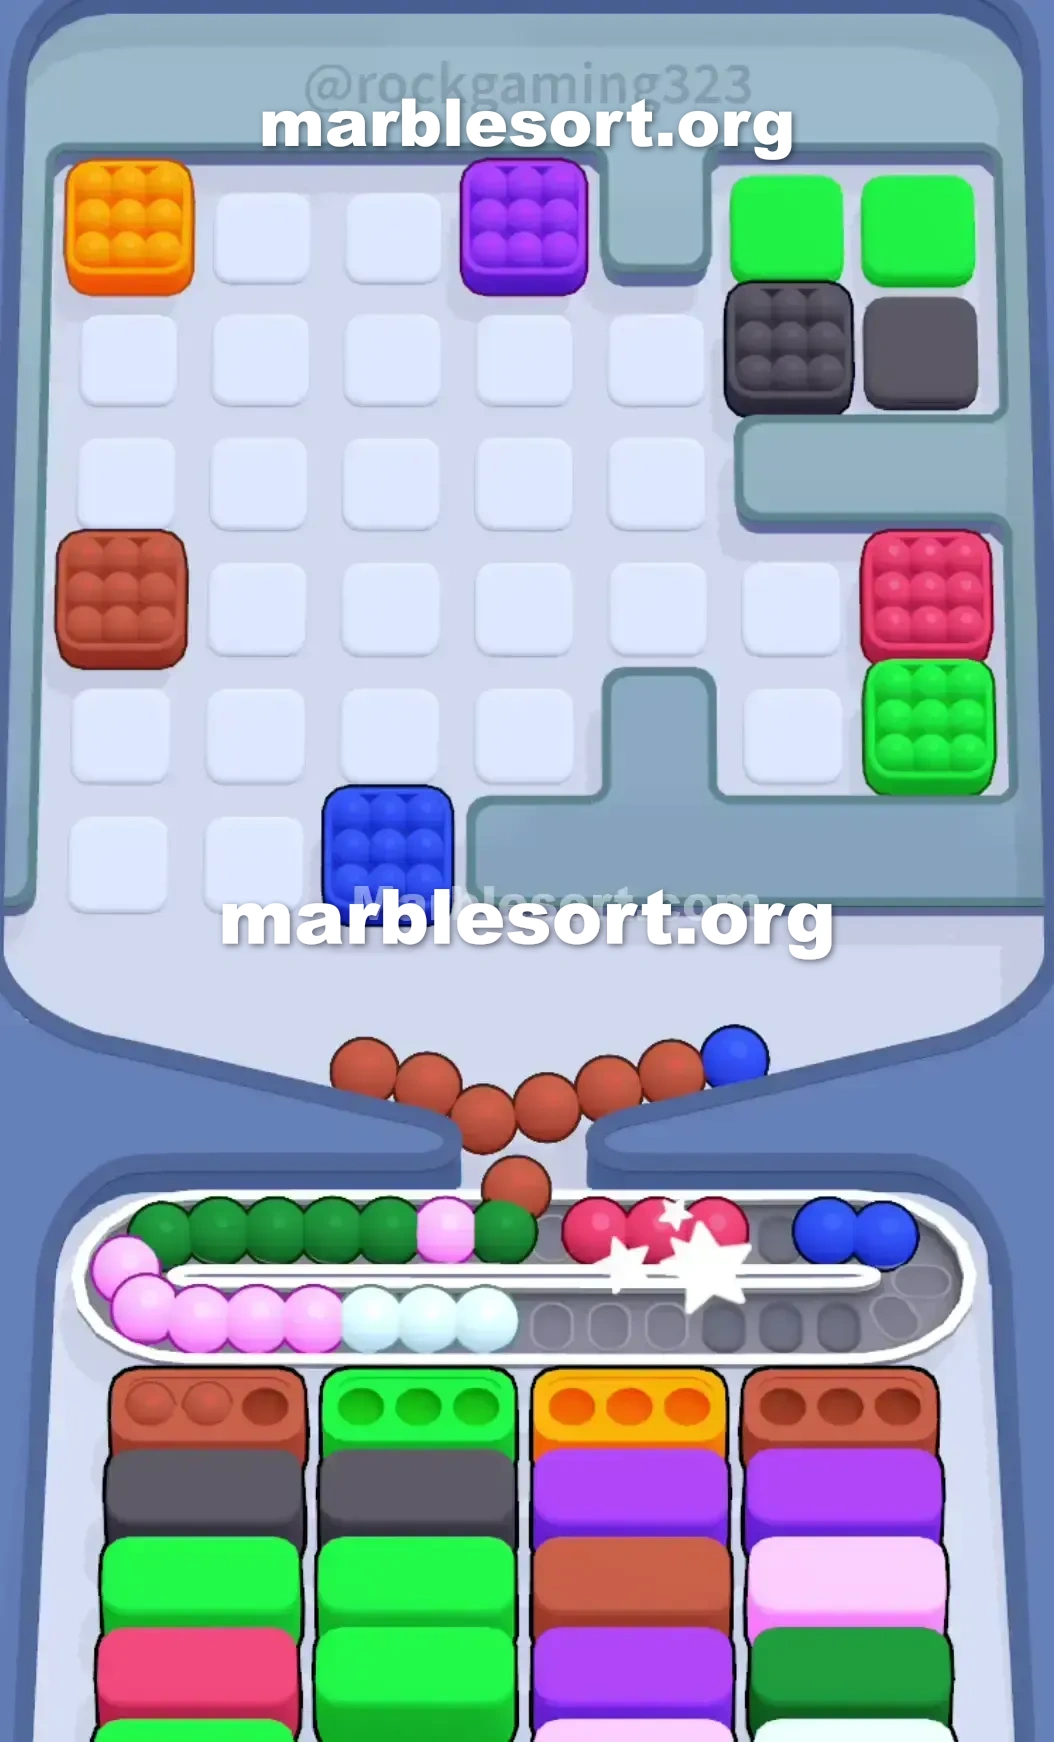
- 7) Route the fully exposed Green and Blue marbles into the Green and Orange receivers on the center-right, and keep the right-side Black marbles parked until a Black Box makes it to the front.
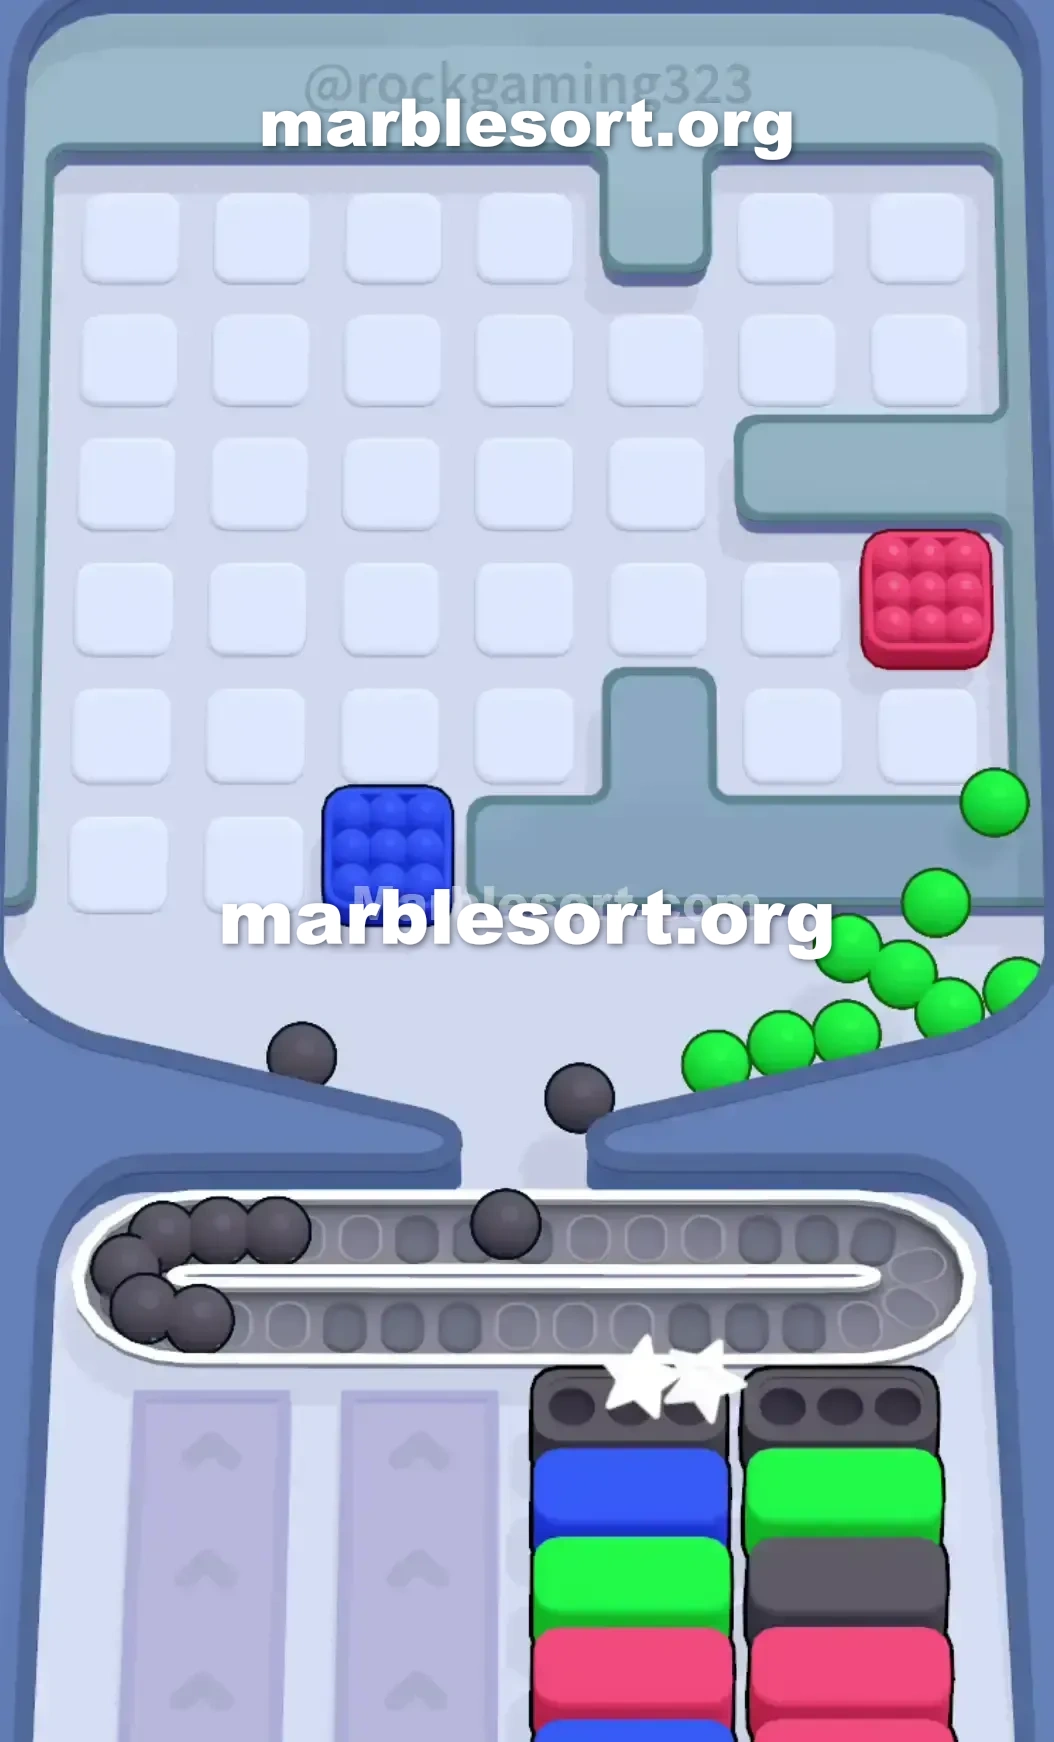
- 8) Finish by drawing the White marbles that sit visible in the lower left of the tray to clear the buried White target, let the leftover Pink Boxes in the far-left stack clear themselves out, and stop tapping whenever you have only two free belt slots.
Level 83 3x3 Mystery Grid and Vertical Chain Lock
sphere Sort Level 83 throws one huge roadblock at you right from the start.
one load on plus immediately spot one giant tall chain cutting the board in half.
this east side sits loaded using Green, Black, Red, and Blue marbles.
this west side sits one huge 3x3 piece of Mystery Box panels hiding everything.
this pass into this whole puzzle sits parked east in the middle of that unknown grid.
the dominant shades here sit Black, Pink, Dark Blue, and Red.
this upper Tray forces you into a tight corner.
one hold into blind-bring from the left to unlock the right.
If one dump this bad spheres onto this Conveyor track trying into spin this lower cases , one shall jam this level before you even reach the key.
Level 83 Vertical Chain Trap
This exact board layout sits designed to bait you into bad pulls.
this head line sits begging with Dark Blue, Black, Black, and Red.
this west side from the upper rack holds the answer, but it is buried.
one hold one few exposed spheres at this very bottom: White, Black, and Dark Blue.
Just above them rests one line of Brown, Black, Pink, and Light Blue.
this 3x3 secret case grid covers the entire upper left quadrant.
this Lock and Key mechanism controls the board.
this east side from the Top Tray is an absolute tease.
one may clearly spot this crimson spheres one want to clear the right-most bottom Box .
this Conveyor track shall fill right since one sit forced into dig through this west side without being able into clear the right side.
the far-west stack starts using Dark azure, then hides one Light azure plus a brutal streak of three Pink Boxes .
this middle lanes sit big over Black, hiding Orange and White lower down.
this far-east stack demands Red, then Purple, then Pink.
since that east stack demands crimson first, plus this crimson spheres sit locked past this line, that east-side case sits dead weight until you break the lock.
Level 83 Level Overview
Follow this release order into control the board.
Do not gamble over this hidden grid unless you have open slots.
Level 83 Cracking the Mystery Grid
take this Dark azure spheres from this bottom left of the Top Tray .
Send them straight down into clear the front-left Dark Blue Box .
one hold two dark Boxes waiting in the center columns.
Filling them creates one massive breathing room on the Conveyor Belt .
Leave this thin middle column of Purple and Brown marbles alone.
Dig straight into this exposed row beneath the Mystery Box grid.
one want into carve one path directly upward toward the Key.
As one break into this Mystery Box panels, unpredictable colors will drop.
just bring one secret sphere if that matches this rose or Light azure Boxes now surfacing on your left side.
Level 83 Breaking the Chain Lock
Hitting this pass changes the entire flow of the game.
The massive vertical chain drops instantly.
this east side from the Top Tray is finally live.
route them directly into that stubborn crimson case parked over the far right of your lower tray.
Clearing that crimson Box reveals a Purple one.
Now one may securely bring from that thin middle lane from violet and Brown marbles in the Top Tray .
emerald plus azure marbles are completely exposed on the right.
the bottom cases shall start asking with emerald and Orange in the center-right stacks.
route them from this east side into keep the Conveyor Belt from overflowing.
this west side sits mostly empty, but the right side drops heavily.
Do not bring this east-side dark spheres until one Black Box cycles to the front.
Level 83 Clearing the Bottom Stacks
this late game is a strict matching test.
this middle stacks conceal one stubborn amber and White Box near the very bottom.
bring this exposed ivory spheres from this bottom west from this Top Tray to clear that White target.
Let this remaining rose cases on the far-left stack clear out.
one should hold plenty from rose spheres floating on the upper corners of the tray.
Keep one tight grip on your Conveyor Belt space.
If one sit down to two empty slots, stop pulling.
Wait with one case into send plus clear before touching the final top pieces.
常见问题
What is the main trap to avoid in Level 83?
The biggest mistake is tapping colors that have no active bottom Box yet. They park on your Conveyor Belt and burn limited slots, so clear the shades that actually have receivers first.
How should I open Level 83?
Ignore the upper layers and aim at the bottom row of the Top Tray. Feed the colors that already have open boxes, then work upward once the lower lanes shift.
When does the midgame color change happen in Level 83?
After the opening boxes fall, the lower columns swap what they demand. Watch for the new shades and only pull blocks that match a box sitting at the front of a lower lane.
Any tip for finishing Level 83 clean?
Keep at least a few empty belt slots before poking mystery or hidden boxes. Feed a revealed color the moment it matches an active box, and fall back to visible marbles when the belt gets tight.