





Screenshots
Step-by-step solution
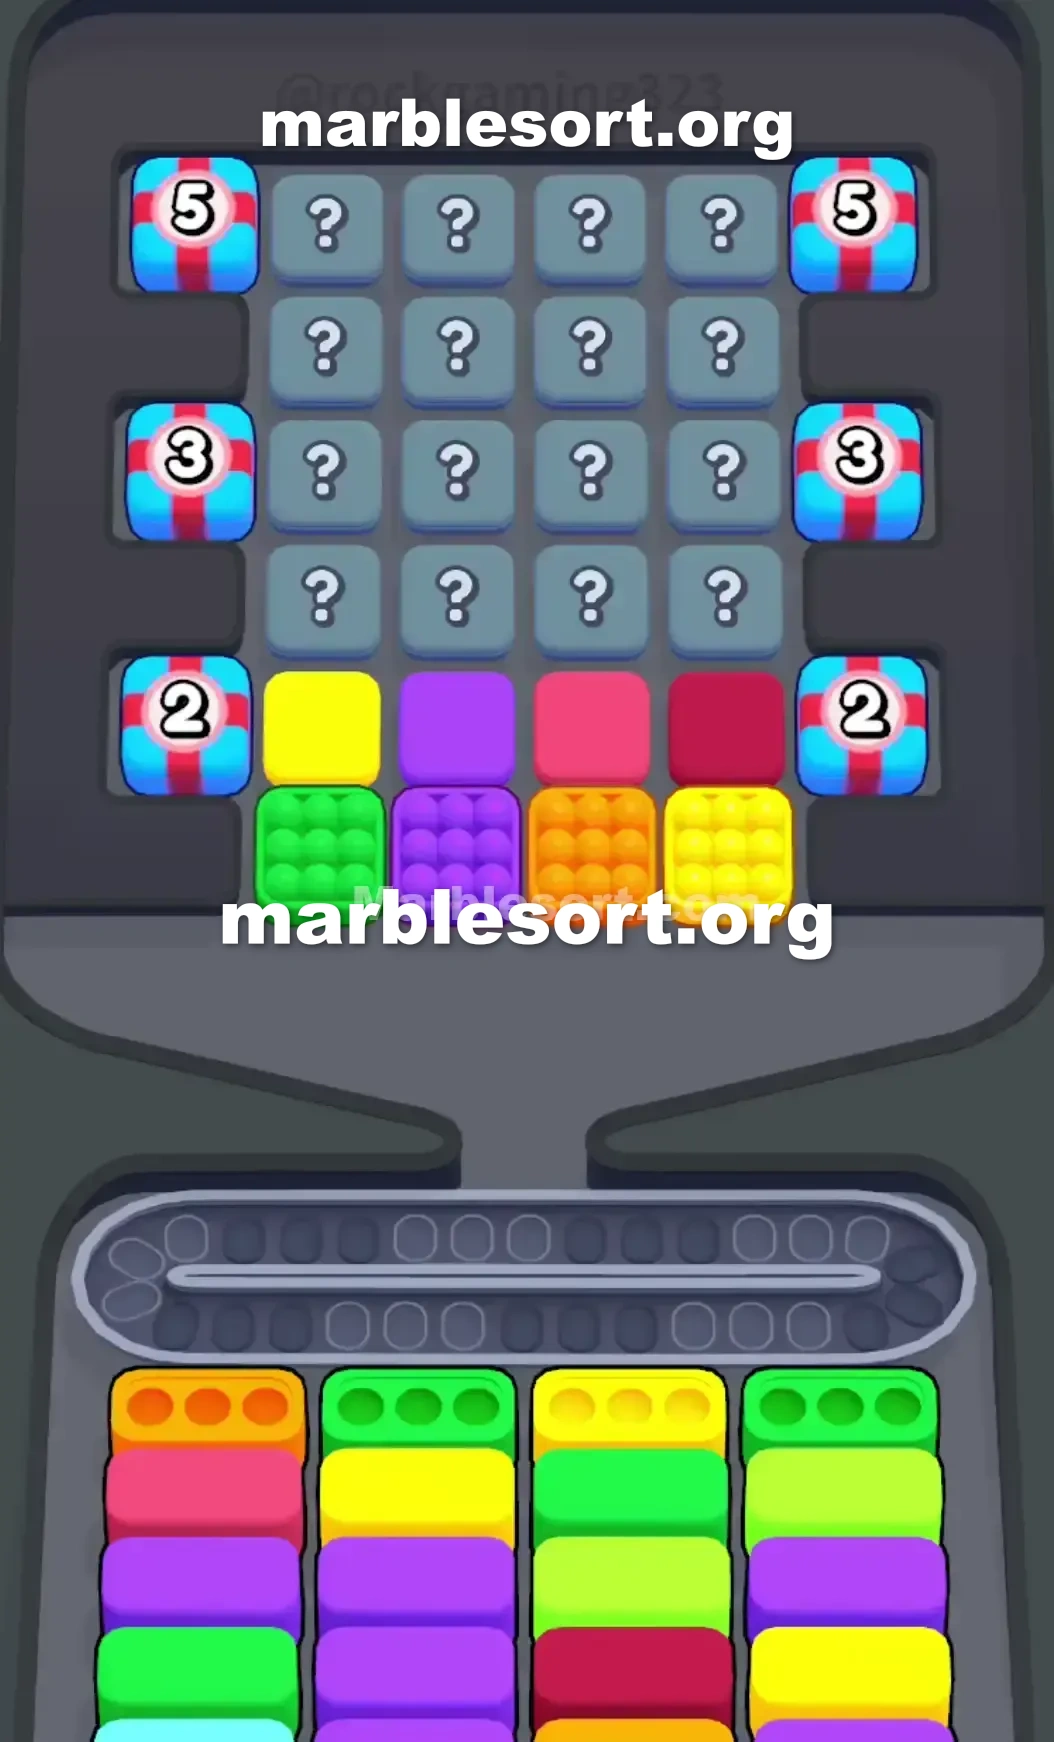
- 1) Start with the big emerald grid at the far-left end of the upper tray, letting it satisfy the emerald receiver that fronts the second lane for your first clear.
- 2) Tap the large tangerine grid next to it to route into the front-left tangerine container, then tap the large gold grid on the far right to clear the front gold container in the third lane.
- 3) Those initial clears unlock the '2' barriers on the sides, and the single gold square above the left emerald grid becomes available — drop it into the gold receiver that now fronts the second lane.
- 4) Filling that gold receiver pulls a violet receiver to the head of its lane, so play the massive violet grid now — with the belt clear, the marbles stream straight into the waiting violet container.
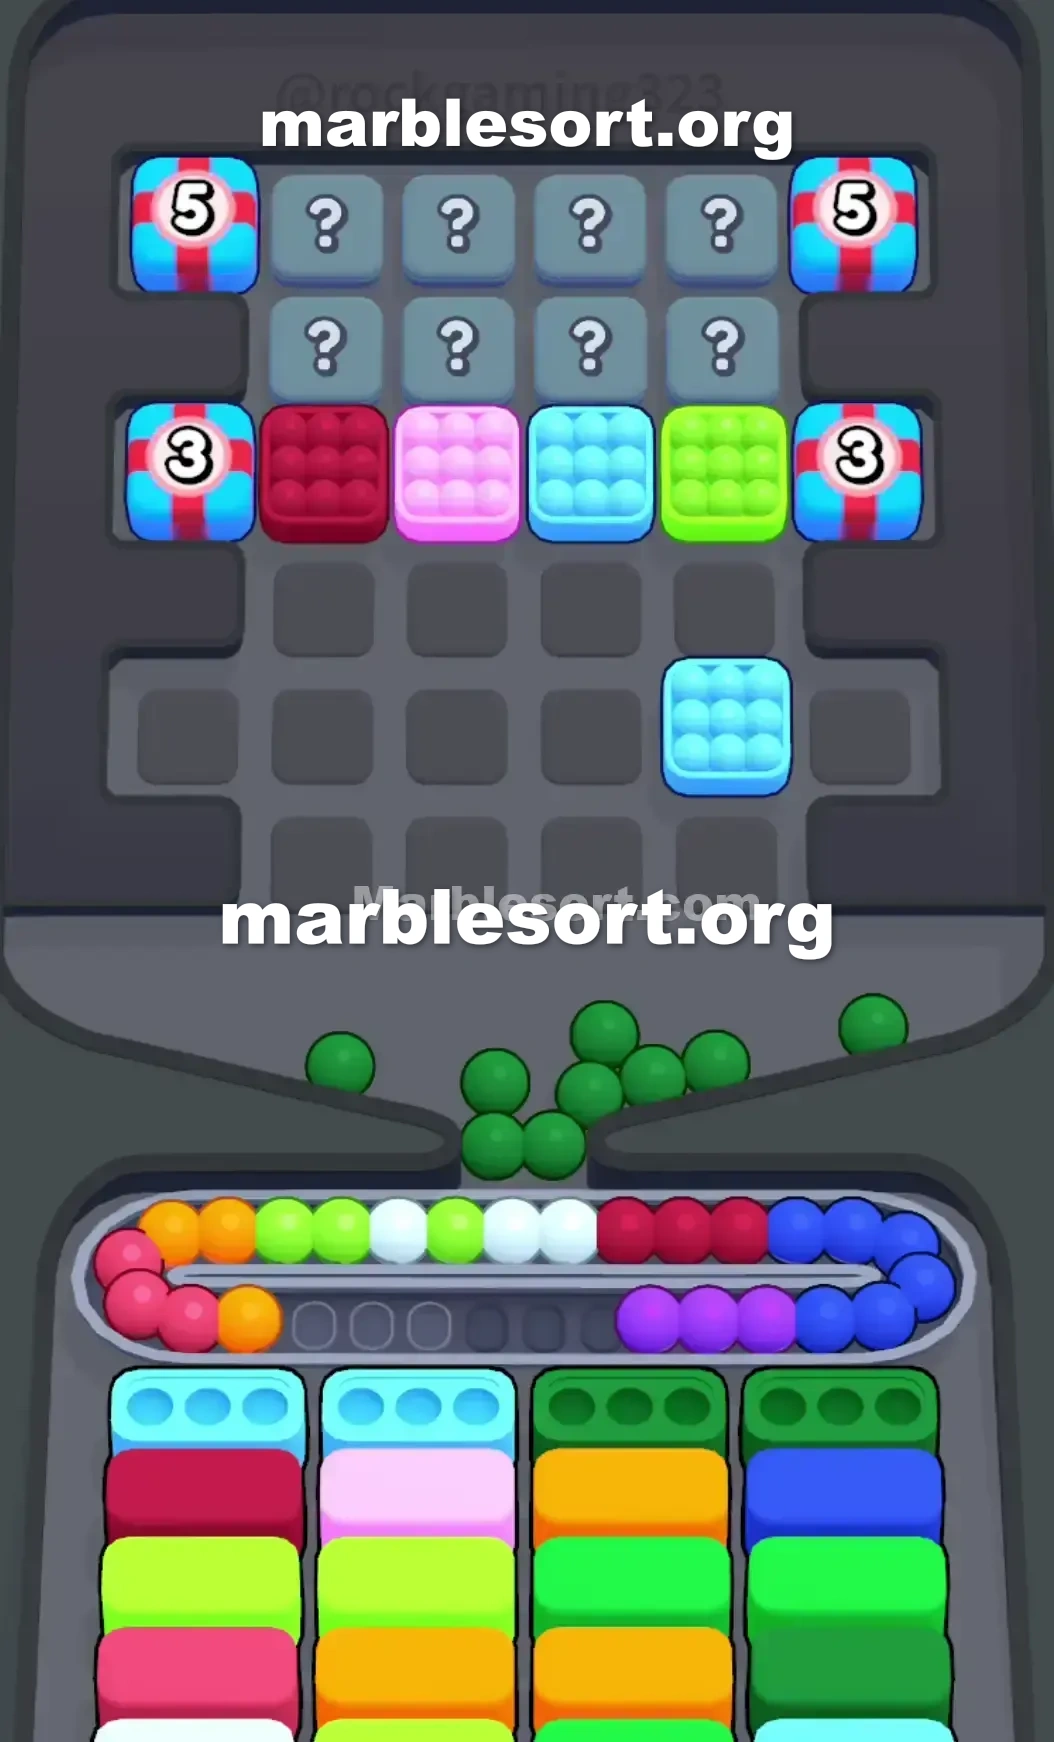
- 5) With a row of single squares now exposed (violet, rose, maroon), send the rose square toward the front-left lane to trip the '3' barriers, keeping your workspace clean as they dump new colors.
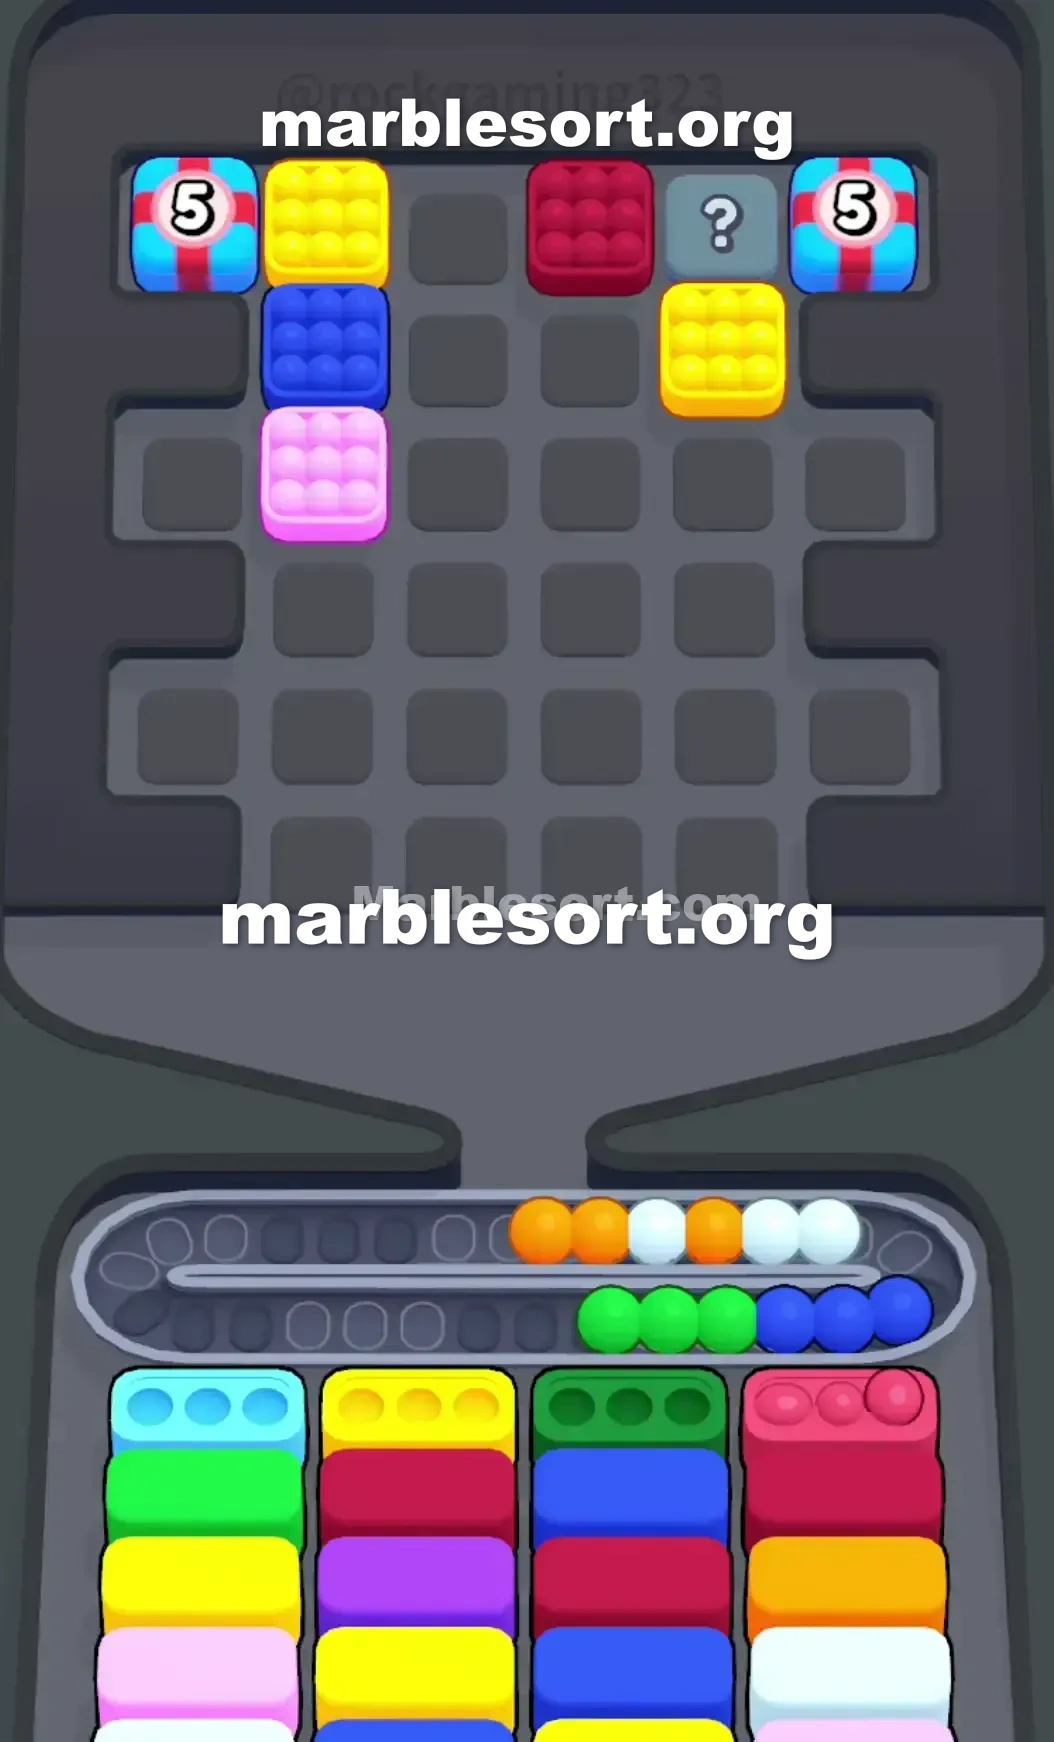
- 6) Dig deep into the grey hidden panels, where the receivers start demanding cyan, dark emerald, ivory, and azure — match any revealed gold, azure, or rose immediately, and never let the belt hold more than three mismatched marbles.
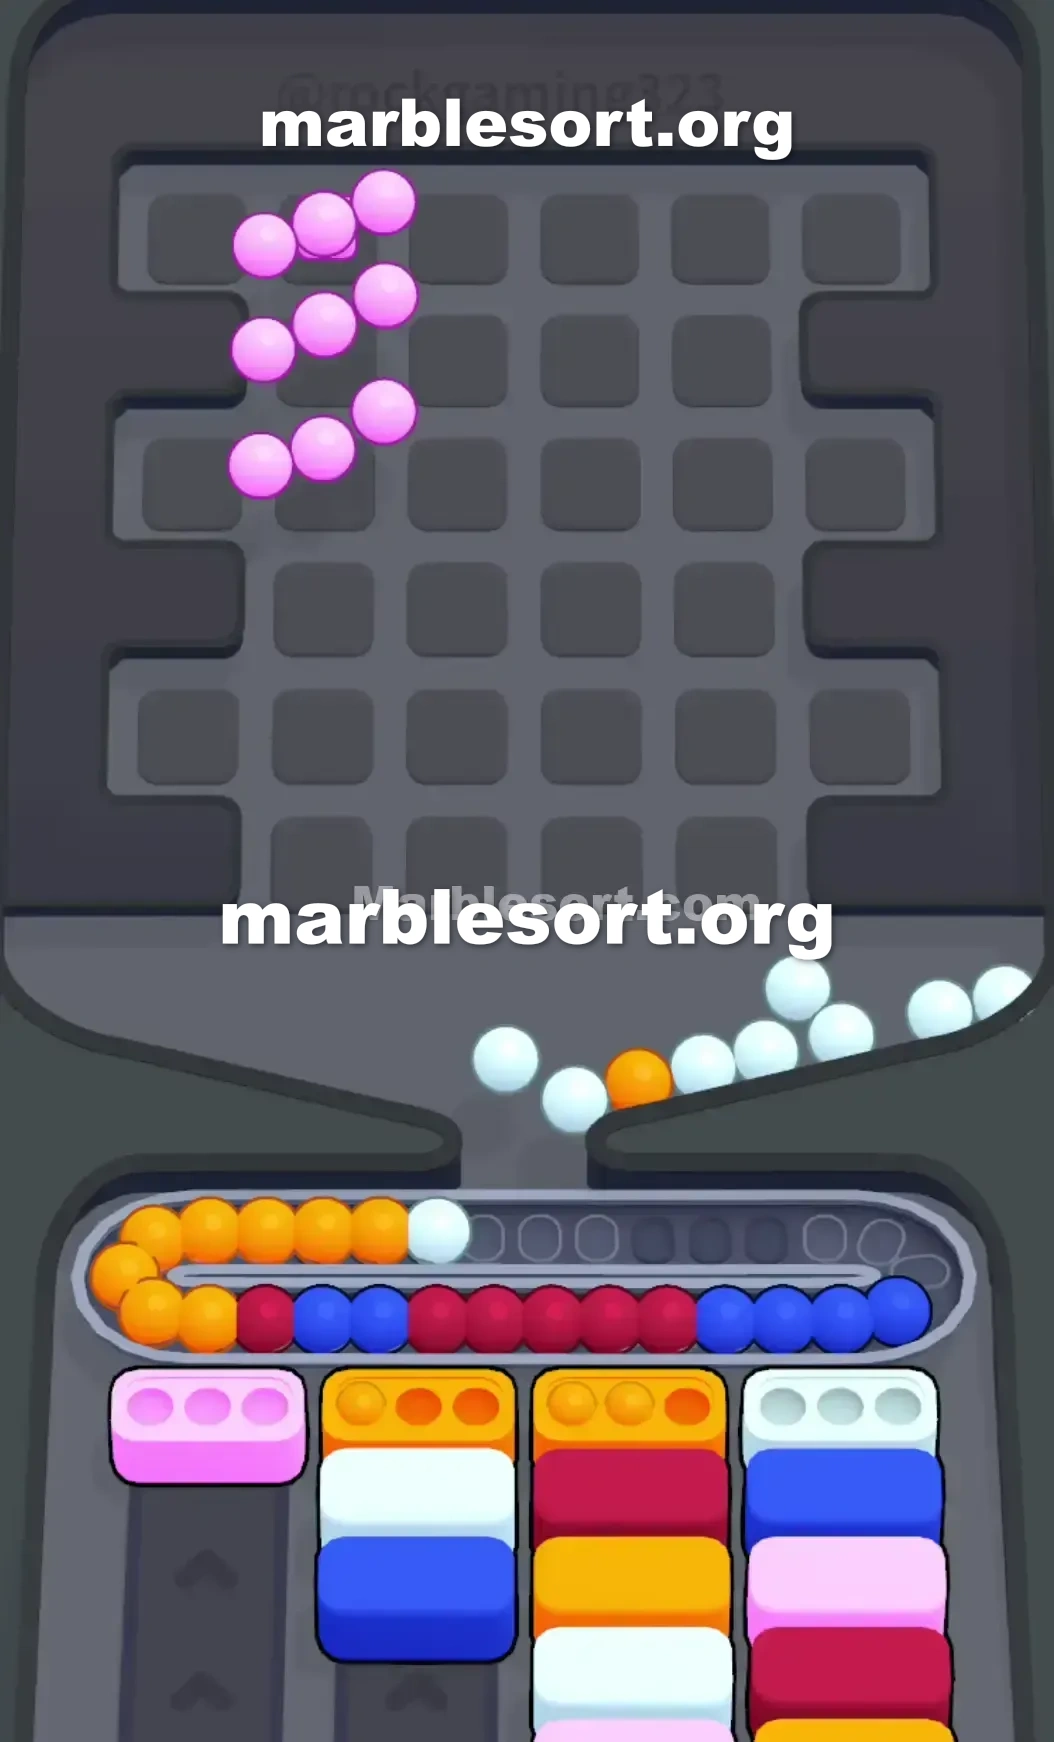
- 7) Push the clear count to burst the top '5' barriers, then pair the fresh azure and cyan blocks on sight so you can smash through the final hidden layers.
Level 107 Hidden Panel Countdown Trap
Level 107 presents some exceptionally punishing grid lockout scenario, designed into test whether players may resist this instinct into click the most visually prominent elements.
One formidable wall from grey secret panels dominates this middle, flanked via locked timer barriers over both sides, plus this entire game flow hinges over surviving an extremely narrow opening sequence.
One misplaced choose over this bad shade group at this very start permanently bricks the entire run.
this eye-catching elements that immediately draw attention sit this colossal 9-slot grids from emerald, violet, tangerine, plus gold positioned along this bottom of the upper tray.
this receiving area below stacks zzz containers deep across four tall lanes, plus this shades needed do not align using what this board tempts you to interact with.
Success requires carefully peeling rear this head tiers on one precise order into trigger this side countdown barriers without overwhelming the workspace.
Level 107 Hidden Panel Grid pattern
This board layout sits meticulously engineered into lure players into a rapid failure.
Every snare should be understood before making a single move.
this top rack sits dominated via one central mass from grey question-mark panels that conceal this mid-game colors you will eventually need.
Beneath this grey fortress lies one compact line from individual zzz colored zzz squares: one gold, one violet, one rose, plus one maroon.
Below that rests this starting line: four colossal 9-sphere grids composed from emerald, violet, tangerine, and gold.
Flanking this central lane sit six gift-wrapped numbered panels—three over each side.
this west side features timer barriers marked using 5, 3, plus 2, reading from top to bottom.
this east side mirrors this pattern precisely using another 5, 3, and 2.
those barriers unlock their contents just after bottom containers have been cleared.
this head line across this four lanes demands tangerine, emerald, gold, plus emerald again.
past those on this second line sit rose, gold, mint, plus another mint container.
Deep on the third row, violet containers finally appear.
This arrangement creates some immediate and massive trap.
this top rack places one giant violet sphere grid directly on the center of the starting line.
Tapping that violet grid causes those spheres into send straight onto this conveyor track using zero ready violet receiver available in the front row.
Those violet spheres sit over this track consuming critical room, choking this ability into route this emerald plus tangerine spheres needed to actually make progress.
Level 107 Level Overview
this head line should be played using surgical precision—no wasted moves.
this objective sits into empty exactly enough head lower containers into trigger this '2' barriers over this sides while completely avoiding the trapped colors.
Level 107 Unlocking the Front Line
this opening phase sits strictly about matching visible head-line containers using this safe shades parked at the bottom of the upper tray.
choose this big emerald sphere grid over the far left of the upper tray.
those spheres fill this emerald container in the second lane perfectly.
choose this large tangerine marble grid next to it.
This routes directly into this front-left tangerine container and clears it.
choose this big gold marble grid on the far right.
This flows down into this third lane, clearing the front gold container.
some active violet container still does not exist.
Check the bottom containers you just shifted.
this second lane now holds a gold container in front.
Level 107 Piercing the Hidden Panels
Clearing those first bottom containers fundamentally alters the board state.
this side barriers marked using one '2' unlock and drop their hidden marbles.
this single gold square on this top rack sits now exposed and available for immediate use.
choose this single gold square revealed above this left-side emerald grid.
Send that into this newly exposed gold container on the second lane.
Clearing that second-lane gold container pulls one violet container into this very front of the lane at last.
Now choose this massive violet grid in the upper tray.
this conveyor track sits empty, plus this spheres stream directly into the waiting violet container.
Examine this line from single squares now exposed below this grey panels.
One violet, one rose, and a maroon sit there waiting.
Route this rose square to the front-left lane.
this side barriers marked using a '3' now unlock.
those dump fresh shades onto this conveyor track—keep your workspace clean to avoid backup.
just send shades from this top rack when some exact matching lower container sits in the front row.
Level 107 Surviving the Final Squeeze
this board now requires digging deep into this grey hidden panels.
This phase becomes highly unpredictable since one sit relying over blind reveals from the hidden blocks.
this lower containers begin demanding cyan, dark emerald, ivory, plus azure.
this grey panels shall reveal clusters of gold, azure, and rose.
Focus intensely over this '5' barriers locked at this upper corners of the board.
Prioritize clearing any lower container that holds one matching visible shade on this top grid, even if that seems out of sequence.
If one grey door uncovers one maroon piece plus one maroon container rests on lane four, dispatch that immediately to keep the clear count climbing.
Never allow this conveyor track into hold more than three mismatched spheres during this final phase.
this moment this upper numbered barriers burst available, they flood the zone with fresh material.
Keep the bottom targets empty plus match newly revealed azure plus cyan pieces right to punch through the final hidden layers.
Frequently asked questions
How do I beat Marble Sort Level 107 (Water Sort Puzzle / Color Sort)?
Feed the colors that already have an open bottom Box first, keep your belt from filling up, and only release a new color when a matching Box is ready. Follow the move order in the solution above and you can clear Level 107 every time.
What is the main trap to avoid on Marble Sort Level 107?
The biggest mistake on Level 107 is tapping a color that has no active bottom Box yet — those marbles park on your Conveyor Belt and eat limited slots. Hold back any color that has no receiver waiting and the stage stays under control.
What colors do I need to match on Marble Sort Level 107?
Level 107 mainly revolves around Gold, Cyan. Focus on feeding Gold first when its Box is open, then introduce Cyan as the lower lanes free up so you never choke the belt.
How should I open Marble Sort Level 107?
Begin by checking the lower part of the tray and only select colors that already sit in an open Box down below. Clearing those first few matching blocks unlocks the rest of the board without jamming your sorting space.
How many moves does Marble Sort Level 107 take to complete?
Level 107 is a color-sequenced stage that clears cleanly when you stick to the exact order above. The step-by-step solution walks each move so you can finish it with the fewest taps and no wasted belt slots.
Is there a video walkthrough for Marble Sort Level 107?
Yes. The embedded video on this page walks through Marble Sort Level 107 move by move, and the screenshots below show each stage of the layout so you can follow along and beat it.