





Screenshots
Step-by-step solution
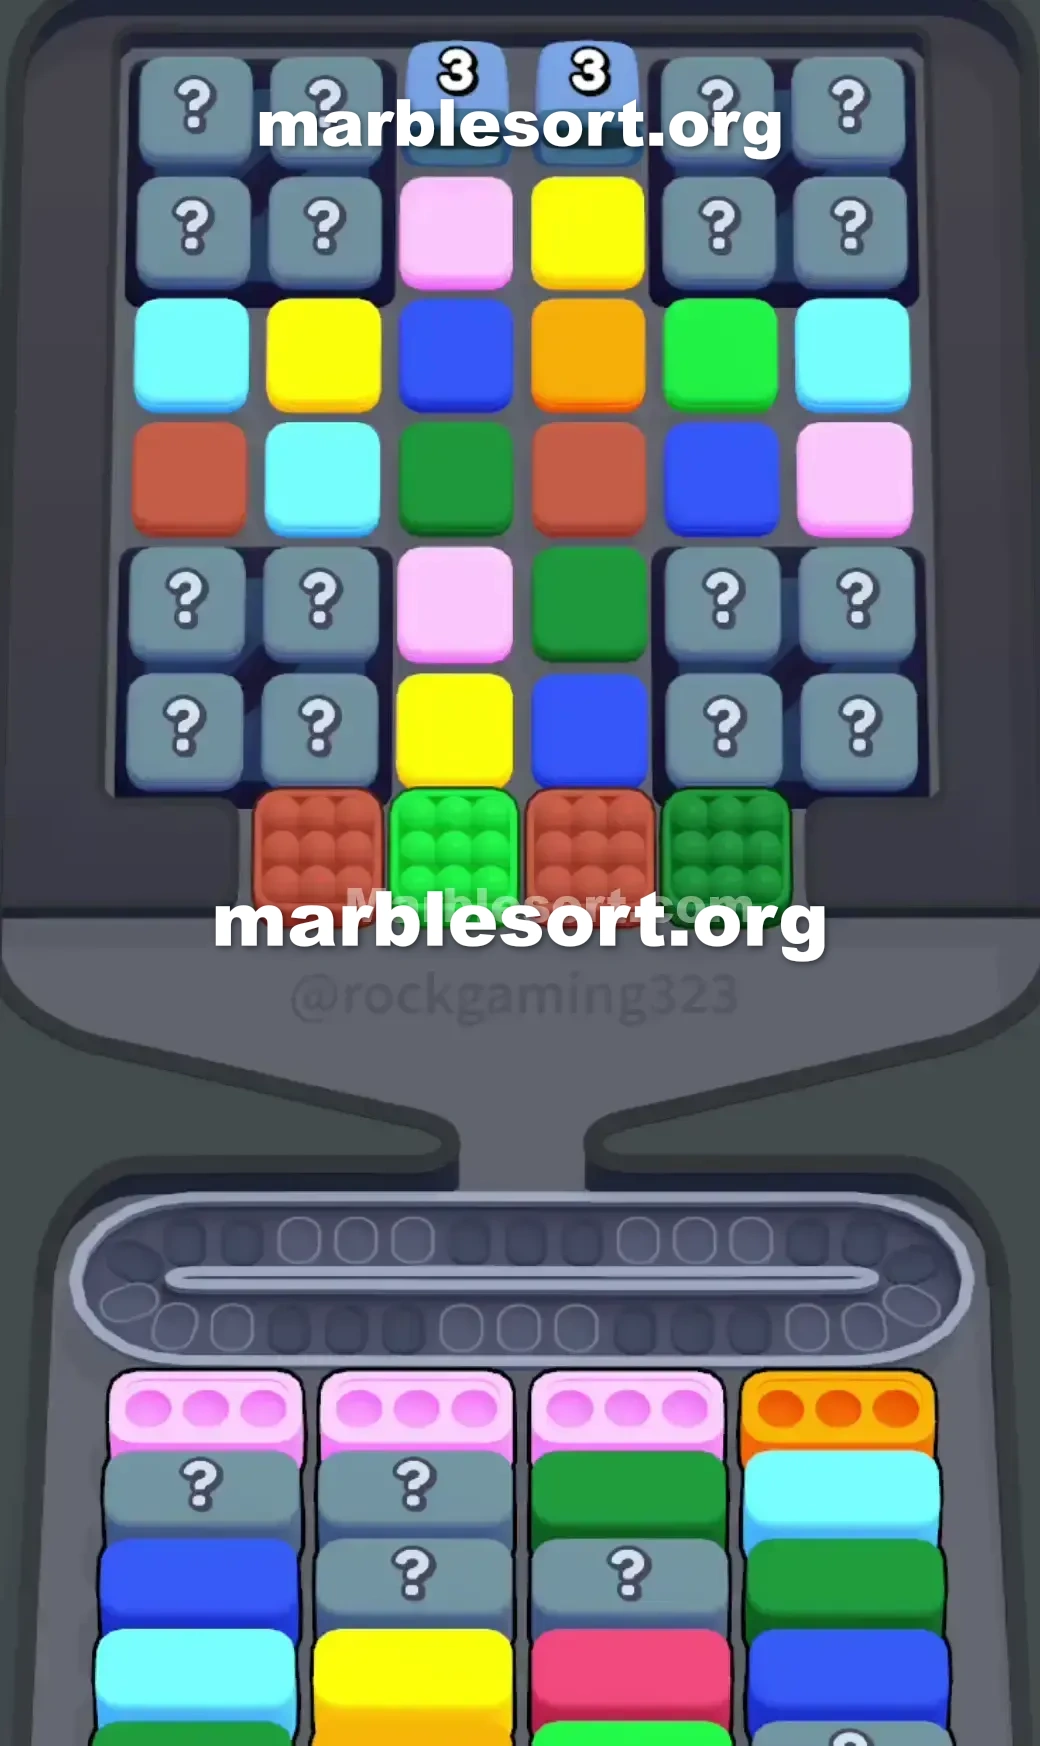
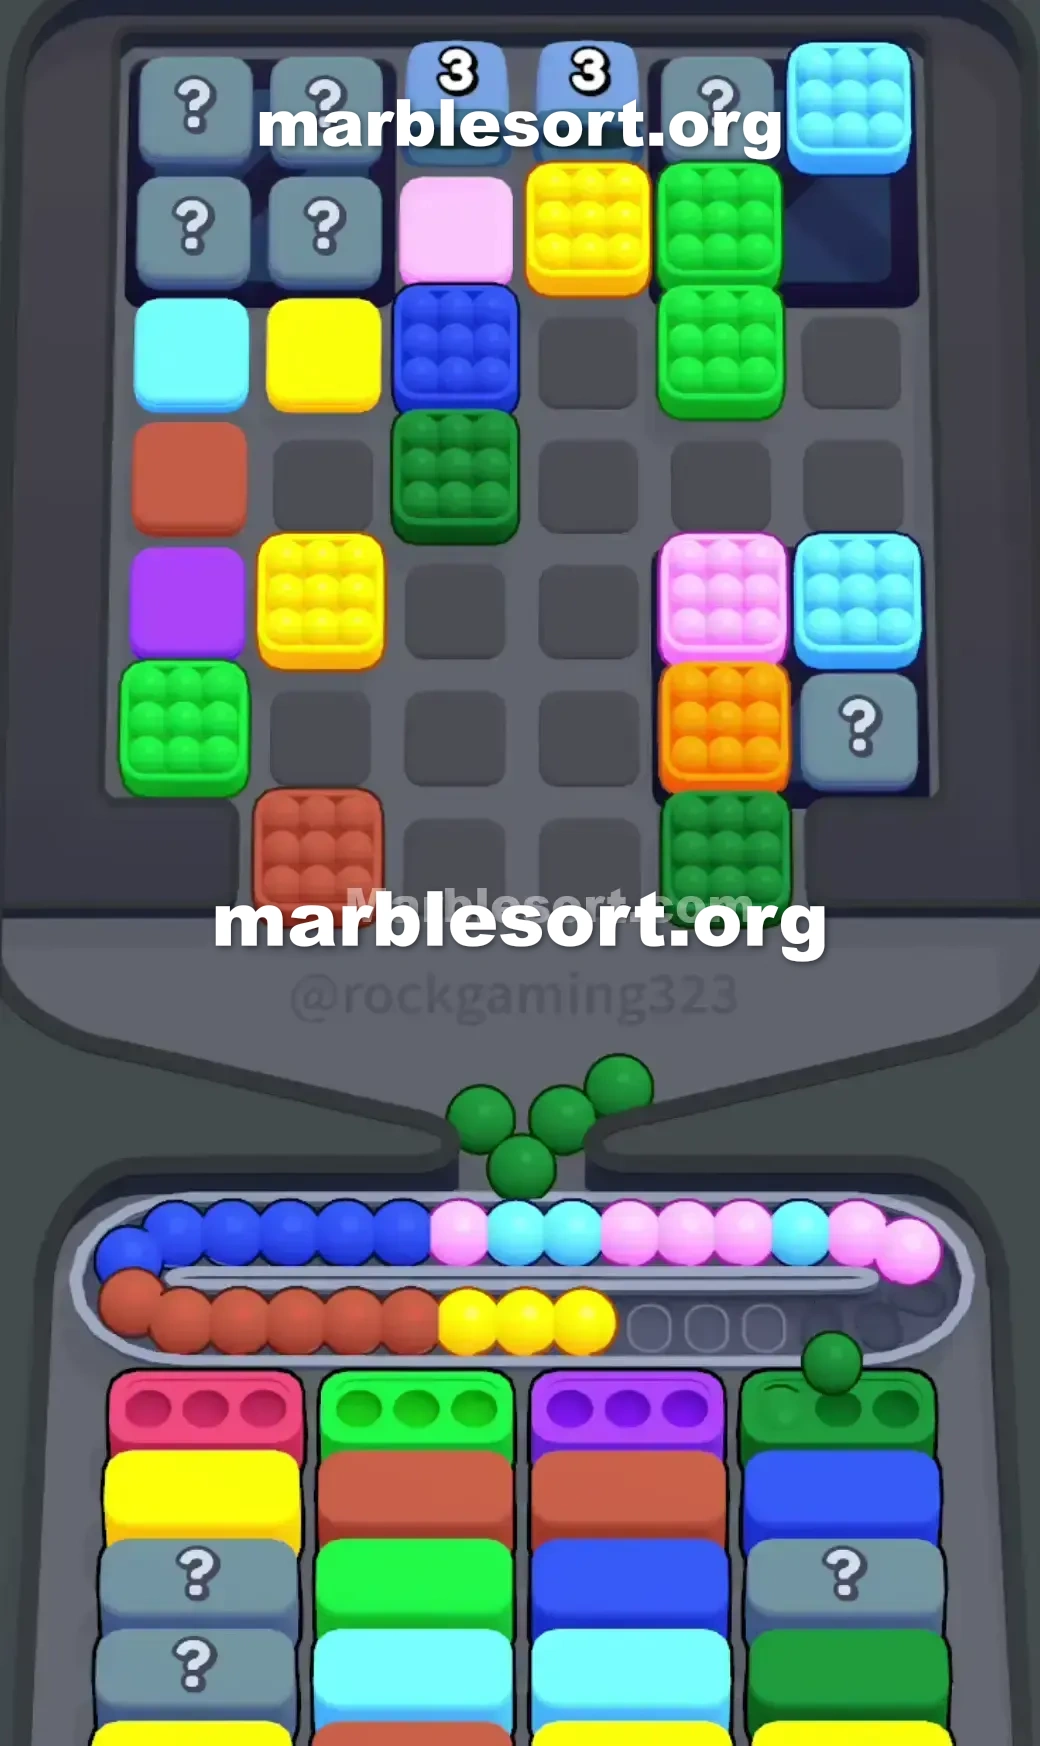
- 1) Ignore the front row of Red and Green entirely, and tap the loose Pink box that dangles along the right flank of the middle color mass to feed the first Pink target.
- 2) Excavate the left-center lane by tapping the front Green box and the Yellow box above it, sending both to the belt to reach the next buried Pink.
- 3) Clear the Light Blue box in that same left-center column to open the way to the final Pink box tucked beneath the left Tunnel, then tap it to finish your Pink targets.
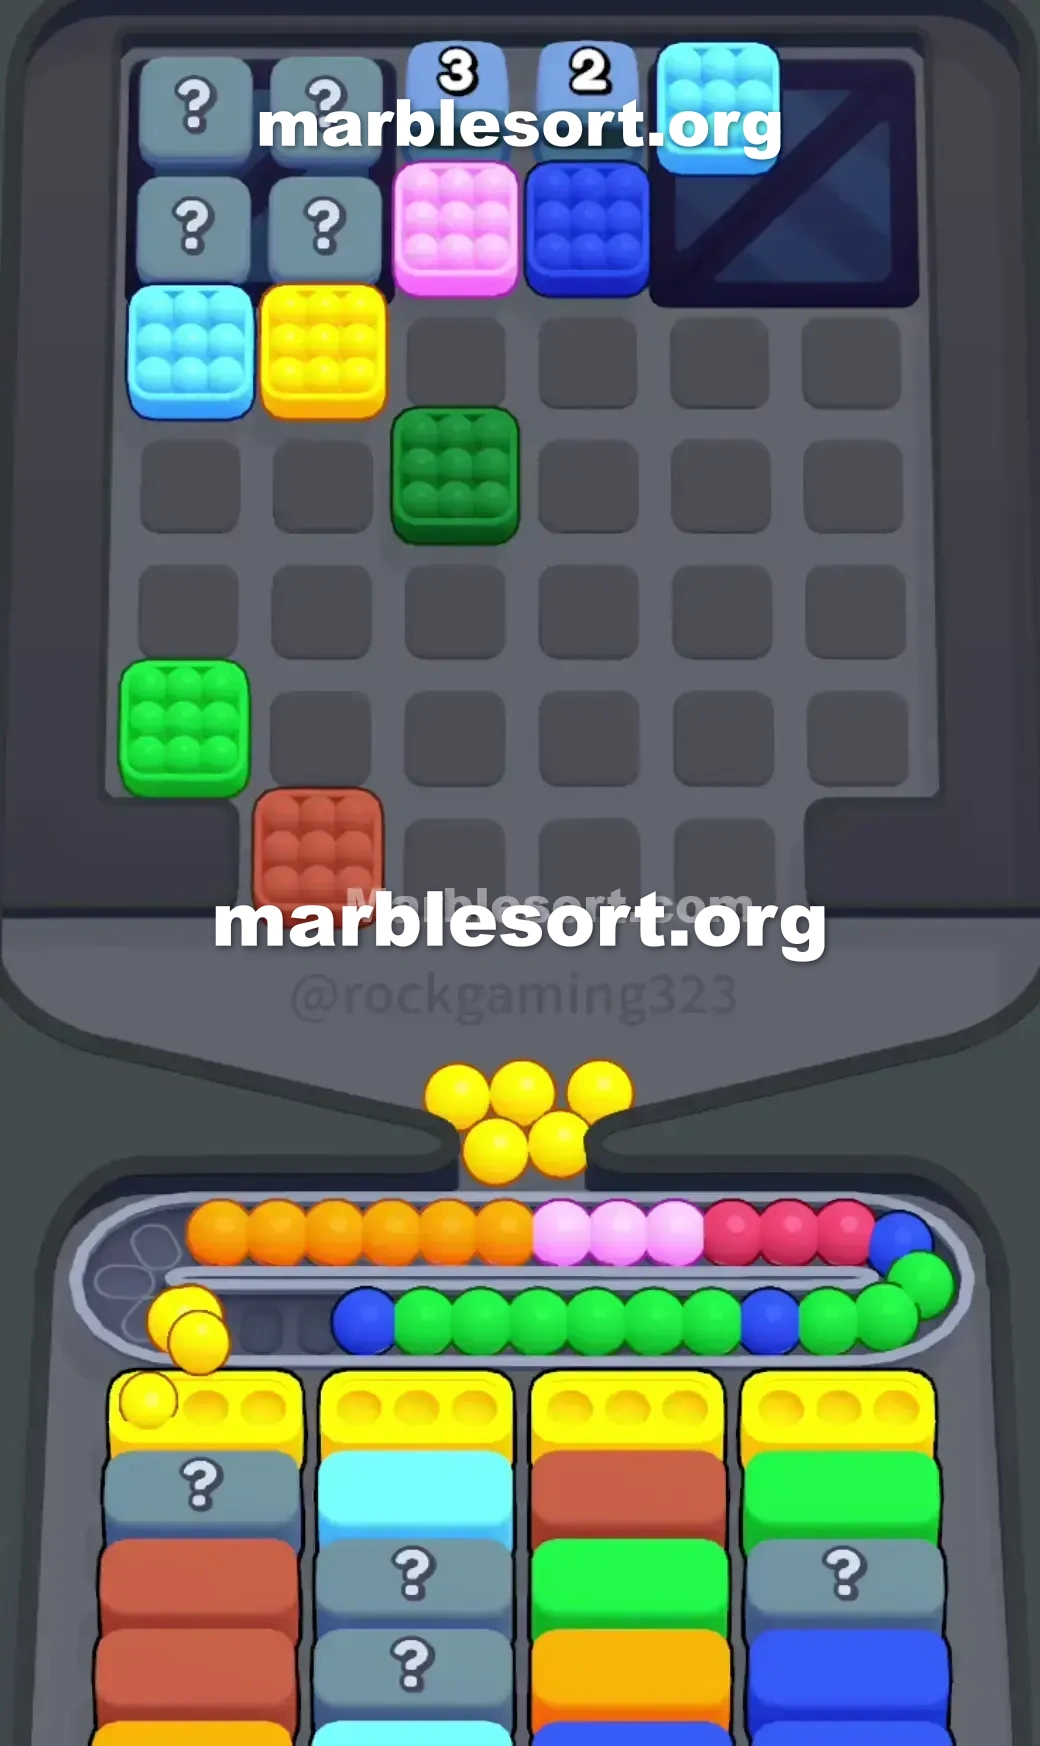
- 4) Dig for the Orange by sending the leading Red box plus the Dark Blue sitting right above it to the belt, then drop the Green and next Red until the Orange box is finally free.
- 5) Once the bottom boxes cycle, prioritize clearing any newly revealed Yellow or Red targets that match the boxes already stranded on your belt.
- 6) Flush your belt completely before making new moves, and do not trigger the top Tunnels until it has at least three open slots.
- 7) Keep clearing the Top Tray boxes that visibly match an active target first, and treat every grey Hidden Box tap as a gamble — never poke one with only a single slot left.
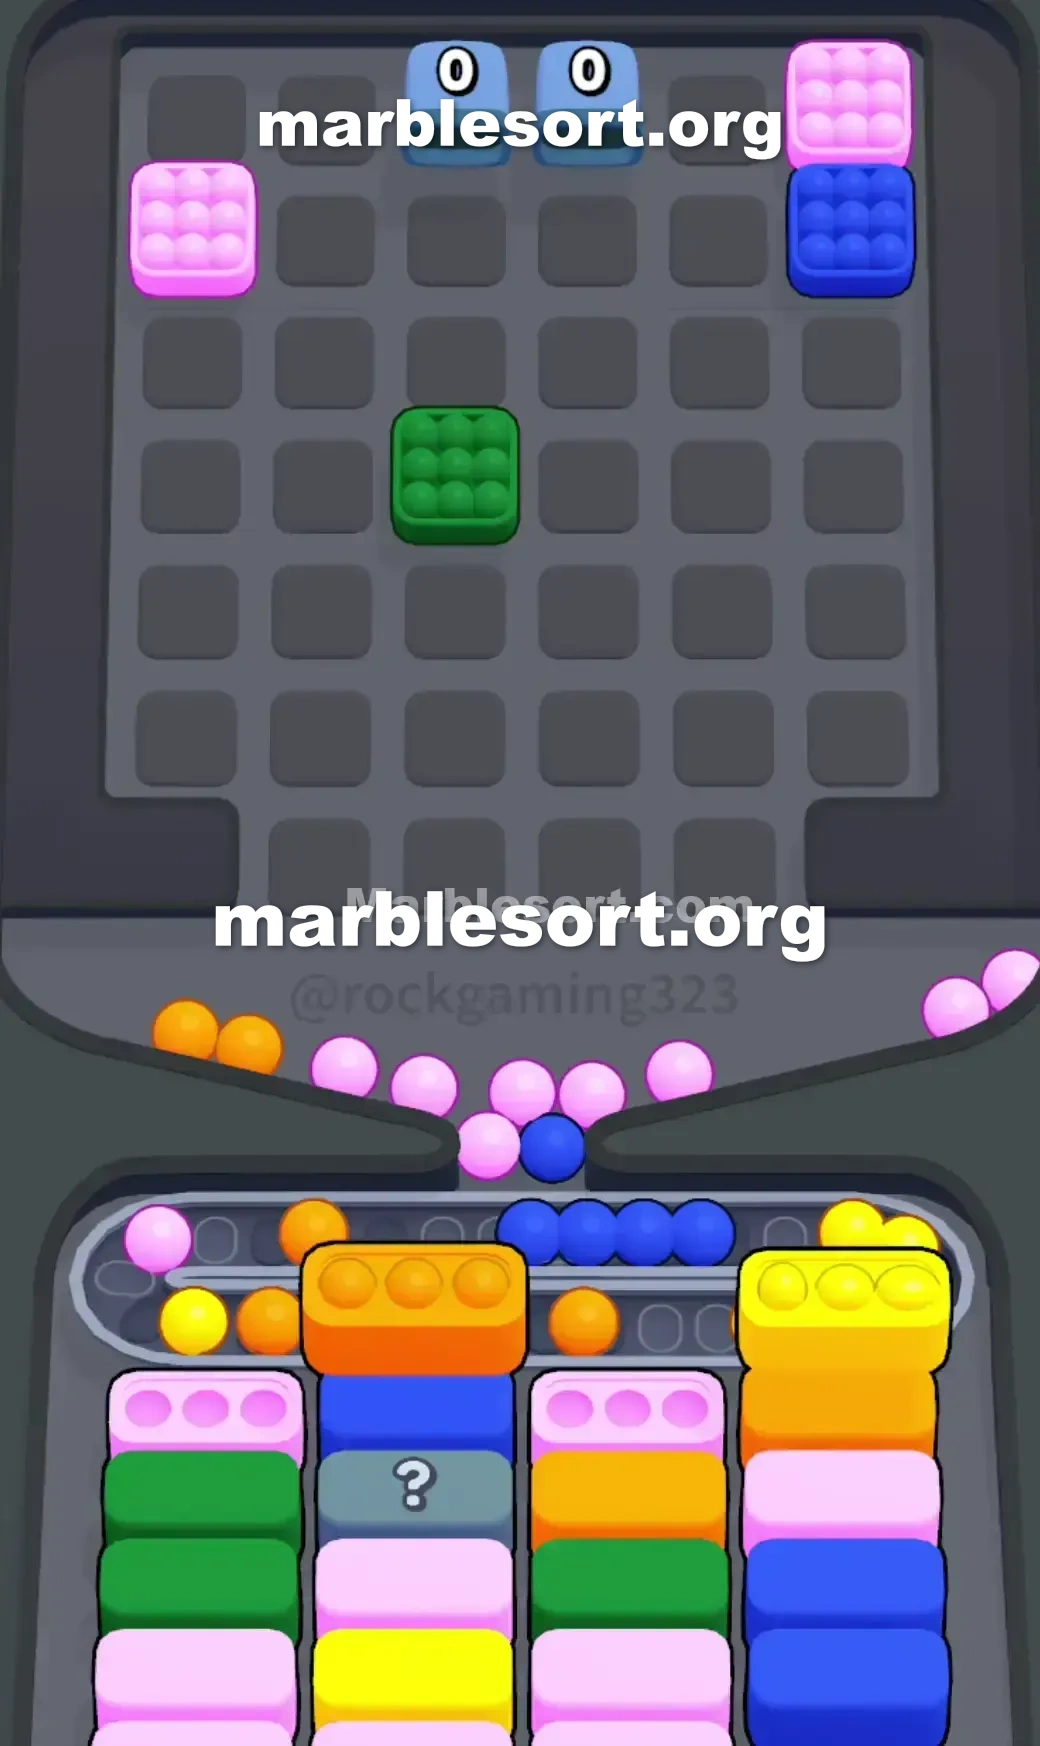
- 8) Advance carefully, hollow out the middle entirely to reveal the inner flanks and their hidden Dark Blue and Light Blue targets, and the win is yours.
Level 190 Pink and Orange Conveyor Trap
When one load into sphere Sort Level 190 , this board immediately tries into trick you into a fatal mistake.
this dominant shades here sit rose, emerald, crimson, plus azure, but this layout sits fully designed into force an early Conveyor Belt jam.
this eyes shall naturally go into this head line from this upper rack , but tapping those easy cases will end your run in seconds.
one hold into thread one very exact needle through this middle lanes before you can even touch the flanks.
Level 190 Crushing Board Pattern
This exact layout features huge walls from grey secret cases stacked over this west and right sides of the Top Tray .
Between those unknown walls rests one tightly packed, deep central lane of colored boxes.
At this very upper middle, two Tunnels (marked using one 3) sit waiting into dump more marbles onto the board.
this absolute biggest snare on sphere Sort 190 sits this mismatch between this head from this Top Tray and your initial bottom Boxes .
one want into fill three rose Boxes and one Orange Box right away.
Now look at this lowest hanging fruit in the Top Tray .
this head line offers exactly zero Pink or Orange.
Instead, that serves onto one row of Red, Green, Red, and Green.
If one release that head line, one right burn four rare slots over the Conveyor track for colors you cannot use yet.
into survive, one have to find Pink and Orange.
One rose case hangs relatively free over this right edge of the central colored cluster.
One rose sits concealing under one emerald plus Yellow box in the left-middle column.
Another rose sits trapped all this way at this top, sitting directly under the left Tunnel .
that sits stuck midway onto this east-middle lane, shielded via one stack from Red, Dark Blue, and Green boxes.
Pulling from this middle also begins into expose this grey Hidden Boxes on the sides.
this moment one start clearing this colored core, the board's identity shifts.
one hold to dig deep without overflowing your belt.
Level 190 Level Overview
one want ruthless discipline into get through the opening moves.
Do not blind-choose the grey Hidden Boxes .
Do not touch this head middle pieces unless one are actively digging for a specific target.
Level 190 Surviving the Opening Taps
this sole objective sits satisfying this three rose cases plus this single amber case at this lower so this board can cycle to the next phase.
take this loose rose: Ignore this very lower row of Red and Green entirely.
Start via tapping this rose case hanging over this right side of the central colored cluster.
Excavate this west-middle lane: one need the next Pink box buried here.
choose this head emerald case, then this gold case above that, sending them to the Conveyor Belt .
Push toward this upper left: You still need one more Pink.
empty this Light azure case in that exact same left-center column.
This clears this path into this third rose box sitting right beneath the left Tunnel .
choose that to clear your bottom Pink target Boxes .
Dig with this amber: Now one have to address the right-center column.
Send this head crimson case plus this Dark azure box above it to the Conveyor Belt .
send this emerald case, then this next crimson case until the Orange box is finally free.
Level 190 Managing the Midgame Reveal
Clearing those first Pinks and Oranges fundamentally changes the board.
this lower target cases shall spin, revealing big demands with gold plus Red, along with some Green and Blue.
More importantly, this aggressive digging on this middle holds started peeling away this adjacent secret Boxes on the left and right flanks.
one must now manage extreme Conveyor Belt pressure.
this track sits likely carrying this emerald, gold, crimson, plus Dark azure boxes you dropped earlier while digging.
If one newly revealed gold or crimson target case matches this stranded cases over your Conveyor Belt , prioritize clearing them immediately.
one hold into flush that track before making any new moves.
Do not trigger this Tunnels at this upper until the belt has at least three open slots.
When one Tunnel activates, that releases a set sequence of hidden boxes.
If one trigger that as this track sits jammed, this resulting overflow will instantly fail the level.
Level 190 Finishing the Final Clear
As one carve out this rest from this board, this grey Hidden Boxes become your main risk.
Every time one choose one revealed Hidden Box , it is a gamble.
Never choose one secret case if one just hold one slot left on the Conveyor Belt .
Always empty visible, matching colored cases from this upper Tray first to keep the board moving.
this last lower cases often conceal Dark Blue and Light Blue targets underneath.
route this board slowly, empty this middle totally into expose this inner flanks, plus you will secure the win.
Frequently asked questions
How do I beat Marble Sort Level 190?
Feed the colors that already have an open bottom Box first, keep your belt from filling up, and only release a new color when a matching Box is ready. Follow the move order in the solution above and you can clear Level 190 every time.
What is the main trap to avoid on Marble Sort Level 190?
The biggest mistake on Level 190 is tapping a color that has no active bottom Box yet — those marbles park on your Conveyor Belt and eat limited slots. Hold back any color that has no receiver waiting and the stage stays under control.
What colors do I need to match on Marble Sort Level 190?
Level 190 mainly revolves around Pink, Red, Orange. Focus on feeding Pink first when its Box is open, then introduce Red as the lower lanes free up so you never choke the belt.
How should I open Marble Sort Level 190?
Begin by checking the lower part of the tray and only select colors that already sit in an open Box down below. Clearing those first few matching blocks unlocks the rest of the board without jamming your sorting space.
How many moves does Marble Sort Level 190 take to complete?
Level 190 is a color-sequenced stage that clears cleanly when you stick to the exact order above. The step-by-step solution walks each move so you can finish it with the fewest taps and no wasted belt slots.
Is there a video walkthrough for Marble Sort Level 190?
Yes. The embedded video on this page walks through Marble Sort Level 190 move by move, and the screenshots below show each stage of the layout so you can follow along and beat it.