





Screenshots
Step-by-step solution
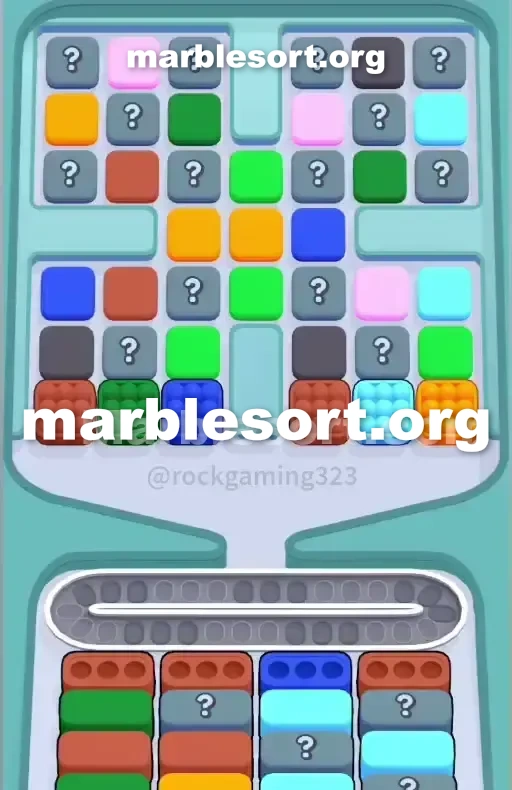
- 1) Clear the far-left Red box by tapping the easy Red marbles at the lower-left and lower-right of the tray, which drops a Green Box into Column 1.
- 2) Move to Column 3 and tap the Dark Blue marble on the bottom left to fill the Dark Blue box, revealing the Light Blue Box underneath it.
- 3) Round up the leftover Red sitting in the upper side stacks and push them all into Column 4 so that Red container clears and its Hidden Box flips.
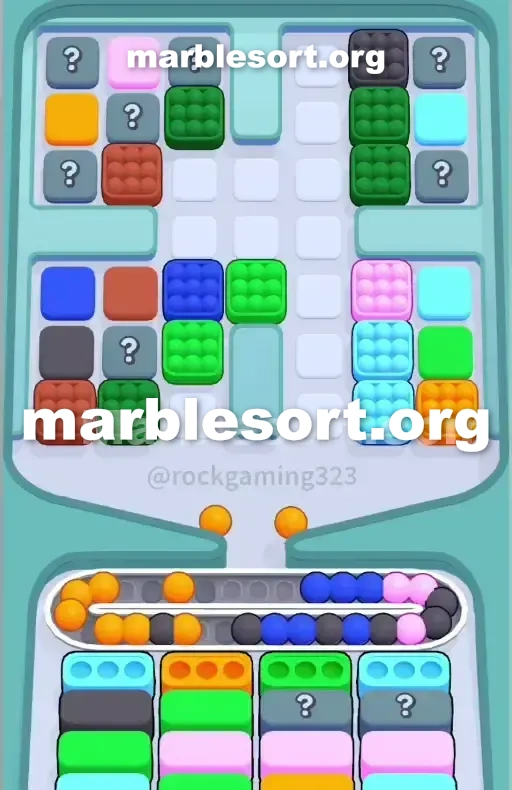
- 4) Leave the middle-left Red box in Column 2 alone for now, since you lack enough loose Red to clear it safely.
- 5) Attack the Green by tapping the Green marbles flanking the center cross and sending them into the new Green Box in Column 1 to strip the armor off the middle.
- 6) Feed the Light Blue from the tray's right flank into Column 3, and as the ? blockers become playable, use any revealed Red to finish the stubborn Column 2 Red box.
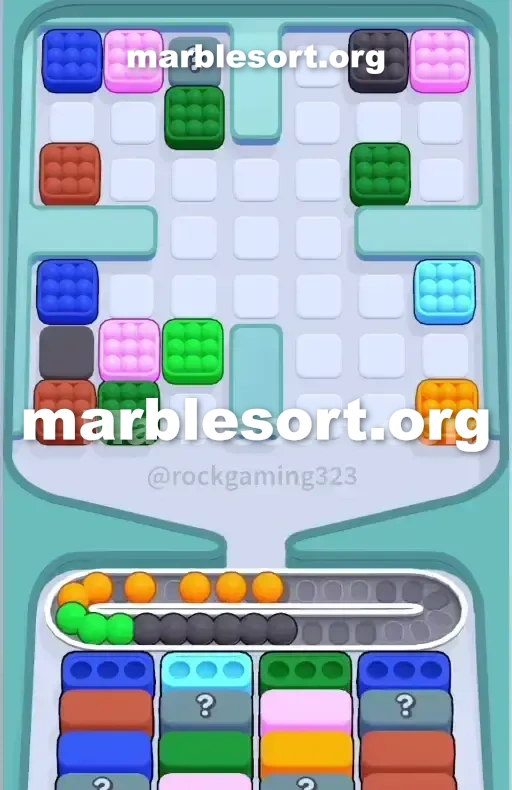
- 7) Do not drop the Dark Grey on the borders or the upper-right Pink to the belt until a lower Hidden Box flips into a matching color, and hold at most two off-color blocks if you must uncover a marble.
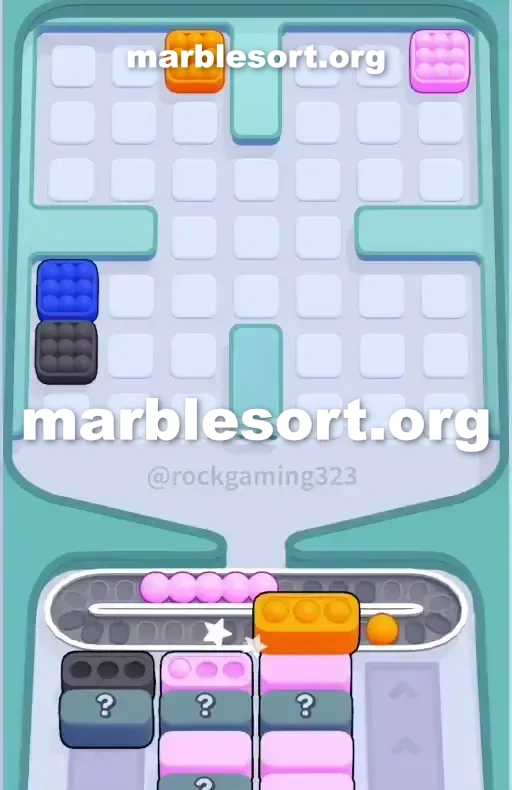
- 8) Once the center is hollow, route the freed Orange marbles into the deep Orange Box in Column 2, and only start a bottom box when all three of its marbles are visible on the board.
Level 191 Triple Red Frontline Trap
This board looks generous at first glance.
one send on plus immediately spot dominant shades like Red, Dark Blue, Green, and Orange.
this upper rack sits heavily loaded using ready-into-play marbles on the bottom edges.
this absolute biggest snare over this board sits the frontline of the receiving area.
Out from this four starting lower columns, three of them demand Red marbles.
If one blindly choose every crimson piece one spot, one shall split the matches across multiple cases, choke the Conveyor track , plus fail before you even reach the midgame.
one want one precise surgical strike to break this setup.
Level 191 Cross-Core Pattern
Every board holds one exact fingerprint, plus this one sits defined via its segmented upper Tray and heavy blocker presence.
Look straight at this center of the board.
one shall spot one distinct cross shape made fully of Green and Orange marbles.
that sits totally locked down via one dense grid from '?' mystery blocks and flanking colors.
one can't touch that core until one dismantle the lower left and right corners.
this west side from this upper rack holds stacks from Dark azure, Red, and highly dangerous Dark Grey marbles.
this east side mirrors this using Light Blue, Pink, and more Dark Grey.
this lower-most playable line gives one access into crimson, emerald, plus Dark azure over this west, plus crimson, Light Blue, and Orange on the right.
Now look down at this lower receiving area.
one have exactly four columns to work with.
this head line sits brutal: lane 1: crimson case lane 2: crimson case lane 3: Dark azure case lane 4: crimson Box This is the entire puzzle.
one hold three crimson cases begging with spheres, but this upper rack just gives one a few accessible Red blocks right away.
If one send two crimson spheres into lane 1 plus one crimson marble into Column 4, neither Box clears.
Beneath that frontline, things zzz get even more tense.
lanes 2 plus 4 sit masking Hidden Boxes marked with question marks.
one hold zero idea what shades they want until one empty this Red Boxes sitting on top of them.
one should clear the outer columns first to survive.
Level 191 Level Overview
Leave this Dark Grey and Pink marbles completely alone.
Touching them east now sits one guaranteed loss since there are zero matching bottom Boxes visible.
Keep the Conveyor track empty and strictly follow this release order.
Level 191 Beating the Frontline Bait
this first taps dictate this entire flow of the board.
one should consolidate the crimson marbles into specific columns to force reveals.
empty this far-left Red Box: Target Column 1.
choose this accessible crimson spheres located over this lower west plus bottom right edges of the Top Tray .
Expose this emerald case: Clearing lane 1 sends a Green Box into the active row.
empty this Dark Blue Box: Move to Column 3.
choose this Dark azure sphere hanging over the bottom left of the Top Tray .
Fill this Dark azure case into show the Light Blue Box waiting underneath it.
Finish this far-east crimson case: Gather this remaining loose crimson marbles from the upper side clusters.
Send them fully into lane 4 to clear that Red Box .
show this first secret case: Dropping lane 4 forces this '?' secret Box to flip and reveal its color.
Ignore lane 2: Leave this middle-left Red Box alone for now.
one do not hold enough loose crimson spheres west into empty that without digging recklessly into the top stack.
Level 191 Breaking the Cross-Core
using lane 1 plus lane 3 now showing emerald plus Light azure, one atlast hold one safe place into dump this shades locking up the center of the board.
Attack this emerald: choose the Green marbles flanking the center cross.
Send them straight into this newly revealed Green Box in Column 1.
This strips this armor off this middle of the Top Tray .
empty this Light azure: Funnel this Light azure spheres from this east side of the tray into Column 3.
Crack this "?" Blockers: As one empty this emerald plus Light azure spheres, this "?" pieces on this upper Tray will start turning into playable colors.
If they show crimson, immediately use them into finish off that stubborn crimson Box sitting in Column 2.
Handle this Dark Grey Jam: one shall eventually expose this Dark Grey spheres parked high onto on the left and right borders.
Do not send them into this Conveyor track until one from the bottom secret cases flips plus reveals itself as a Dark Grey Box .
Push through this rose: this exact same rule applies into this Pink marbles trapped on the upper right.
Use this Conveyor track into hold one maximum from two off-shade pieces if one desperately want to uncover a hidden marble beneath them.
empty this amber: Once this middle sits hollowed out, this amber spheres from the core will finally be free.
Route them into this Orange Box hiding deep in Column 2.
Never start filling one lower case unless one may spot all three required marbles on the board.
empty this head, expose this secret cases , plus respect this Conveyor track space to easily beat this level.
Frequently asked questions
How do I beat Marble Sort Level 191?
Feed the colors that already have an open bottom Box first, keep your belt from filling up, and only release a new color when a matching Box is ready. Follow the move order in the solution above and you can clear Level 191 every time.
What is the main trap to avoid on Marble Sort Level 191?
The biggest mistake on Level 191 is tapping a color that has no active bottom Box yet — those marbles park on your Conveyor Belt and eat limited slots. Hold back any color that has no receiver waiting and the stage stays under control.
What colors do I need to match on Marble Sort Level 191?
Level 191 mainly revolves around Red, Green, Light Blue. Focus on feeding Red first when its Box is open, then introduce Green as the lower lanes free up so you never choke the belt.
How should I open Marble Sort Level 191?
Begin by checking the lower part of the tray and only select colors that already sit in an open Box down below. Clearing those first few matching blocks unlocks the rest of the board without jamming your sorting space.
How many moves does Marble Sort Level 191 take to complete?
Level 191 is a color-sequenced stage that clears cleanly when you stick to the exact order above. The step-by-step solution walks each move so you can finish it with the fewest taps and no wasted belt slots.
Is there a video walkthrough for Marble Sort Level 191?
Yes. The embedded video on this page walks through Marble Sort Level 191 move by move, and the screenshots below show each stage of the layout so you can follow along and beat it.