





Screenshots
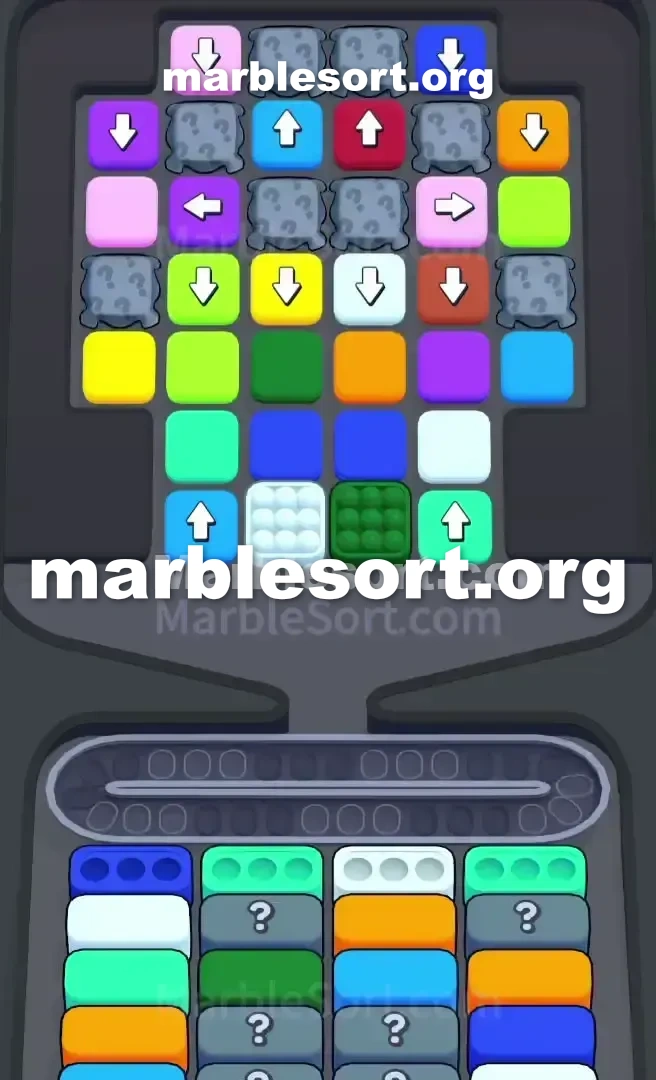
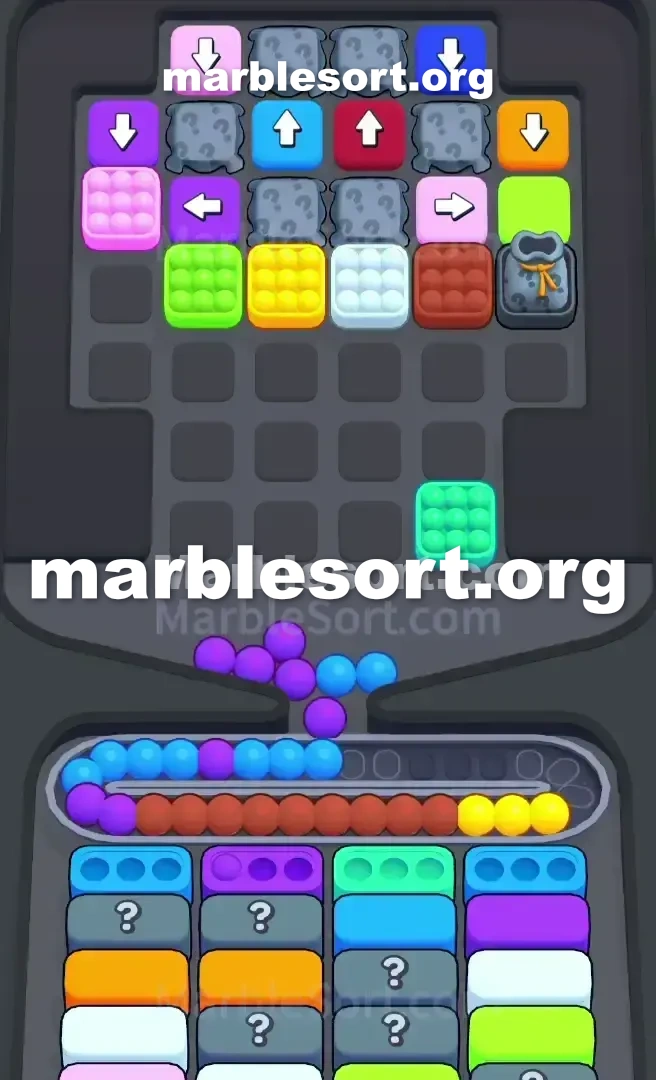
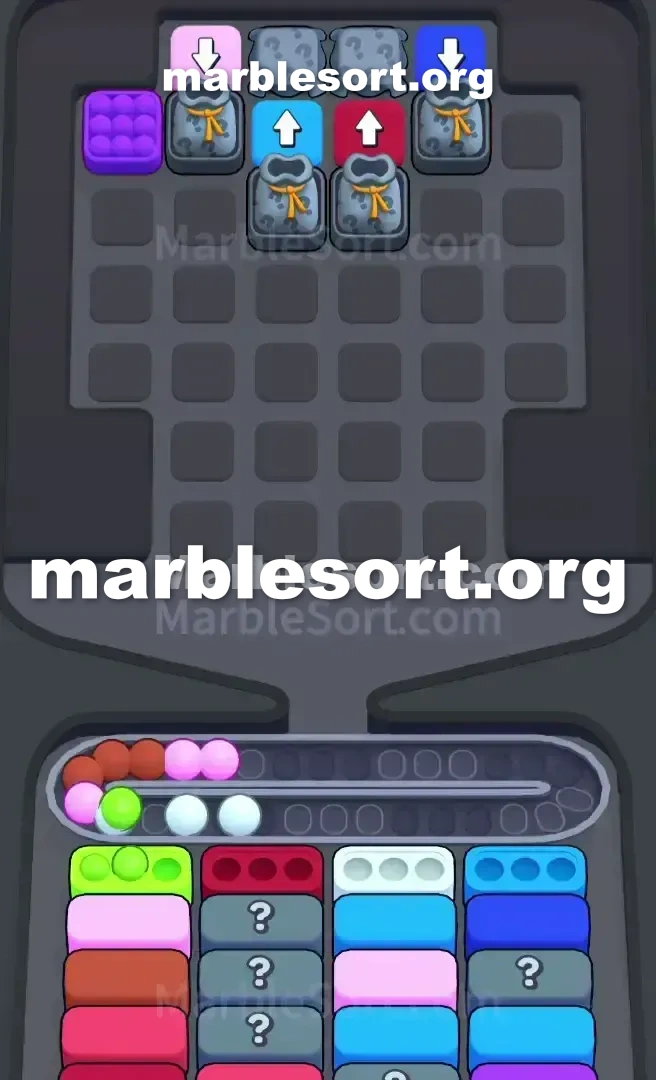
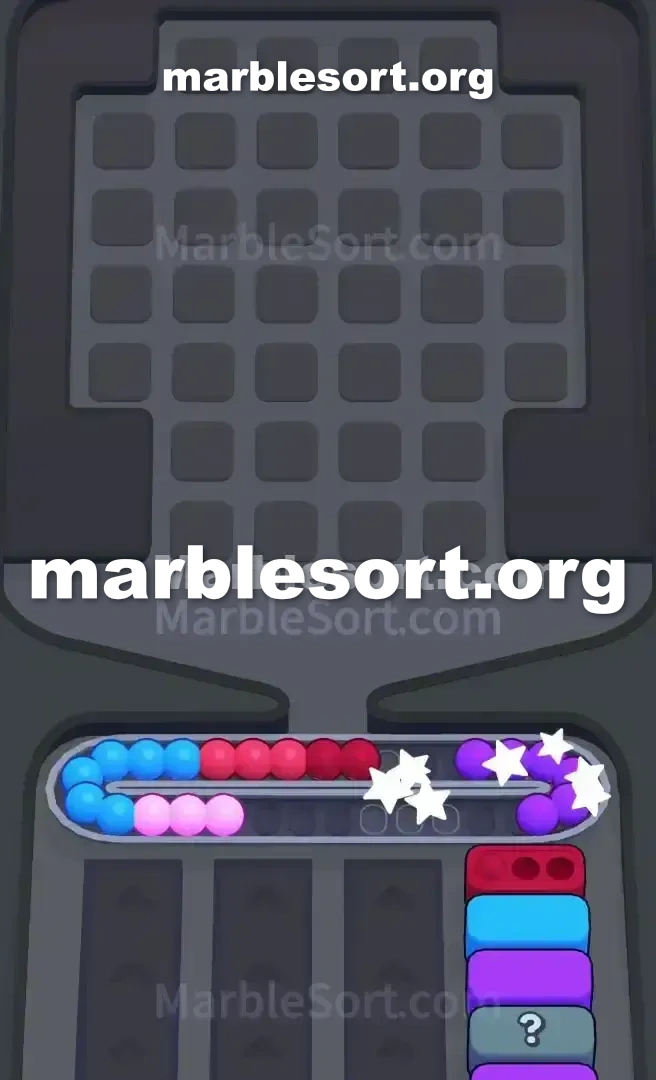
Step-by-step solution
- 1) Hold off on the Red and Dark Blue blocks at the two far ends of the Top Tray, and open instead by dropping the front Pink into the first required bottom Box.
- 2) Send the front-row Green down to complete the Green receiver on the right half, then line up the Purple you need for the next case.
- 3) Since the Purple is blocked by the White, tap the front White to the Conveyor Belt to open a path, then tap the left Purple to fill the bottom Box and shift the lower queue.
- 4) Pick between the freshly exposed Yellow and the leftover Pink by what lands at the front of the queue, sending the Purple, Yellow, and second Purple down to blow apart the bottom-left and bottom-right Crates.
- 5) Compare every uncovered shade to the open bottom cases, putting first priority on anything that matches the White parked on the belt to reclaim that room quickly.
- 6) Tap the blocks guarding the central numbered Tunnels one at a time to release their hidden sequences, and only chip the central Mystery column when a clear is guaranteed.
- 7) Pop the left Gift Box by clearing the tile directly under it, fully sort the four boxes it spawns before moving right, and keep the Green-Yellow Connected pair ready so both colors fall at once.
- 8) Destroy the upper-left and upper-right Crates by finishing the remaining central Mystery spine, then drop the late Red and Dark Blue edge blocks now that they are safe, managing the belt to close out.
Level 230 Four-Crate Blockade
sphere Sort Level 230 hits one with a massive, immediate wall.
this upper from this board sits totally choked out by four massive wooden Crates .
this dominant starting shades sit rose, emerald, ivory, plus violet, but getting into them on the right order is a nightmare.
east from this start, the upper rack is forcing you into a tight corner.
one just hold five accessible sphere blocks in the front row.
Meanwhile, this lower cases demand exact shades that sit buried behind your only playable pieces.
If one try into guess this way through this opening order, the Conveyor track shall jam before one even crack the first wooden obstacle.
Level 230 Four-Crate Pattern
This board sits one masterclass in baiting you into bad moves.
this defining feature from sphere Sort 230 sits this huge X-pattern wall made of four Crates .
since one wooden box just opens after three nearby cases sit dropped down, this entire first game revolves across dismantling the blocks directly beneath them.
Here sits exactly how this upper rack sits trying into ruin this run: this head line: one hold crimson, rose, emerald, ivory, plus Dark azure marble blocks sitting dead in front.
this secret Second line: Directly above this rose, emerald, plus ivory pieces, one may spot two Purple blocks and a Yellow block.
this Choke Points: Above this gold rests one Light azure piece, flanked via two Tunnels marked with a '4'.
this Edge snares: Way onto over this upper west plus upper east rims sit two Gift cases (azure using red ribbons), each holding a '4' payload.
They shall burst available plus flood this board using new boxes once a nearby block drops.
this Spine: One tall lane from secret Boxes runs dead center between the Crates .
one can't spot what shades they hold until this front box is cleared.
this first line from lower Boxes demands Pink, Purple, Pink, and Green.
one hold Pink and Green in your front row.
this violet pieces sit trapped past your starting Pink and White blocks.
this bottom rows sit also concealing Connected cases —specifically one emerald plus gold pair sitting deep on the left side.
one hold into carefully manage the Conveyor track room into reach those trapped violet marbles without causing a permanent jam.
Level 230 Level Overview
one want one surgical opening into break this bottom Crates without maxing out your belt space.
Level 230 Opening the Front Row
this first taps dictate whether one win or lose.
this crimson plus Dark azure pieces over this far west plus east of the Top Tray are absolute bait.
that shall send and fill the first required bottom Box .
This fills this ready Green bottom Box on the right side.
one now want Purple to clear the second bottom Box .
this violet pieces sit exposed, but this White block is in the way.
choose this head ivory piece and send it to the Conveyor Belt .
that shall sit over this track, but that opens this path into the Purple and Yellow blocks behind it.
choose this west Purple block to fill the bottom Box .
This clears one huge chunk from the board and shifts the lower queue.
Use this newly exposed gold or this remaining rose piece based over what rotates into the front line.
Level 230 Breaking the Crates and Tunnels
Clearing those first head pieces triggers this proximity requirement for the lower Crates .
As one send this violet, gold, plus second violet piece, this lower-west plus lower-east Crates will recognize the three nearby clears.
They shall shatter, exposing one huge cluster of hidden colors.
Immediately check this revealed colors against the active bottom Boxes .
Prioritize clearing anything that matches this ivory block currently sitting on your Conveyor Belt .
You need that belt space back immediately.
choose the blocks blocking the central '4' Tunnels .
Once this head piece sends, the Tunnel will dispense its hidden sequence.
Do not trigger both Tunnels at this same time unless one hold three empty slots on your Conveyor Belt .
Start chipping away at this central column of Mystery Boxes .
just choose one secret case if one hold one guaranteed empty over this board, since one bad shade reveal here will instantly clog your belt.
Level 230 Surviving this Gift Boxes and Connected Boxes
via this time this bottom half from this top rack sits empty, this top Crates plus this edge Gift Boxes become your main threat.
Trigger this west Gift case by clearing the block directly beneath it.
that shall pop open and reveal four new boxes.
Sort those totally before one even think about touching this right side of the board.
Watch this bottom cases with the Green-Yellow Connected Boxes to appear.
since they send together, one should hold both one emerald plus one gold sphere ready to go in the Top Tray .
Do not waste this gold spheres first over filler clears if this Connected Boxes are next in line.
Break this upper-west plus upper-east Crates via clearing this remaining Mystery Boxes in the central spine.
Clean onto this last crimson plus Dark Blue blocks from the outer edges.
Since one ignored them at this start, they sit perfectly safe into send now that the board is wide open.
Keep this track strictly managed during this last secret case reveals to close out Marble Sort 230 .
Frequently asked questions
How do I beat Marble Sort Level 230?
Feed the colors that already have an open bottom Box first, keep your belt from filling up, and only release a new color when a matching Box is ready. Follow the move order in the solution above and you can clear Level 230 every time.
What is the main trap to avoid on Marble Sort Level 230?
The biggest mistake on Level 230 is tapping a color that has no active bottom Box yet — those marbles park on your Conveyor Belt and eat limited slots. Hold back any color that has no receiver waiting and the stage stays under control.
What colors do I need to match on Marble Sort Level 230?
Level 230 mainly revolves around Purple, Green, Yellow. Focus on feeding Purple first when its Box is open, then introduce Green as the lower lanes free up so you never choke the belt.
How should I open Marble Sort Level 230?
Begin by checking the lower part of the tray and only select colors that already sit in an open Box down below. Clearing those first few matching blocks unlocks the rest of the board without jamming your sorting space.
How many moves does Marble Sort Level 230 take to complete?
Level 230 is a color-sequenced stage that clears cleanly when you stick to the exact order above. The step-by-step solution walks each move so you can finish it with the fewest taps and no wasted belt slots.
Is there a video walkthrough for Marble Sort Level 230?
Yes. The embedded video on this page walks through Marble Sort Level 230 move by move, and the screenshots below show each stage of the layout so you can follow along and beat it.