Video Guide

Center Tunnel: A Numbered Trap in the Middle
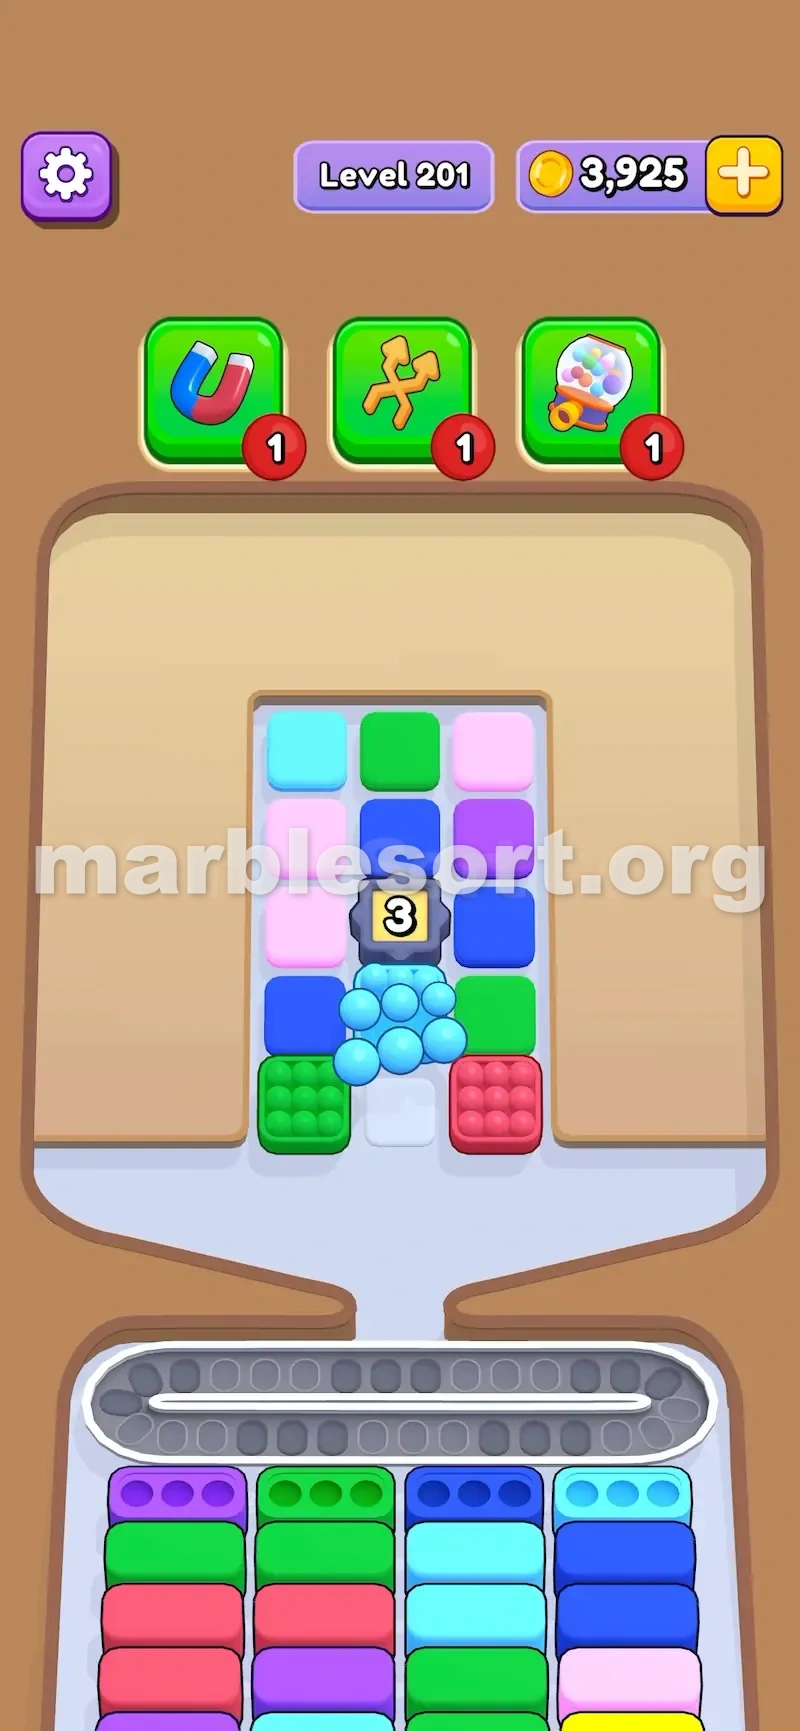
The Center Tunnel is a small square device parked in the middle of the board, with a number printed on it that causes most of the trouble.
It stores boxes inside and blocks your normal route until you drain it. Tap nearby boxes the right way and it slowly empties — but the timing decides whether that helps or floods you.

What the Numbered Device Means
The Center Tunnel is the square gadget marked with a count. That count shows how many boxes remain locked inside it.
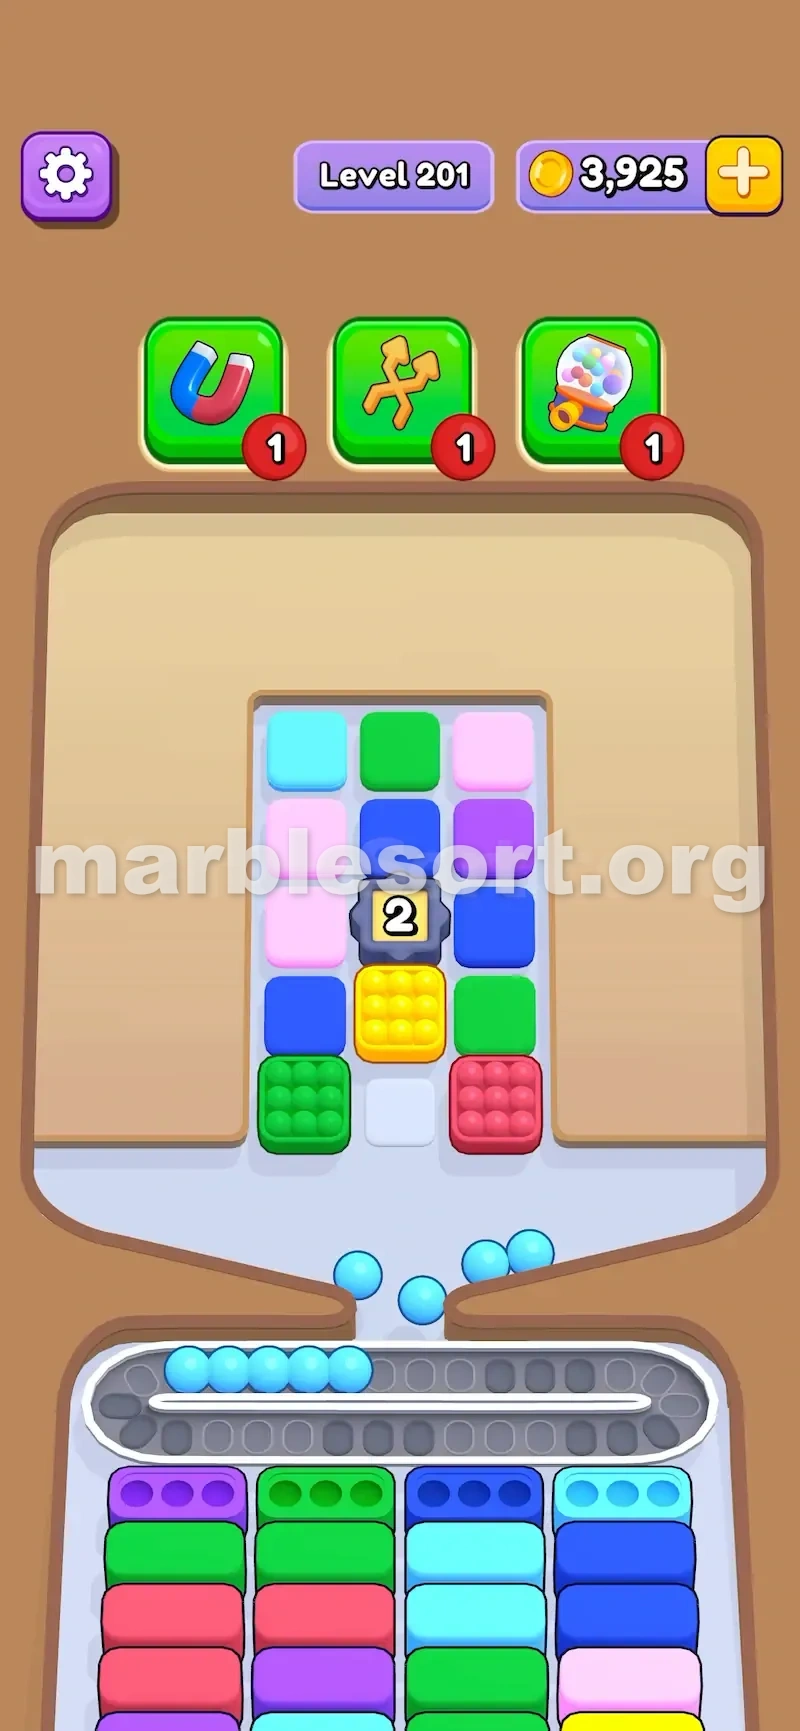
A reading of 2 means two boxes are still held. Every time you set a box down beside the device, one stored box pops out and the number steps down by one.
The flow is plain: find the number, drop a touching box from the top, bottom, left, or right, and the moment it reaches zero the device is gone.
Once it is gone, the neighborhood turns far easier to read — more boxes become reachable, colors show up, and routes that were sealed swing back open.
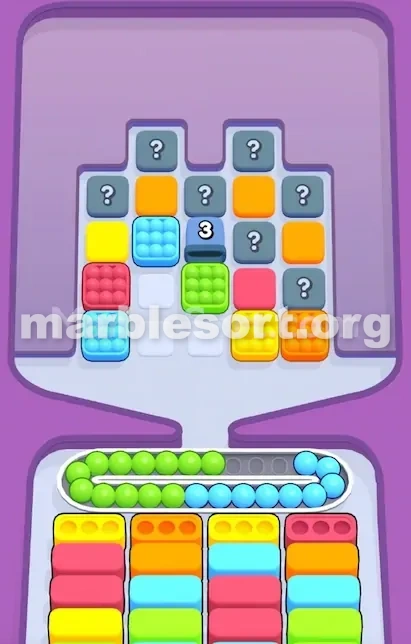
How It Blocks the Level
The Center Tunnel acts as a blocker. It stops you from exploring nearby boxes the usual way, especially when it sits in the middle of a cramped board.
On easy stages it is only a brief pause: drop a couple of neighbors, the count reaches 0, and the path opens.
On hard stages it becomes a true puzzle piece. The game may hide a key color inside it, or use the device to wall off the route toward the shades you actually need.
The real question is never "Can I clear it?" It is "Should I clear it right now?" Drain it while the belt is already stuffed and the freed boxes can flood the field with marbles you have no slot for yet.
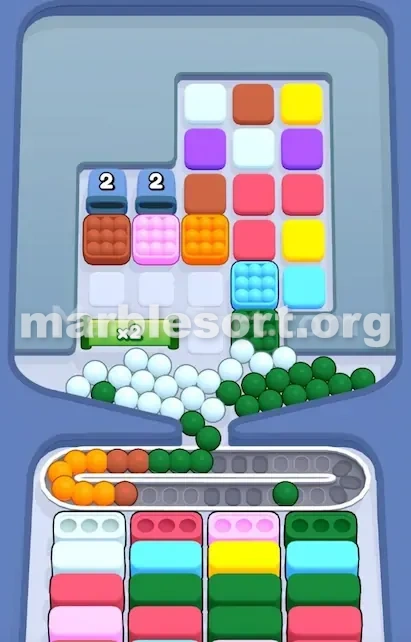
Center Tunnel Versus Regular Tunnel
A regular Tunnel usually has a single clear mouth, and you place the box by that mouth to spill whatever sits inside.
The Center Tunnel answers from several sides together. Tap the left and it fires; tap the right and it fires once more.
That liberty is pleasant, yet it also makes stray releases much likelier. A box you meant to use for color matching can quietly shave the count as well.
Read every box against the Center Tunnel as a switch, not only the ones you meant to spend on it.
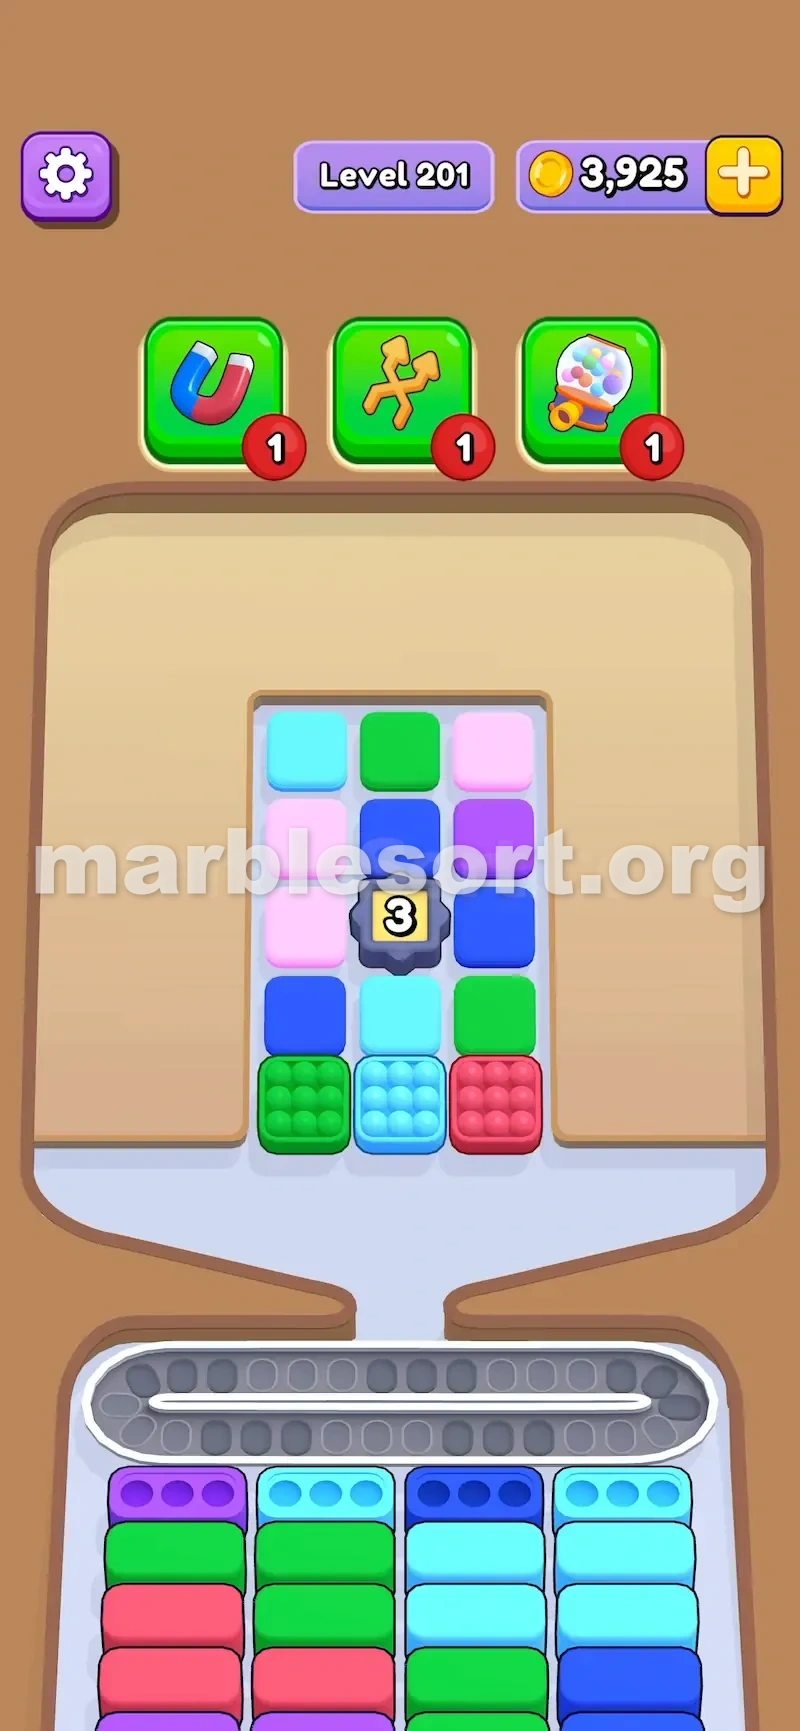
Best Strategy for Tunnel Levels
Trigger blind and the belt becomes a mess. Scan the bottom boxes first, then see which shades can truly slot in at this moment.
When the floor cannot take the colors you might free, ease off. A bigger count can swallow several moves before the route opens for good.
The shrewdest release is a box that serves your current bottom receivers and trims the tunnel tally too — two wins from a single tap.
Do not drain the Center Tunnel into a jammed belt unless a booster can bail you out. Should it seal the only forward route, empty it before burning moves on side boxes that count for nothing.
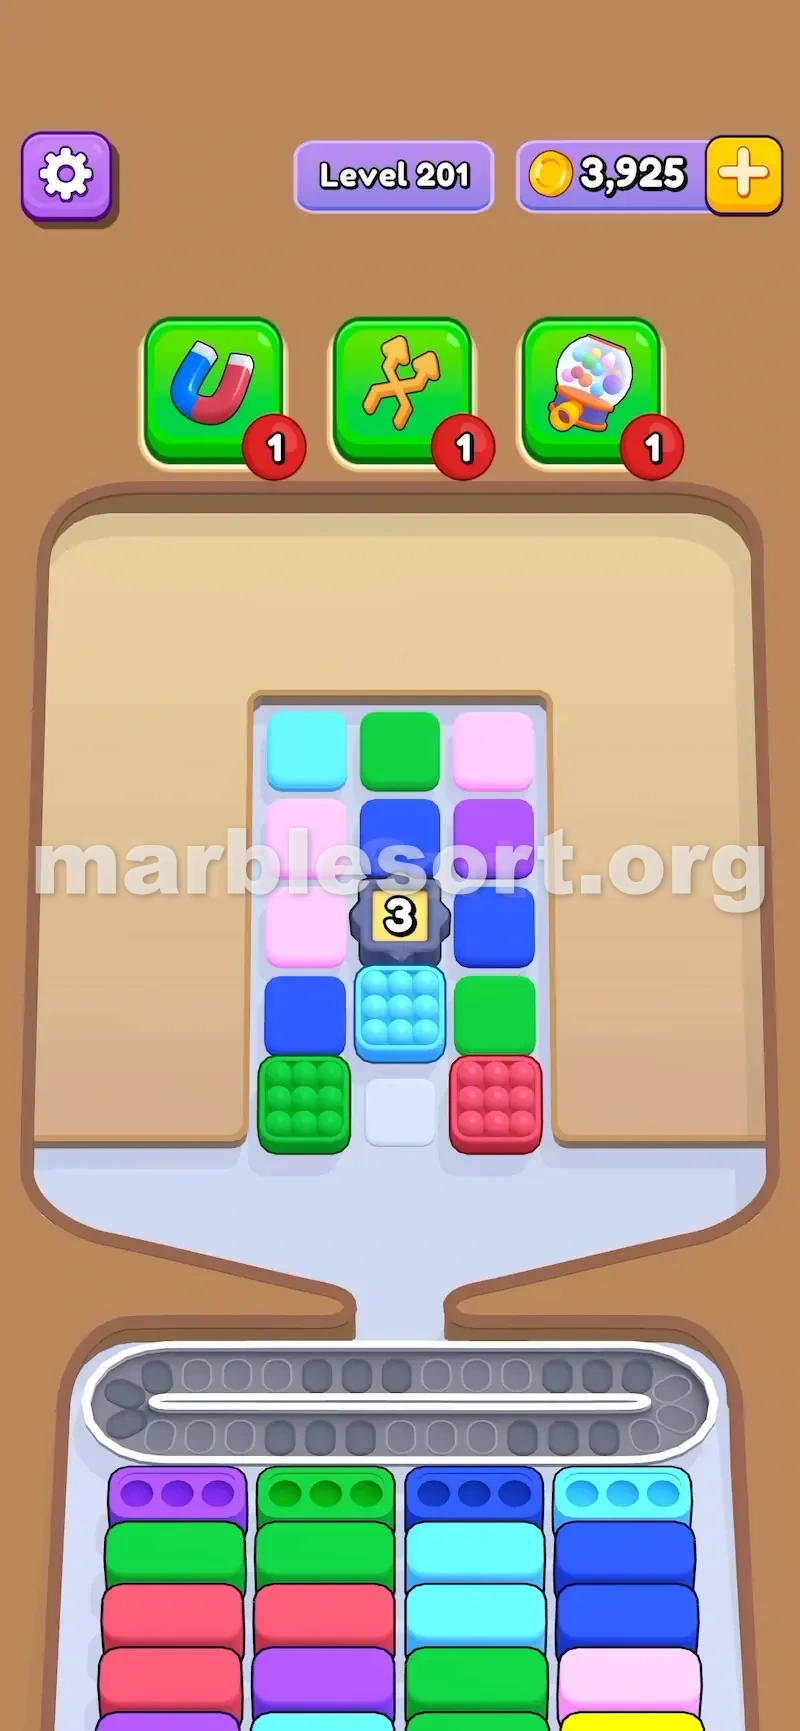
Why It Gets Hard and the Mistakes to Avoid
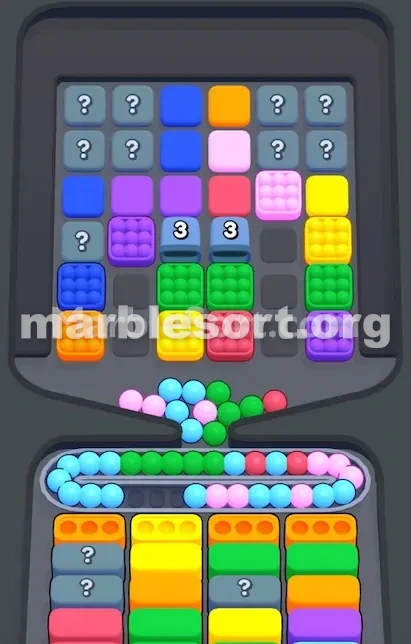
The feature gets mean when the game pairs it with Hidden Boxes, ordinary Tunnels, and locked-in color lanes. You could meet a Center Tunnel dead center, a plain tunnel next to it, and Hidden Boxes ringing the rim — which means you are probing where the good colors sit, not merely removing one blocker.
The shade you crave most may be stuck inside the Center Tunnel. Or the unit may carry only trash tones that burn belt room before the true path shows. Tough stages lean on it to make you burn moves before you hold the full picture.
The worst error is dumping it too early. Players spot the count and sprint to zero, freeing colors that match nothing down below; the belt packs up, your next strong move is blocked, and the level crumbles.
Beware these: dropping each neighbor only because it grazes the device, emptying it into a busy belt, skipping the bottom boxes first, spending a scarce useful shade as a trigger when you ought to keep it, and forgetting the tunnel can also hide dead colors.
Empty it soon if it seals the main route and the belt has space for what spills out. Hold back when neighbors help later, the belt is stuffed, or the floor takes few colors. Pro tip — at a count of 2, do not fire both switches in a row: release one, let the marbles roll, check if they land anywhere, then weigh the second. That brief halt feels sluggish but rescues hard runs, above all with a half-full belt where one wrong tone jams it all.