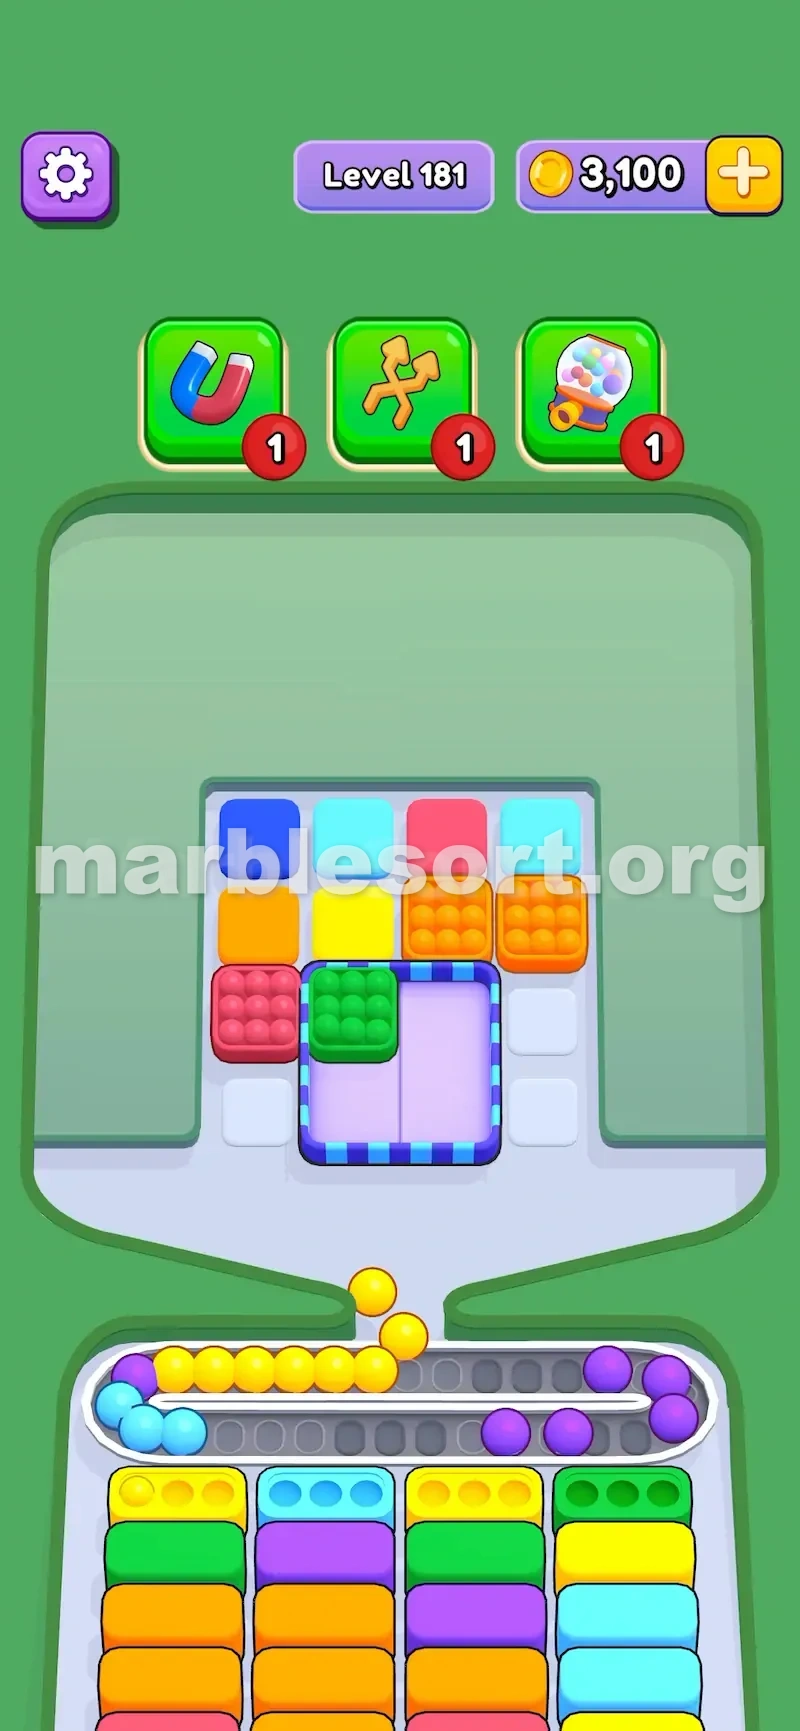
Video Guide

Elevator: The Floor That Steals Your Path
The Elevator feels harmless until it quietly takes back the route you just opened.
At a glance it is just a stack of boxes. Clear the top layer, the next layer climbs up, and fresh boxes appear — but on a tough stage that climb can re-block the very side box you needed.
It hands you access, then pulls that access away if you move too quickly. That is the whole trap.

What the Elevator Actually Is
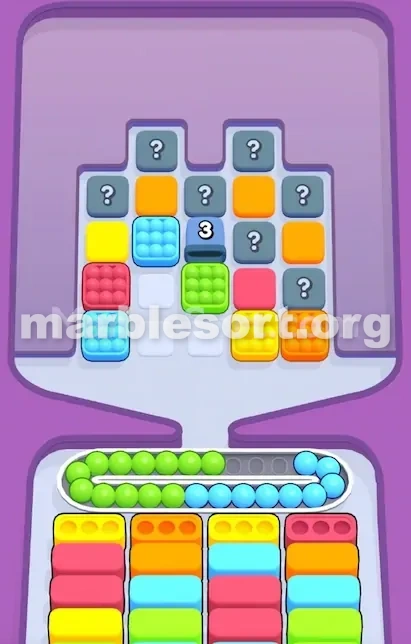
An Elevator is a special block holding boxes across two layers. Those boxes can be ordinary colored ones, or they can be Hidden Boxes marked with a question mark.
Each layer carries four boxes, so the whole unit holds eight. Once all four top boxes are dropped, the lower layer rises to fill the same four slots, then the platform is gone.
Just two layers, then it vanishes. The catch is what happens between those layers.

How the Floor Rises Step by Step
You can drop boxes from the current layer whenever they are reachable. After you clear one, two, or three of them, empty gaps show up.
Those gaps may let you touch nearby boxes that sit outside the Elevator and were blocked before.
When the fourth top box is gone, the lower layer rises and fills the four slots with new boxes.
Any path you had opened through the empty top gaps can close again. That closing is exactly where players lose command of the board — clearing the top feels like progress, yet progress here is not the same as control.

Why It Turns Hard
The Elevator is hard because it keeps rewriting whose turn it is to be reached. Most levels let you plan around what drops now, what opens next, and what the bottom wants.
This feature spoils that plan by carving temporary openings. Drop a few top boxes and the gaps act like windows onto outside boxes you could not reach a moment ago.
That matters a lot on hard stages, because the shade you need most often hides in a far corner you only touch for a handful of moves.
Then habit makes you clear the fourth box, the lower layer climbs, and the window shuts. The outside boxes you nearly had are sealed behind fresh boxes, while your conveyor is already carrying extra marbles.
The biggest slip is emptying all four top boxes at once, like it were a crate to open and forget. The top layer is not only a wall — the gaps it leaves are your ladder to other boxes, so clearing all four too early blocks side routes, springs four new boxes before you are set, and dumps colors onto a belt with no matching slots below.
Smart Play on Elevator Levels
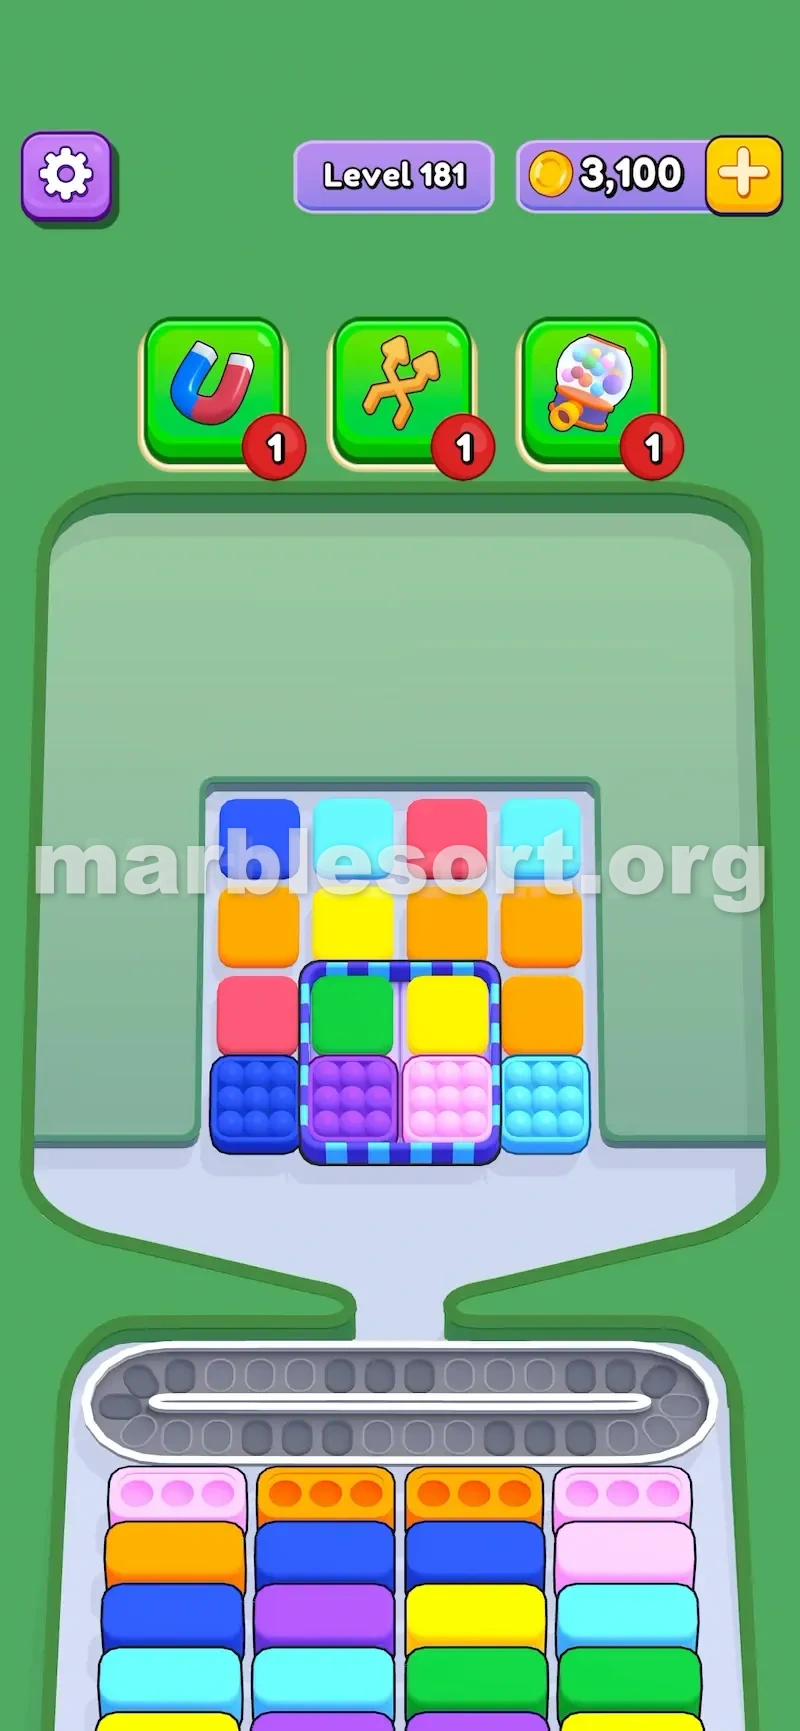
Before you touch the Elevator, check which colors can truly be filled. If the bottom wants blue and pink, do not drop stray orange just because it is in hand.
Only drop the boxes that feed your present bottom slots, or that open a solid route outward. Ask yourself: can I reach a shade I need more than the box still inside?
Keep one box on the top layer while its gap is useful. Raise the lower layer only once you are prepared.
Trigger the rise when the belt has room, the bottom boxes can take new colors, or no better side route remains. Read it as deciding when the board should shift, not just as sorting.
Elevator With Hidden Boxes
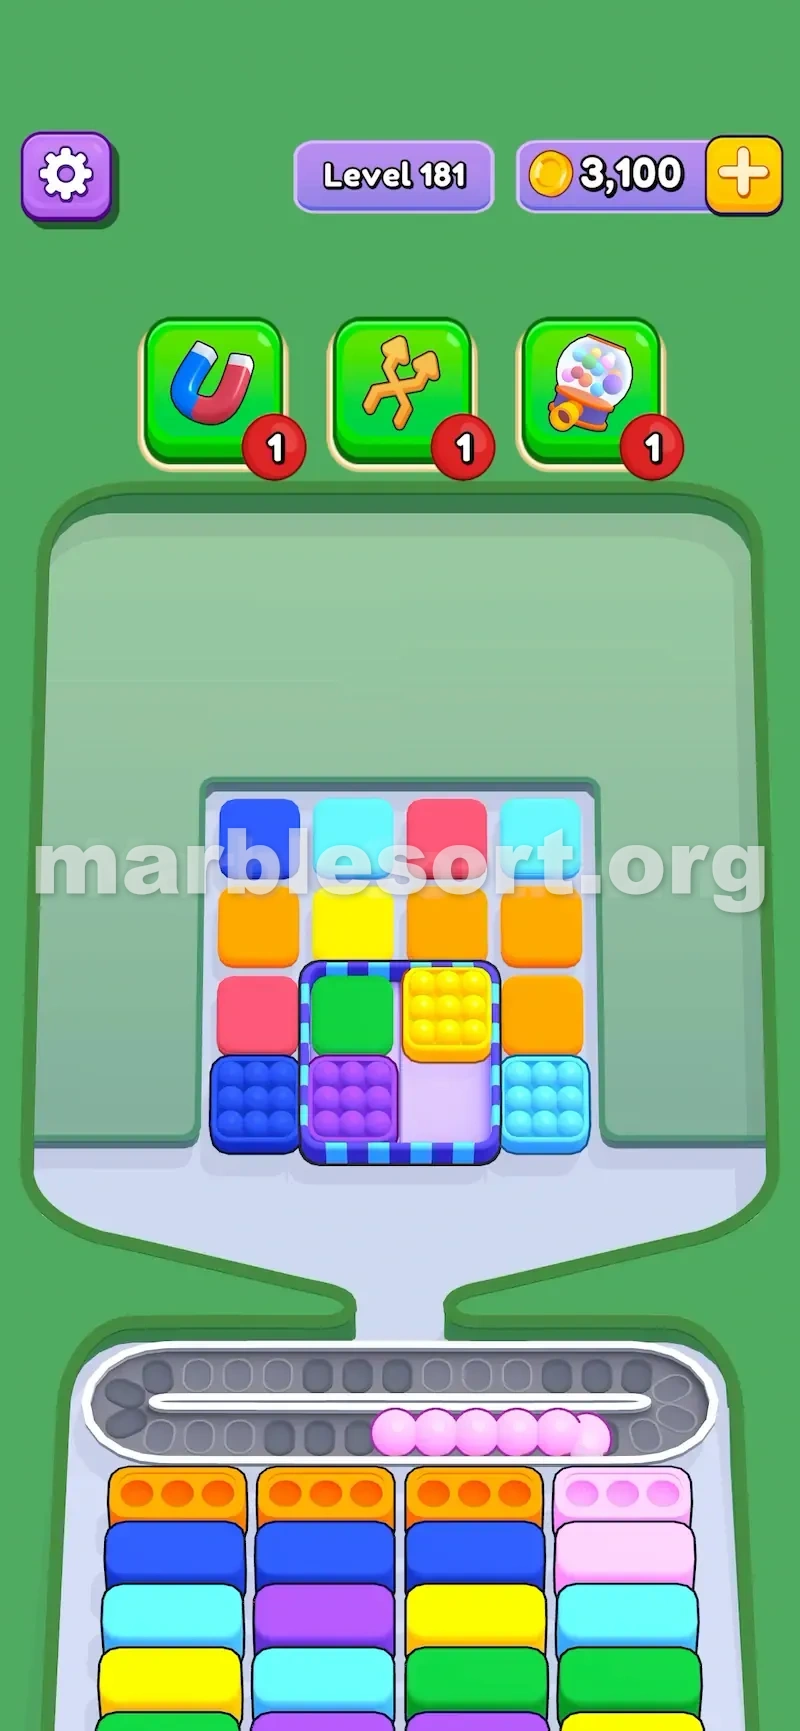
The Elevator gets nastier when it carries Hidden Boxes. A Hidden Box keeps its color secret until nearby movement exposes it.
Inside an Elevator that means you may not know whether the top or the lower layer holds the color you are hunting for, so you are pushed to probe the board without flooding the belt.
That is how five colors end up rolling around with nowhere to land. Drop one box, see what opens, then choose.
If a top Hidden Box sits next to a useful outside route, it can pay to leave it parked for a while; if its hidden color turns out useless, you dodged raising the lower layer too soon. Hidden information is part of the fight, and the Elevator tightens that fight because the board reshapes the instant the floor climbs.
When to Raise the Second Floor
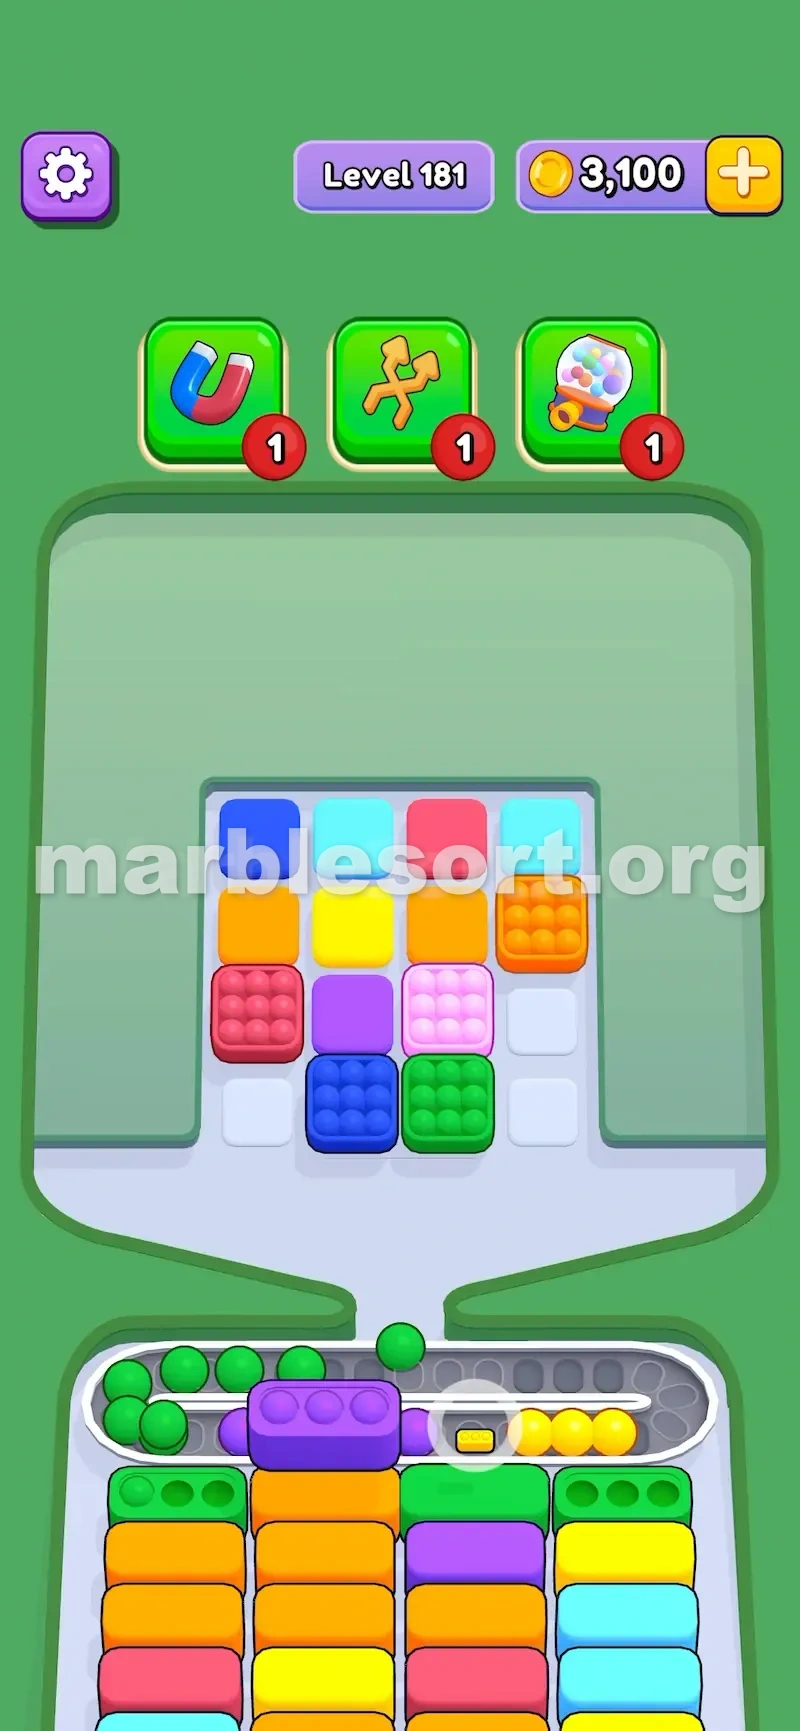
Raise the lower layer once the top gaps stop helping. Good moments: you already cleared the side boxes reached through the gap, the bottom wants colors that may sit on the lower layer, the last top box is blocking better progress, the belt has space for a few wrong guesses, or you have emptied enough bottom boxes to accept new shades safely.
Bad moments: a side box still needs access, the bottom does not line up with the shades you are set to drop, you skipped probing the reachable Hidden Boxes, or you are clearing it only because it sits there.
Stages are designed to tempt hurried taps; the correct move is often plain — wait, scan, then drop.
Pro tip — on tough Elevator stages, leave the weakest top box as a doorstop. Pick the one that helps you least right now, maybe a color with no bottom slot or a Hidden Box you would rather not gamble on. Keep it parked while you use the gaps around it to reach deeper boxes; the side route stays open, the lower layer stays down, and you clear shades that would have been sealed. That leftover box buys time. Once the side route is done and the belt is steady, drop the last box and let the lower layer rise on your own schedule instead of the game pushing it.