Video Guide
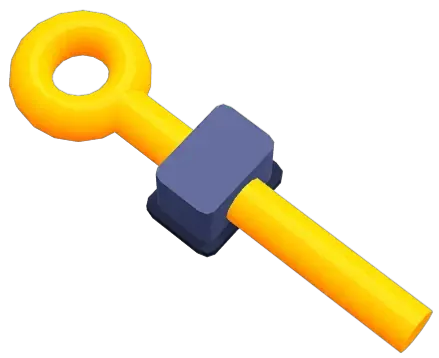
Pins: The Golden Bars That Freeze Your Board
You spot the color you need, tap next to it, and nothing moves.
That usually means one thing: Pins are locking part of the board in place.
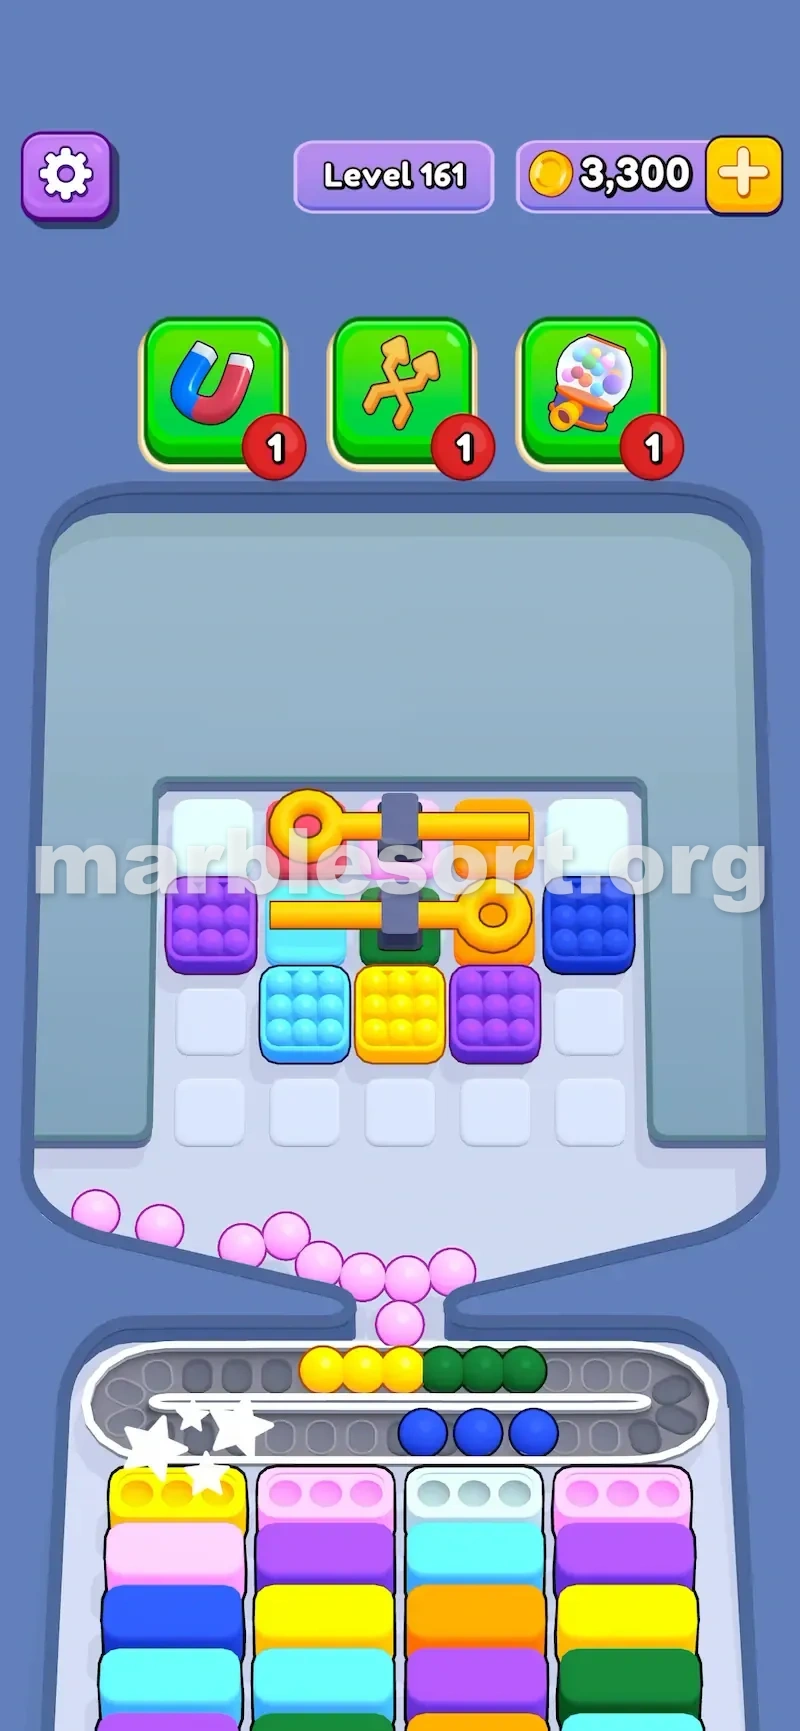
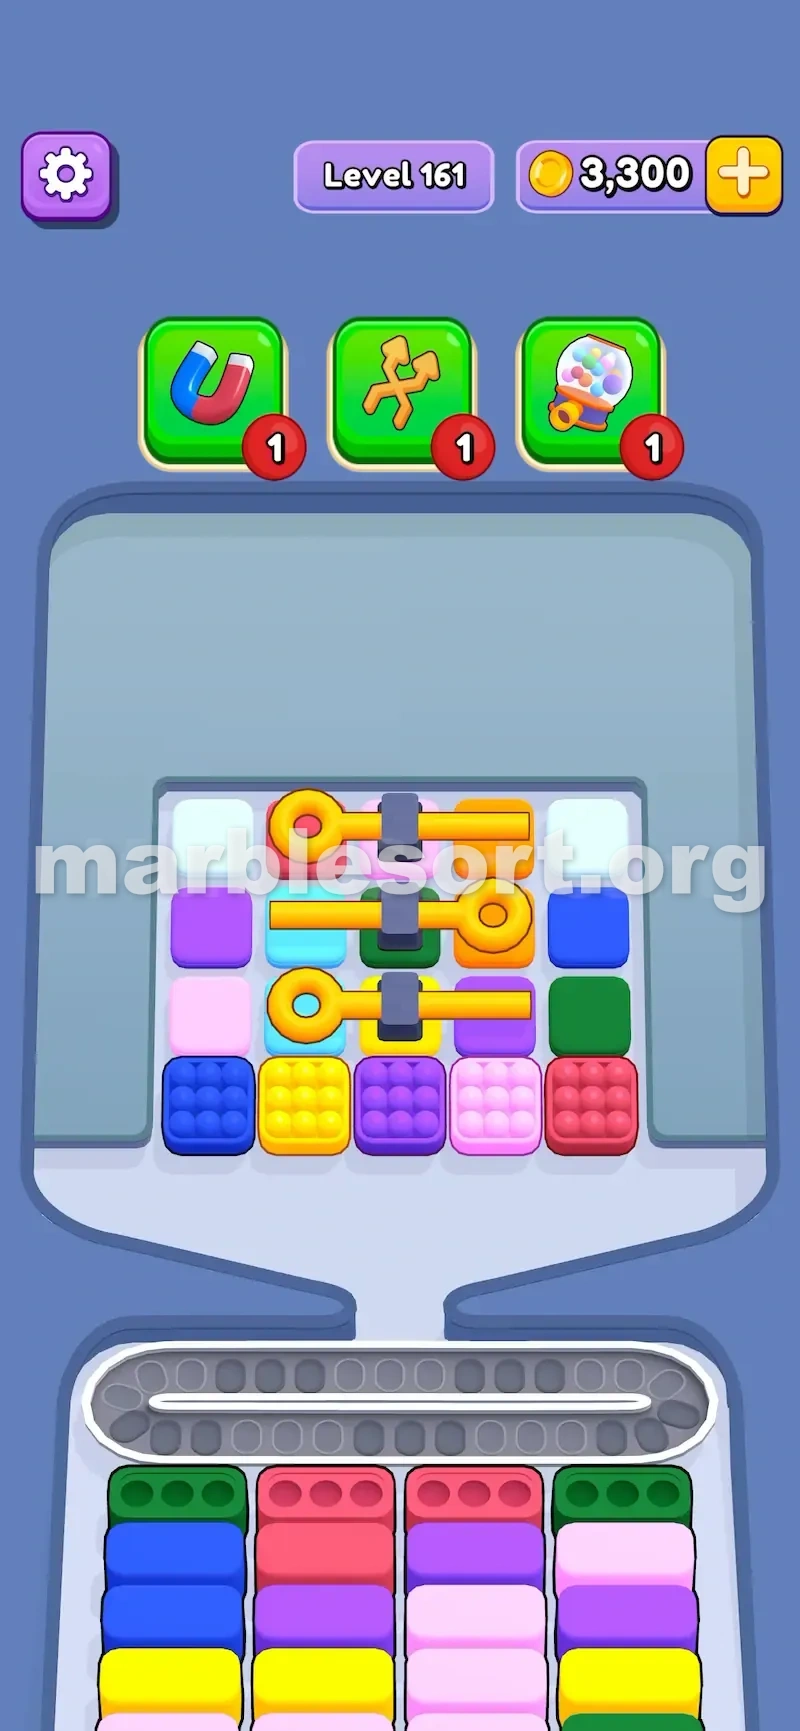
In this game a Pin is a gold bar shaped like a cotter pin. One tip is a round O, the other is a straight tail, and it pins boxes down until you let them go the right way.

What Pins Actually Are
A Pin is a gold bar that grips two or three marble boxes and will not let them fall.
It resembles a big cotter pin: a round O tip on one end, a straight end on the other. The boxes trapped under it stay put until the bar is gone.
How you free it is the trick. Tapping the held boxes will not remove the pin, and poking near the tail does nothing either.
The only release is to drop the single box pressed right on that round O tip. Miss this and you waste taps for no reason.
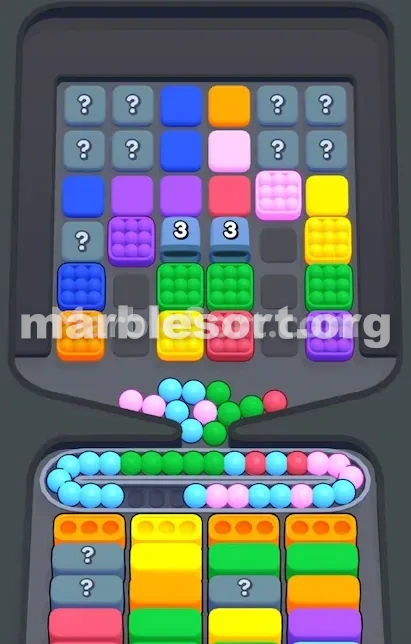
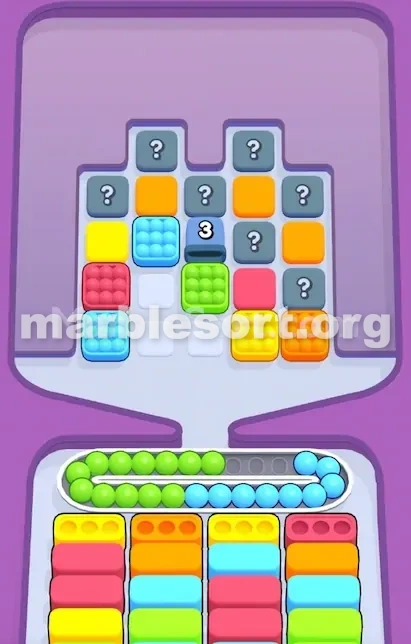
How to Release a Pin
The rule is simple but firm: drop the box touching the round tip.
That tip is the O end of the gold bar. Find it first, then see which box sits flush against it.
If the bar lies left to right with the O on the left, send the box down on that left side. Head right, drop on the right. Head up, drop above; head low, drop below.
When that one box leaves, the bar lets go and its held boxes turn usable. Nothing else on the bar reacts — only the tip-side box counts.
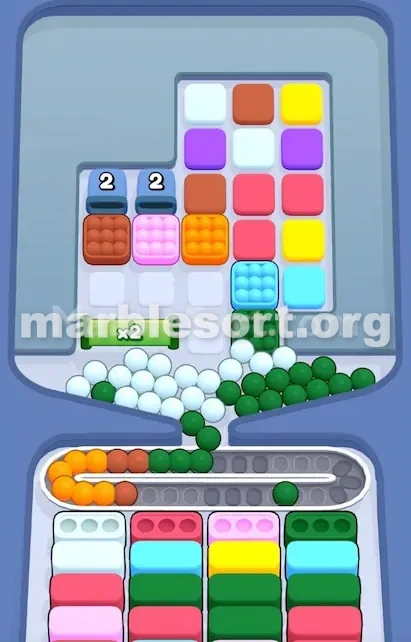
Why Pins Make the Board Harder
They freeze part of the top board, so you may eye boxes that look free but are chained by the gold bar.
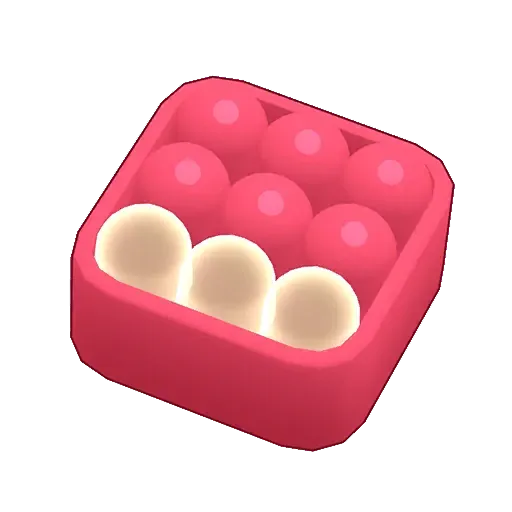
The held boxes might be plain ones, Hidden Boxes, the exact shade the floor needs, junk colors that only eat belt room, or a path box leading to yet another pin tip. That last kind is the mean one.
Often the color you want sits behind one pin, yet the box that frees it is guarded by a second pin. The puzzle shifts from matching hues to opening the board in the correct order.
On tough stages this stings: you may want blue, but a pin holds the blue; you may want pink, yet a second pin seals its route; a Hidden Box may need clearing, but a pin release must happen before that box shows. Now the stage asks two things — sort the colors and free the boxes before the belt clogs.
Smart Play on Pin Levels
Before any drop, read the whole board for every round tip. That tip shows which move frees the bar, so do it before your first tap.
Choose the quickest release: pick the tip that asks for the smallest pile of boxes cleared before you can get to it.
Open pinned Hidden Boxes soon. Blind colors are risky, so free them while the conveyor still has room to react.
Skip boxes near the tail — a box by the straight end usually does nothing for the bar itself. Hunt for chain releases: some bars are placed so freeing one shows the tip of the next. Match pinned colors to the floor demand; if the bottom shows open blue slots with a pinned blue box close to free, push that path first.
Pins With Hidden Boxes
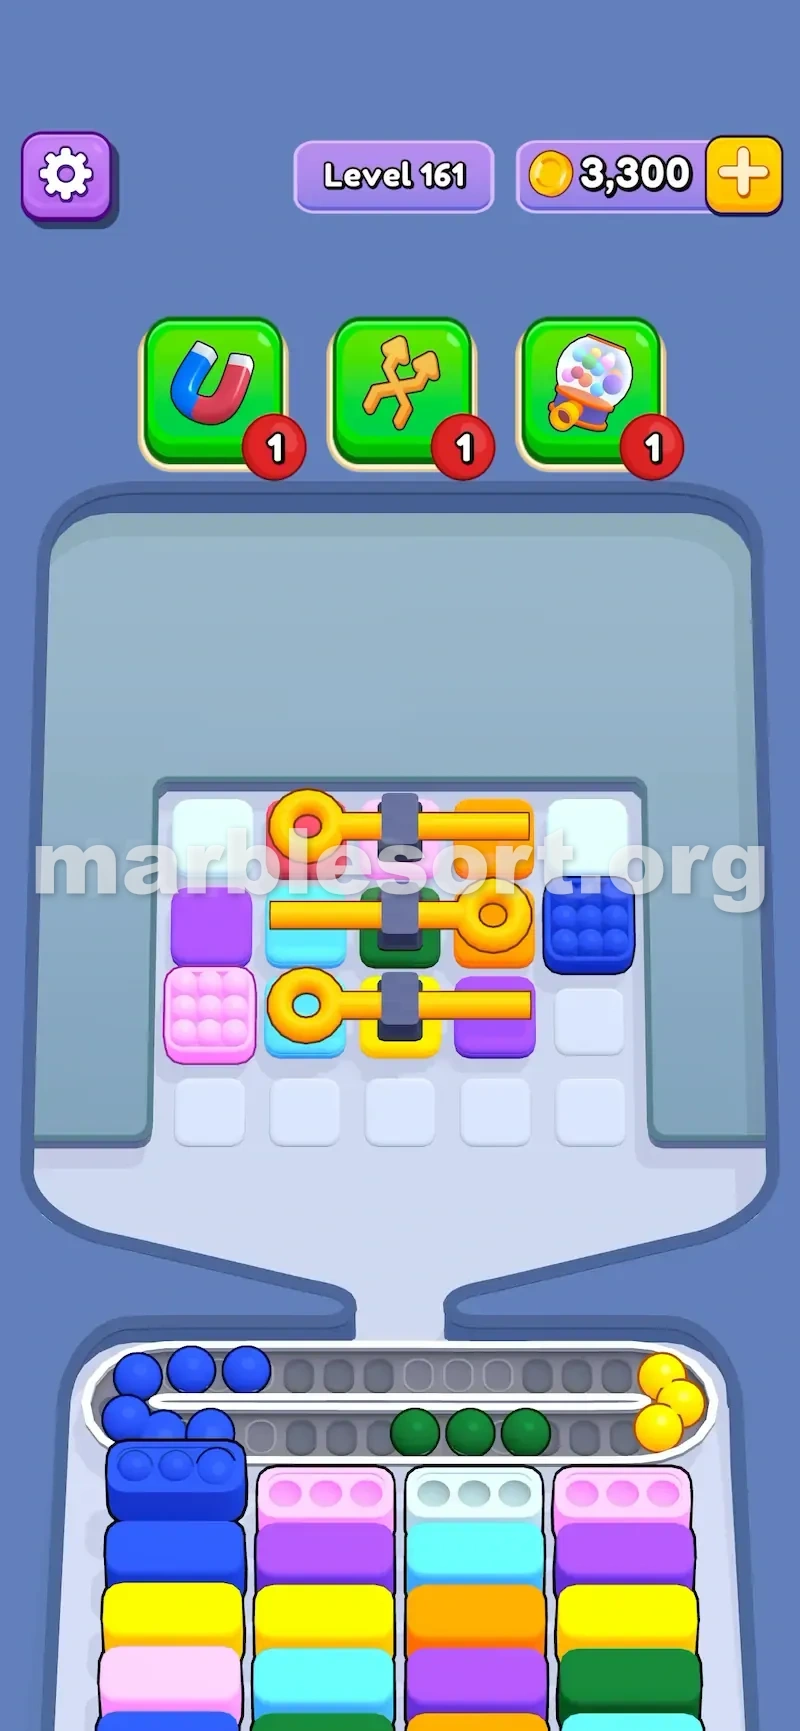
Hidden Boxes make Pins much worse. A pinned Hidden Box hides its color, so you cannot tell if it holds the shade you need or pure junk.
The game enjoys tucking key marbles behind a pin you would skip early if you were not alert.
So pinned Hidden Boxes deserve care: free that bar sooner than normal, unless the belt is already near full.
The longer a blind color stays pinned, the more guesswork your next moves become. A weak player waits for the board to force the reveal; a sharp one opens the hidden part while room remains to answer it.
When to Prioritize Pins and the Mistakes
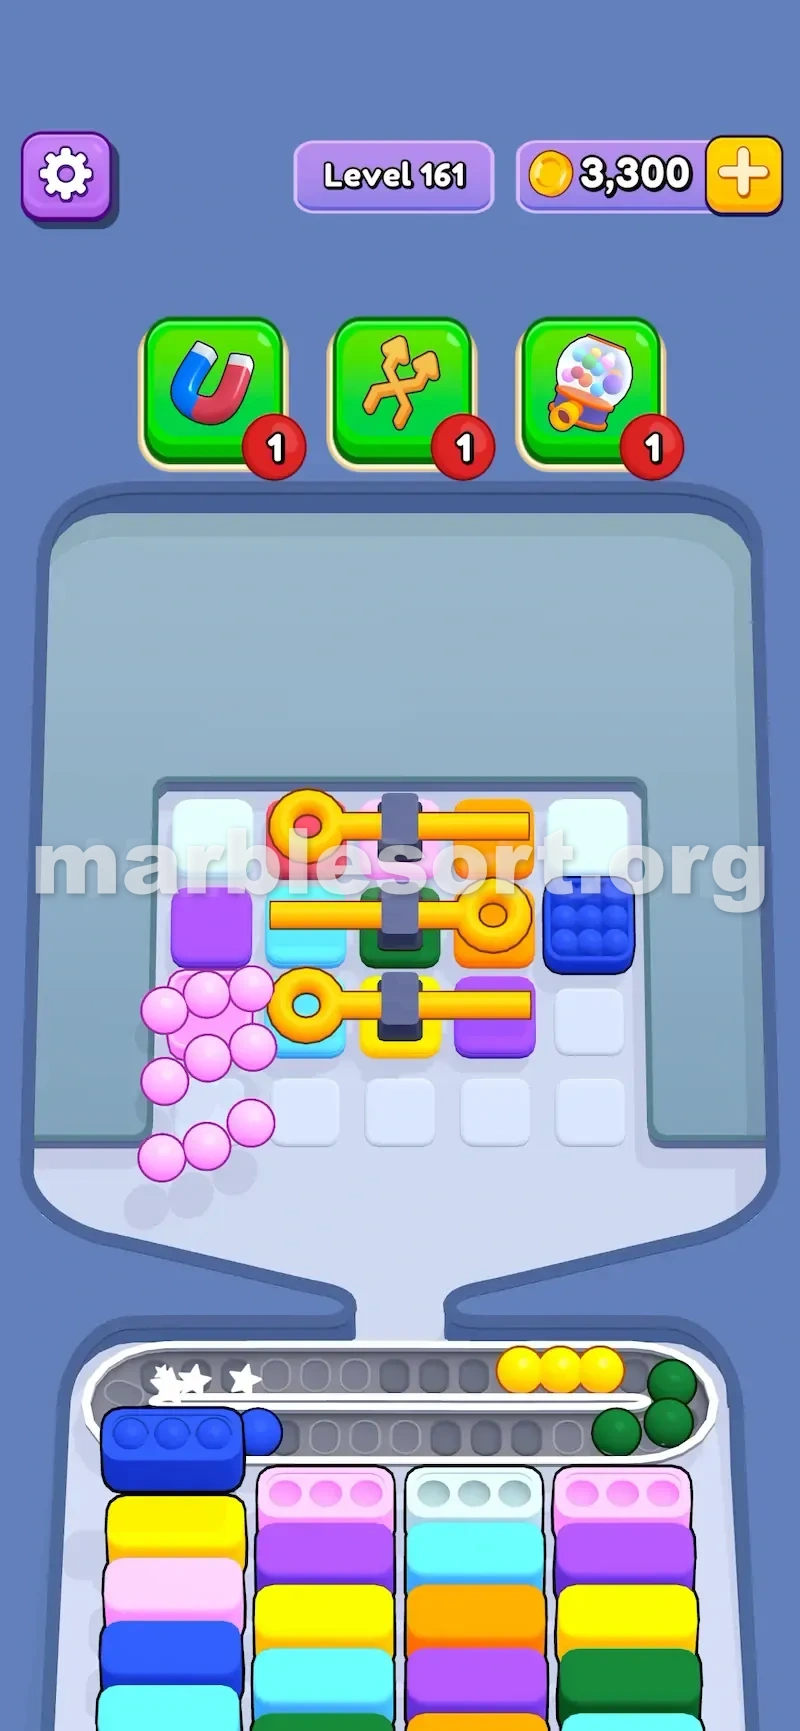
Push a pin when it holds a color the floor wants, blocks the sole route to another pin tip, leaves no good match on the open board, or sits near the middle and shapes several paths. Hold off when all it holds is colors you have no use for, would bare too many risky boxes, or a clean match sits elsewhere — yet they should always be in your first scan.
The usual slips: tapping the wrong end (players see the gold bar, tap the tail, await a response, then dump more marbles and lose the board); freeing a pin just because it is open, which tempts bad drops when its colors are useless; and leaving pinned Hidden Boxes till the end, when the blind shade finally shows but the belt has no safe room left.
Pro tip — where several pins meet near the middle, do not free the biggest-looking one first. See which tip opens the next tip-side box. The right route often starts with a dull shade that seems worthless, because dropping it frees a bar, which shows another tip, which finally frees the real color you wanted three moves back.