Video Guide
Connected Boxes: One Tap, Two Colours, Double Risk
You touch a single container and the track suddenly floods. Shades scatter everywhere and the stage is one careless marble away from seizing up.
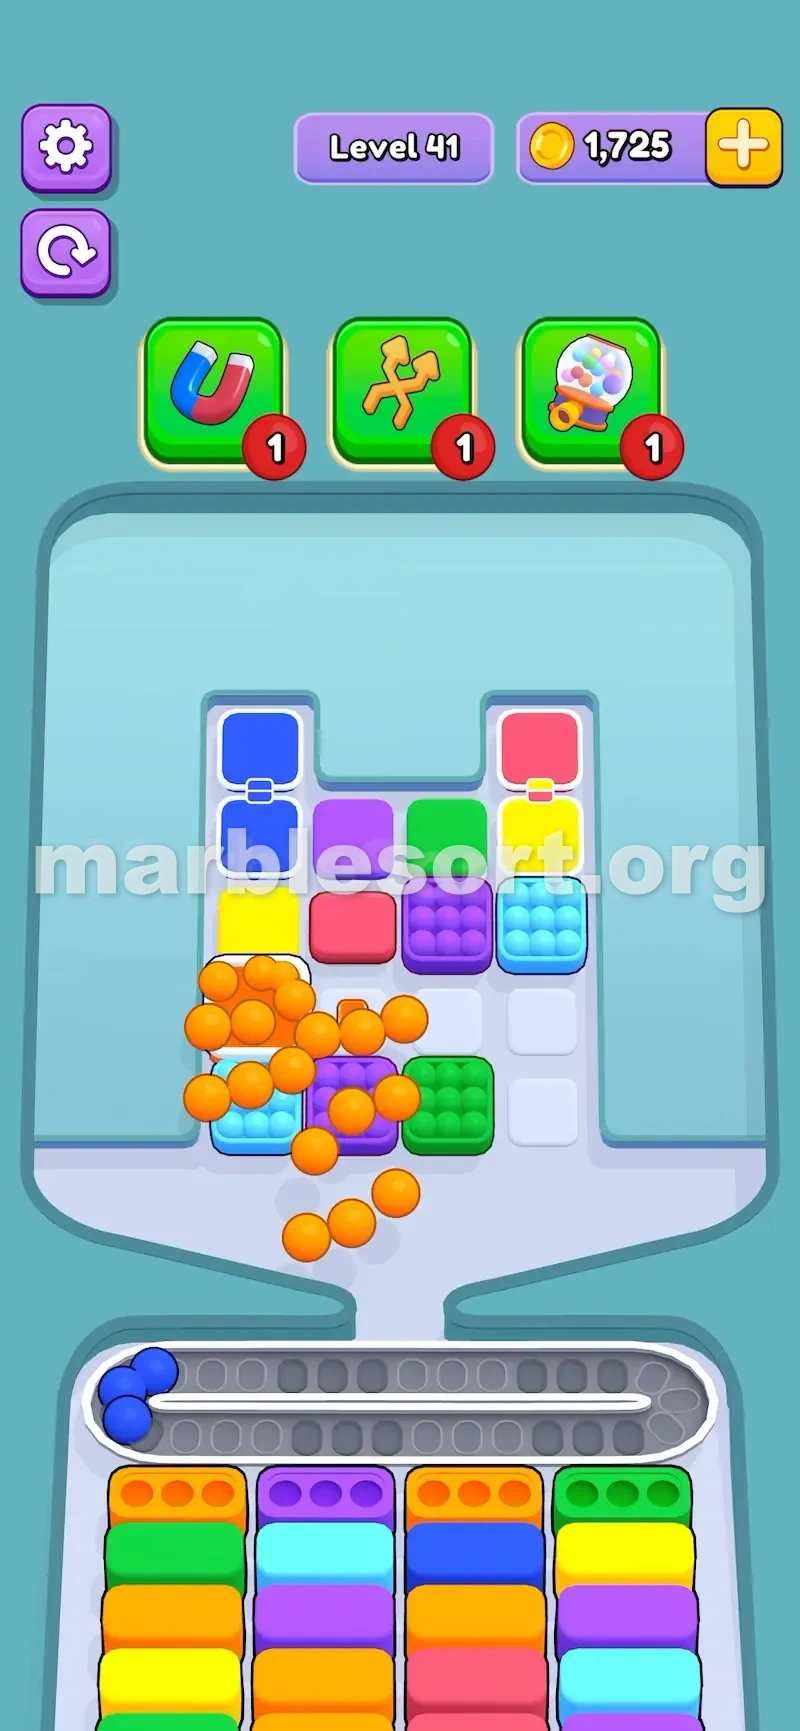
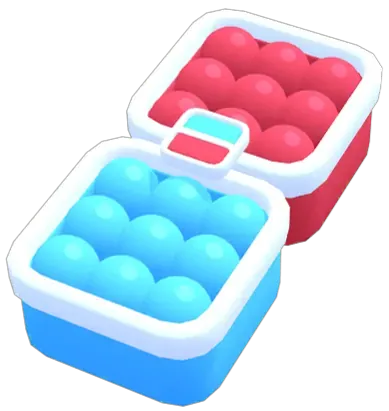
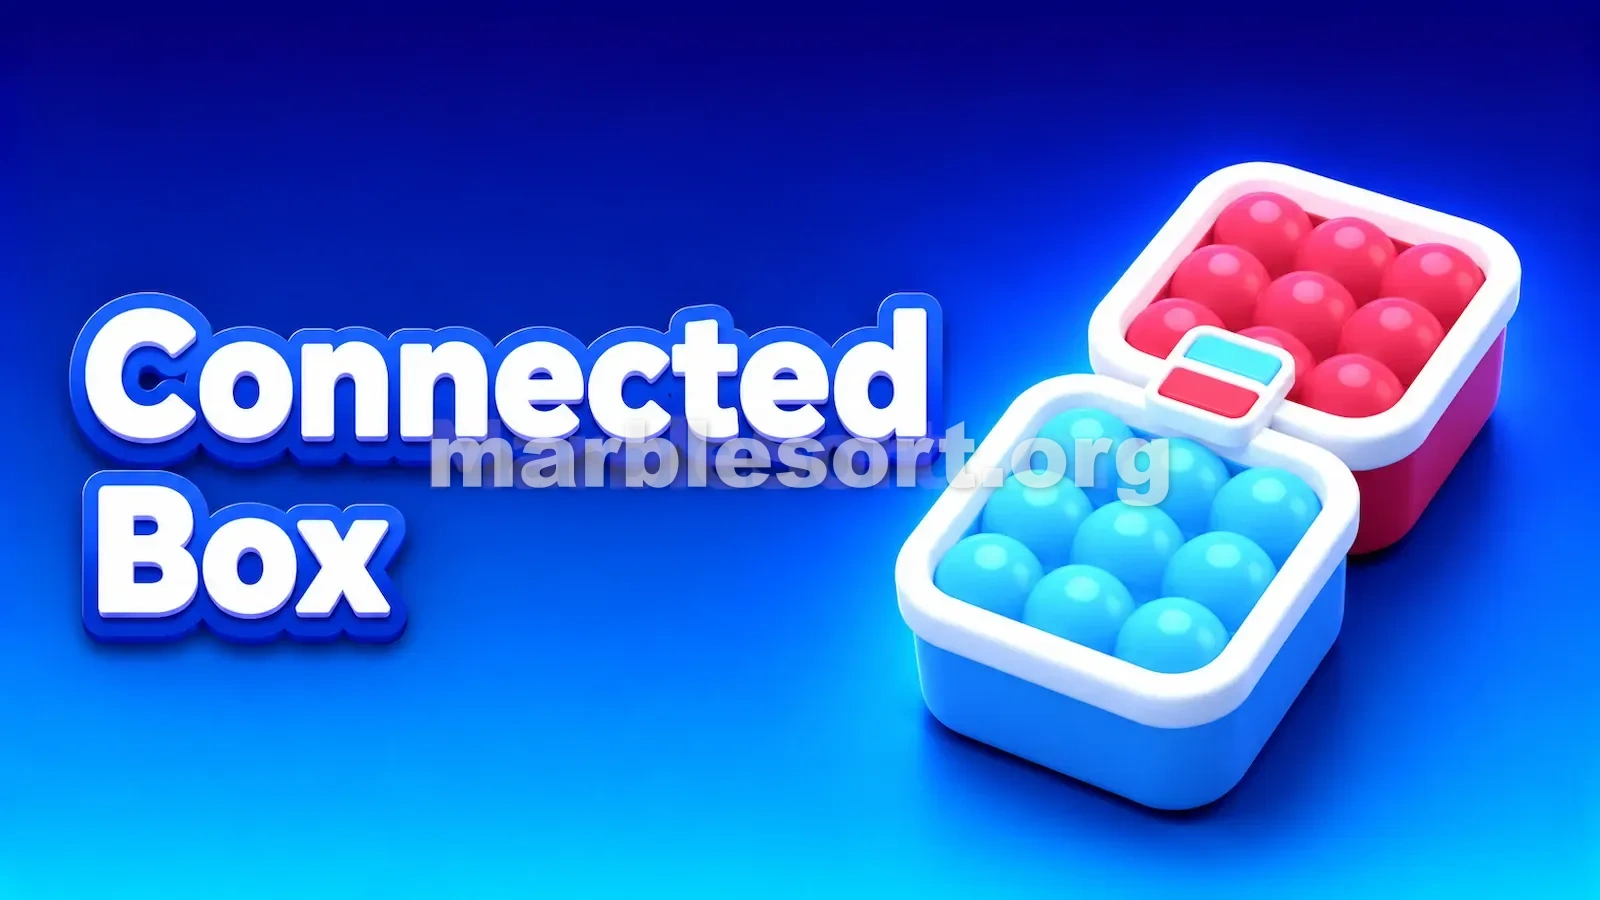
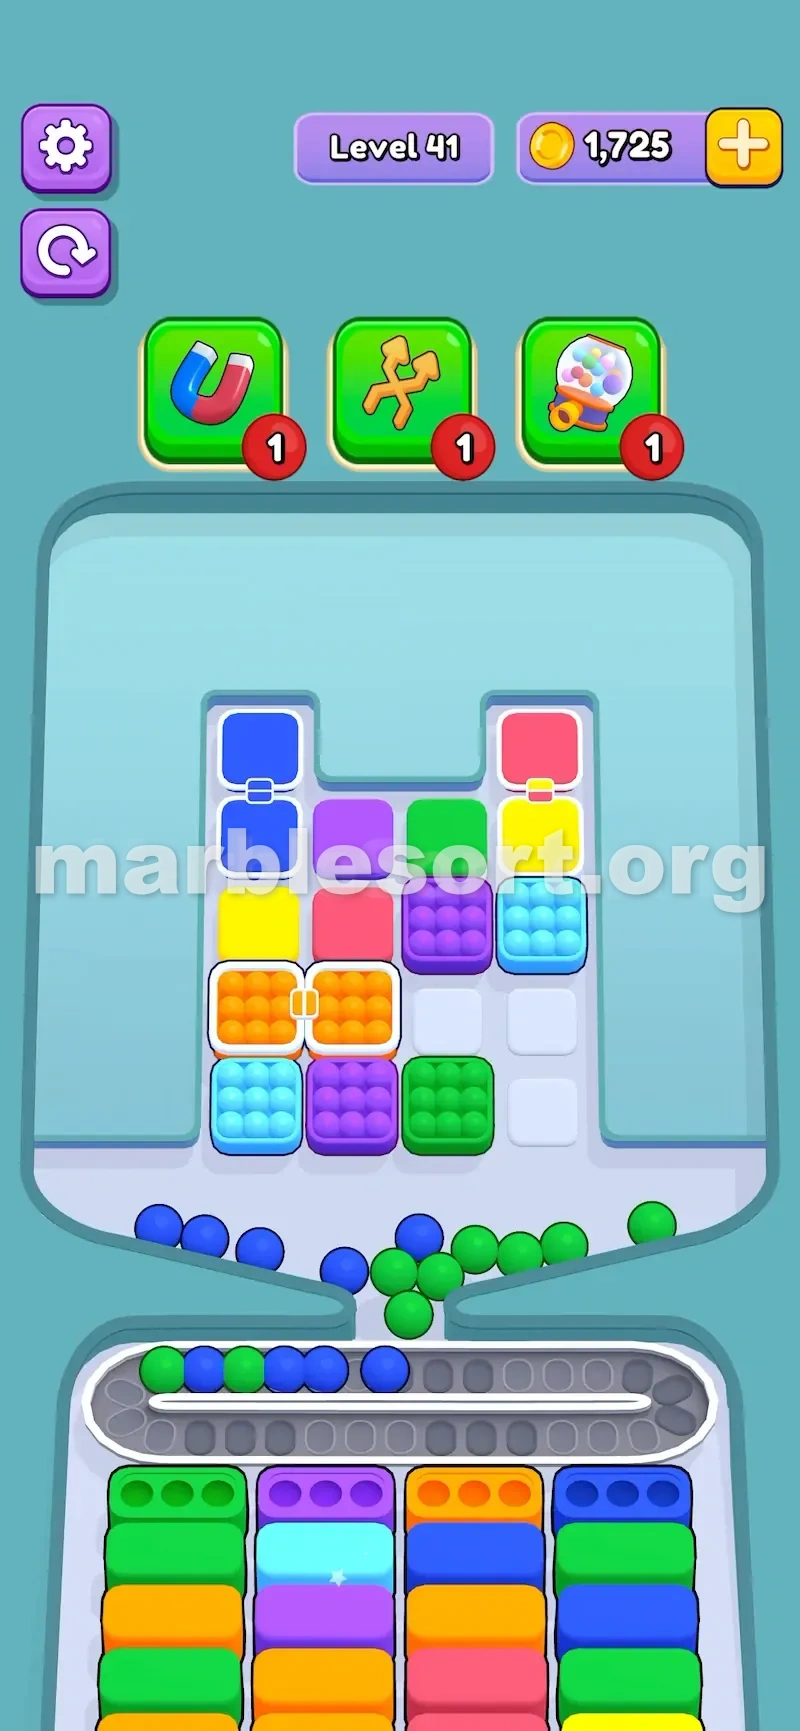
The culprit is a linked pairing: two coloured containers sitting up top with a short bar welding them into a single unit. Touch either half and both empty at once.
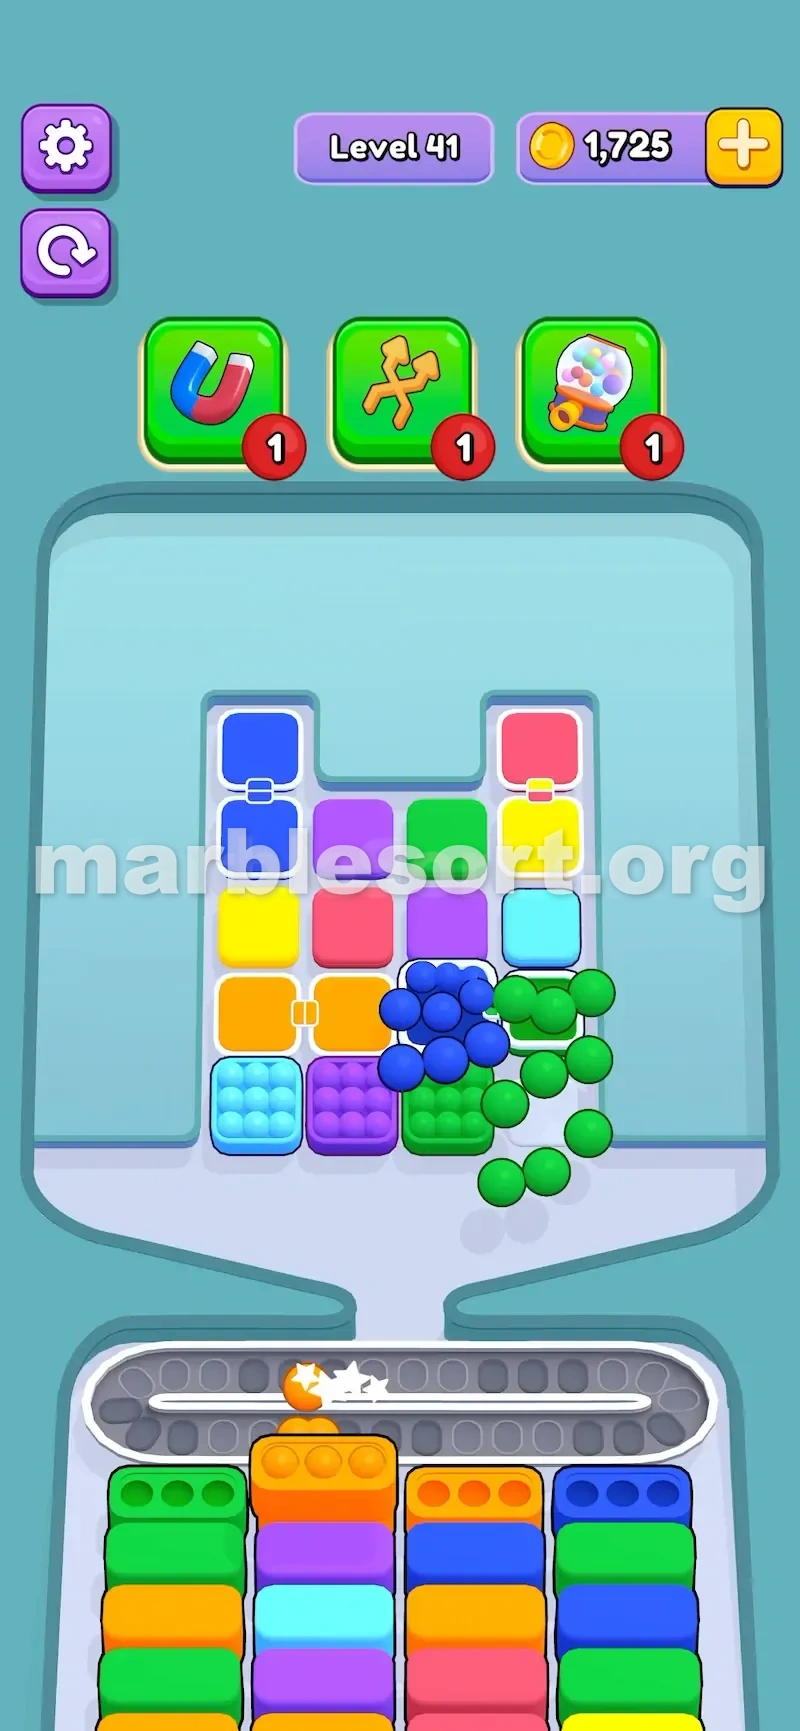
Since every top container can be holding a full stack, that one action can dump an enormous heap onto the track. Two useful shades is a gift. One useful shade paired with a homeless one is how a tidy board turns into gridlock.
Spotting the Link and What It Means
Look for two containers up top joined by a short bar. That bar is the whole tell.
Their shades can be completely unrelated, or they can occasionally line up with the same plan you already had in mind.
Whichever half you touch, the outcome is the same. There is no left option and no right option, only the pair firing as one.
Both stacks then arrive together. A blue and yellow pairing sends blue and yellow down at the same instant, and nothing about your input changes that.
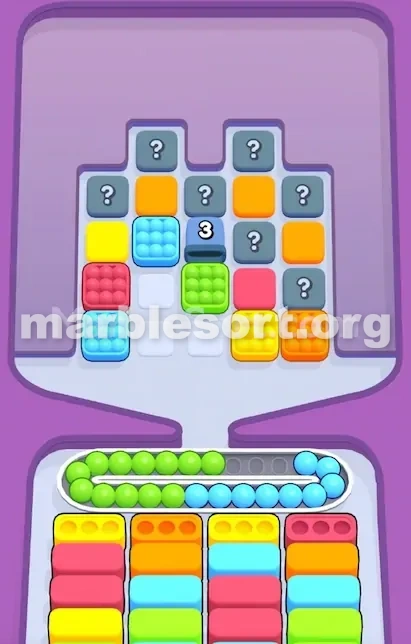
Why the Track Fills Twice as Fast
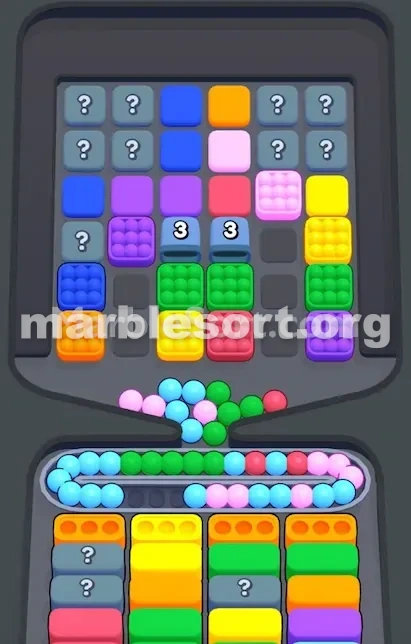
A single ordinary release is already a gamble when the track is crowded. A linked pairing takes that risk and doubles it in one motion.
This is not simply another obstacle sitting in your way. It is a question the stage keeps asking you: can you actually afford the partner shade?
Handled well, the pairing solves two headaches at once. Handled badly, it manufactures a single enormous one.
The reason it bites so hard is that the whole game runs on scarce track space. Every marble riding around out there is occupying room a better shade could have used.
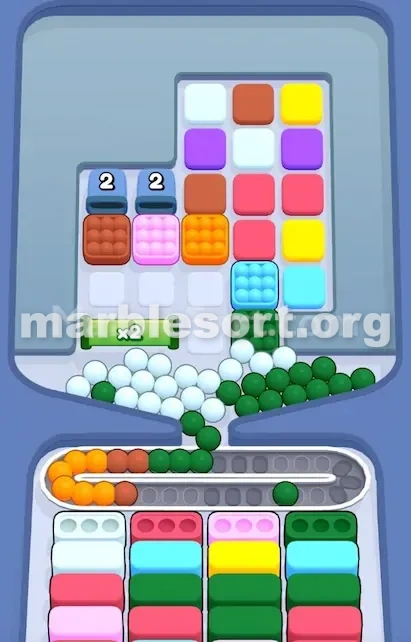
How Greedy Taps Get Punished
Say a green slot below has two openings free, and up top there is a pairing of green with red.
Fire it too soon and the red marbles pour out with no red slot ready to receive them.
Those reds now do laps of the track while you scramble to finish something else, and every lap costs you room you did not budget for.
That is the punishment loop in a sentence. The half you wanted worked perfectly, and the half you ignored is what actually decides the run.
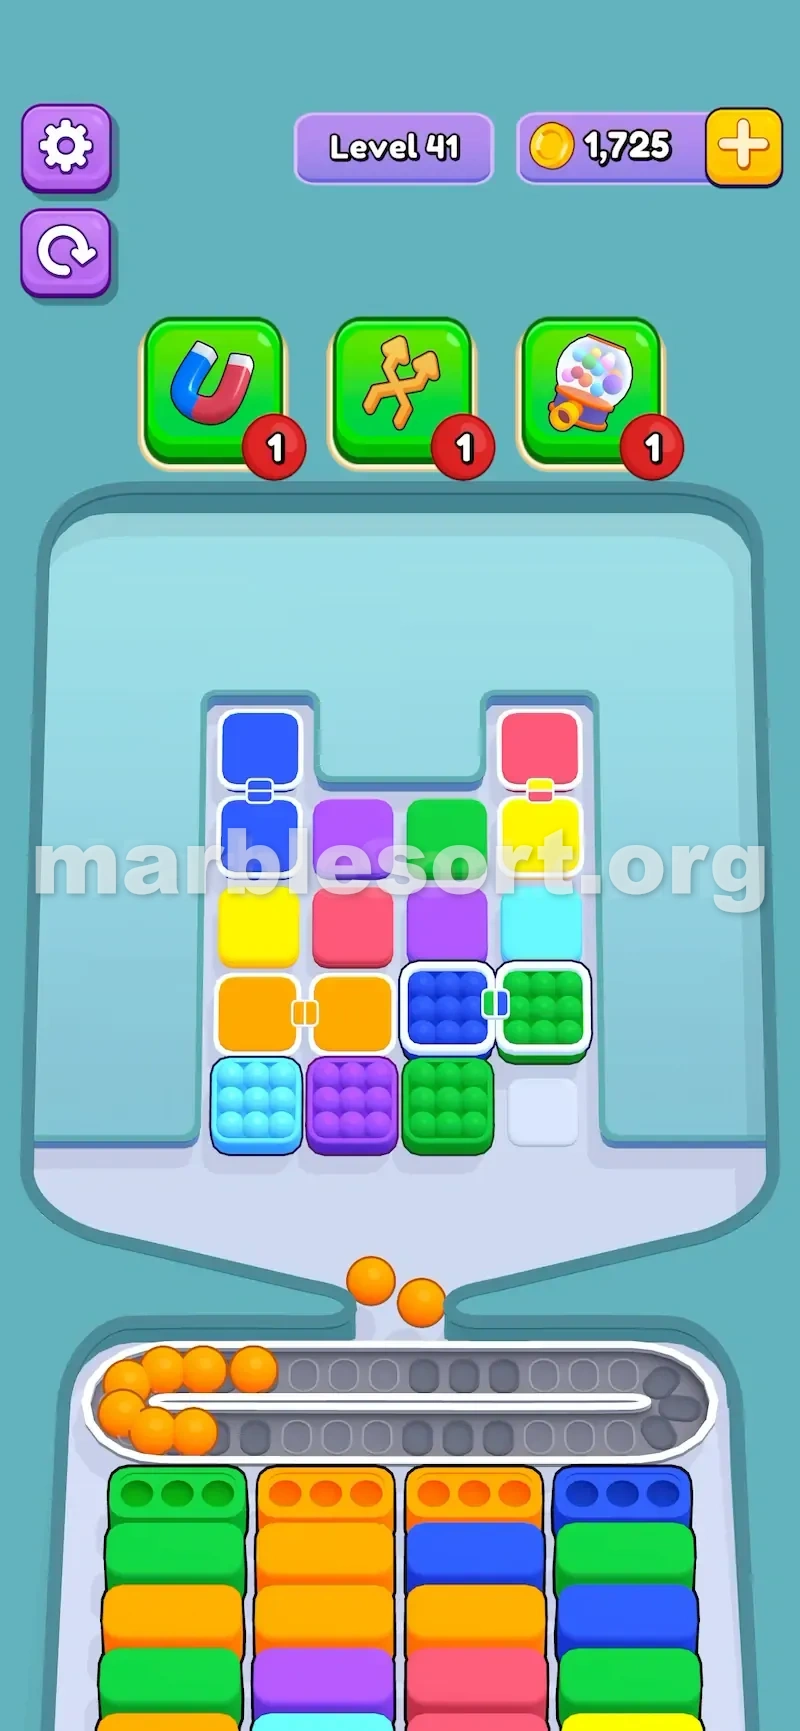
Green Light and Red Light Moments
Fire the pairing when the board can genuinely absorb both halves.
Green light: open slots wait below for each shade, the partner shade has at least one safe destination lined up, the pairing is blocking access to a shade you need next, or you have uncovered enough of the lower board to be confident the pair helps.
Red light: only one half has a match, you are guessing because the board feels stuck, or the pairing sits above a section you have not revealed yet.
The standard is harsh but perfectly fair: with no way to use the partner shade soon, the pair simply is not ready to go.
A Worked Example With Blue and Pink
Imagine a blue and pink pairing up top, with a blue slot below holding two open spaces.
That is not a flawless release, but it can work provided the blue clears quickly and the pink has somewhere waiting.
The blue marbles pull pressure off by finishing a slot. The pink marbles do not have to disappear instantly, they simply need a destination before the track jams.
Now change one detail: same pairing, but only blue is open below. That pink stack turns straight into clutter. It can smother the shade you need next, delay a clear, or push you into spending a booster — and no amount of blue reward pays for that pink mess.
Making Hard Stages Prove the Pair Is Worth It
Difficult stages tend to disguise what a linked pairing is actually worth. Early on it can look like dead weight because neither shade matches anything visible, and the board seems to be daring you into a wasteful release.
The fix is almost always the same: clear the smaller, safer containers first.
Strip away a few of the lower containers and the pattern starts surfacing. A shade that seemed pointless finds a match, and a pairing that felt like a trap turns into the exact move that cracks the stage open.
This shows up constantly when a stage layers obstacles or buries key shades behind other clears. The design wants you to burn the pairing early — so make the board demonstrate that both shades are needed before you spend it.