Video Guide
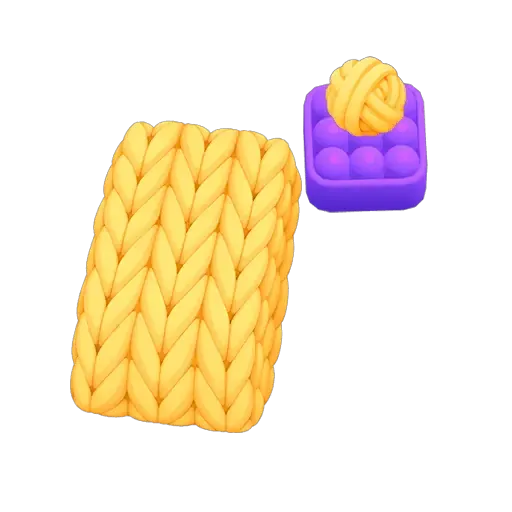
The Knit Trays Mechanic: A Complete Breakdown
Imagine showing up to a marble-sorting puzzle where one entire column of bottom slots is wrapped in thick yarn — you can't see what colors hide beneath, and the only way to unwrap it is by finding a matching yarn ball somewhere on the upper board. Welcome to Knit Trays, one of Marble Sort's most deceptive mechanics.
What makes this feature uniquely challenging is how it attacks your gameplay on two fronts simultaneously: it physically removes playable slots from your board while also denying you crucial information about what those slots contain. You're playing blind and with less space — a punishing combination that separates casual tappers from strategic planners.
On this page, we'll dismantle the entire Knit Trays system: from identifying the component parts, through a four-step breakdown of how to interact with them, to battle-tested strategies for turning this mechanic from a liability into your advantage.

Anatomy of a Knit Tray: The Five Core Components
Before diving into tactics, let's establish a precise vocabulary for the Knit Trays mechanic. Understanding these five components will make every subsequent strategy clearer and more actionable.
Unlike simpler blockers that protect a single slot, Knit Trays defend an entire vertical column — meaning the stakes are significantly higher when you ignore them.
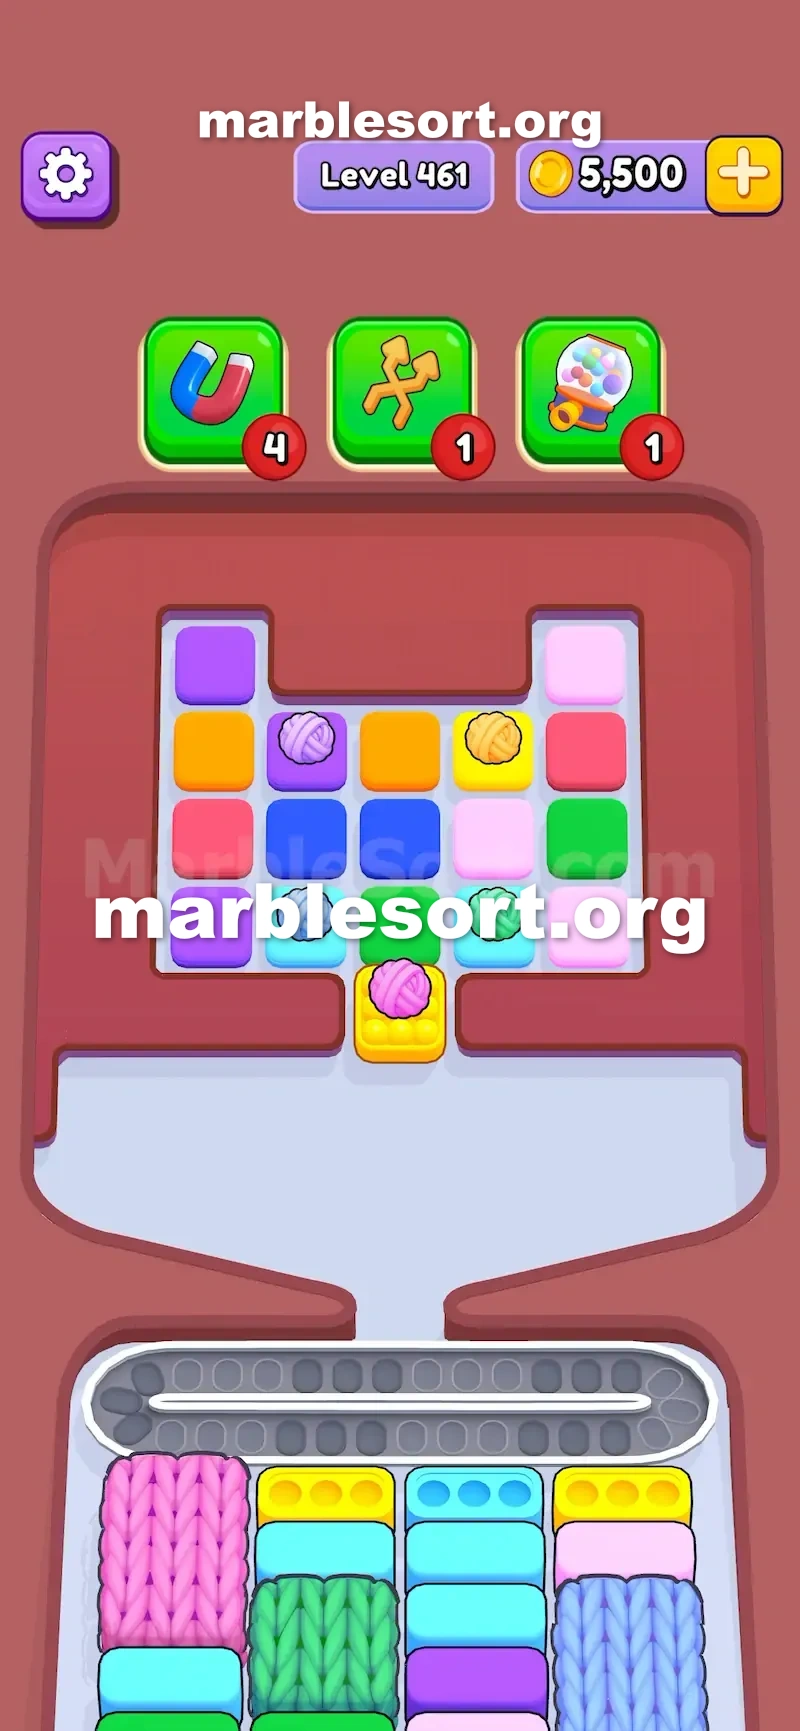
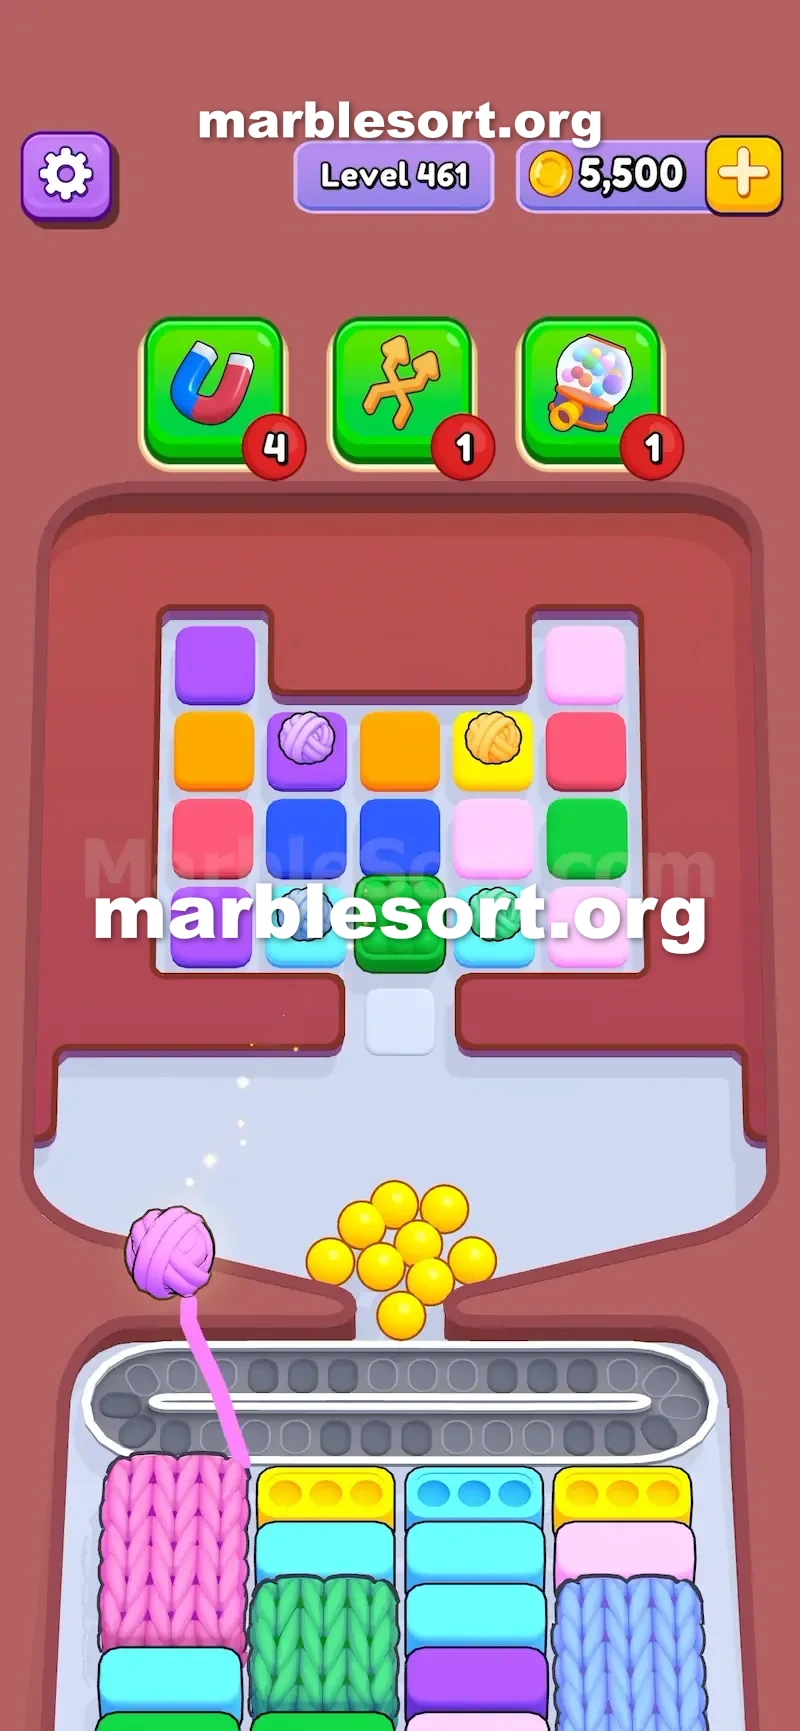
The Complete System
- Yarn Ball: A small colored sphere perched atop a regular marble box. This is your activation key — but only if its color matches.
- Knit Cover: The thick knitted texture that encases a column from top to bottom. Nothing enters or exits until it breaks.
- Color Lock: The universal matching rule that governs all interactions. Pink balls break pink covers. Yellow balls break yellow covers. No exceptions.
- Blocked Column: The vertical row of bottom boxes rendered inaccessible by the knit. Often contains colors critical for level completion.
- Hidden Payload: The unknown marbles trapped inside yarn-covered boxes. Discovering what's underneath is half the strategy.
Comparison: Knit Trays vs. Locked Pallet
- Locked Pallet guards one box. Knit Trays protect an entire column — three to five boxes at a time.
- A Locked Pallet failure costs you one match opportunity. A Knit Tray failure costs you an entire column's worth.
- Both use color matching, but Knit Trays' column-wide protection makes timing far more critical.
Four Phases of Knit Tray Interaction
Every successful Knit Tray interaction follows a predictable sequence. Mastering these four phases eliminates guesswork and transforms the mechanic into a calculable puzzle.
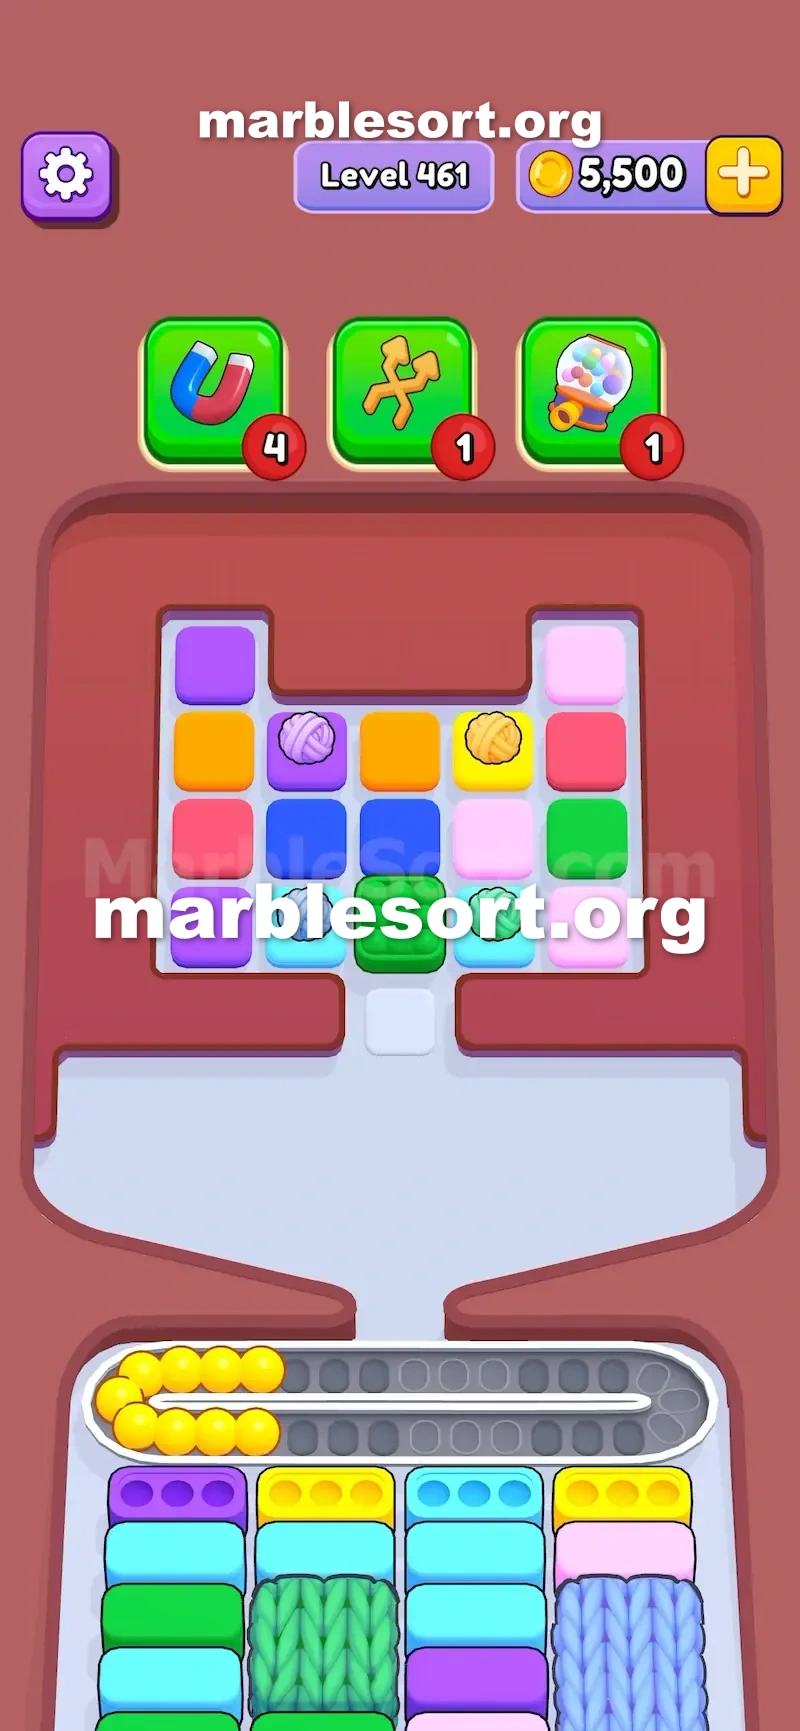
Phase 1: Reconnaissance — Read the Battlefield
- Scan the bottom grid systematically, left to right, to identify all yarn-wrapped columns.
- For each Knit Tray, note its exact color. This is your targeting information.
- Count how many blocked columns exist. Multiple Knit Trays mean multiple priorities.
- Mark the open columns — these are your active playing space until Phase 4.
Phase 2: Target Acquisition — Hunt the Yarn Ball
- Search upper board boxes for yarn-ball markers. They sit atop regular marble boxes.
- Match each discovered yarn ball to its corresponding Knit Tray color.
- Prioritize yarn balls for columns containing colors you're currently short on.
- Note the marble color inside the yarn-ball box — this matters for Phase 4 timing.
Phase 3: Execution — Trigger the Release
- Ensure the conveyor belt has 1-2 empty slots before dropping the yarn-ball box.
- Tap the box carefully — the knit ball animates to its matching column and breaks the cover.
- As the knit breaks, all previously hidden bottom boxes become visible and accessible.
- Watch the reveal: check what colors were trapped and adjust your plan accordingly.
Phase 4: Exploitation — Use the New Space
- Immediately start filling the newly opened column with matching marbles.
- Remember: the yarn-ball box itself dumped marbles onto the conveyor — clear them first if they create a jam.
- The level difficulty drops dramatically once a Knit Tray breaks. Use this momentum to clear other blockers or complete color runs.
- If multiple Knit Trays exist, begin hunting the next yarn ball while filling the current column.
Why Knit Trays Break Your Flow
To understand why Knit Trays feel so punishing, we need to examine how Marble Sort's core systems interact with this mechanic. The conveyor belt is the game's circulatory system — every marble passes through it before reaching a bottom box.
In normal levels, you have plenty of slot options to route marbles efficiently. Knit Trays eliminate 15-25% of your available slots from the start. Worse yet, you don't know what the hidden slots contain — you might discover the exact color you need has been trapped under a knit all along.
The true genius (or cruelty) of this mechanic is information asymmetry. You're forced to make routing decisions with incomplete data. A marble that would normally find a home in a blocked column instead rides the conveyor, taking up valuable belt space. Eventually, the conveyor chokes under the load of unhoused marbles.
This is why experienced players say Knit Trays aren't difficult to understand — they're difficult to execute consistently. The rule is simple; the constraint is brutal.
The Knit Trays Playbook: Five Winning Formulas
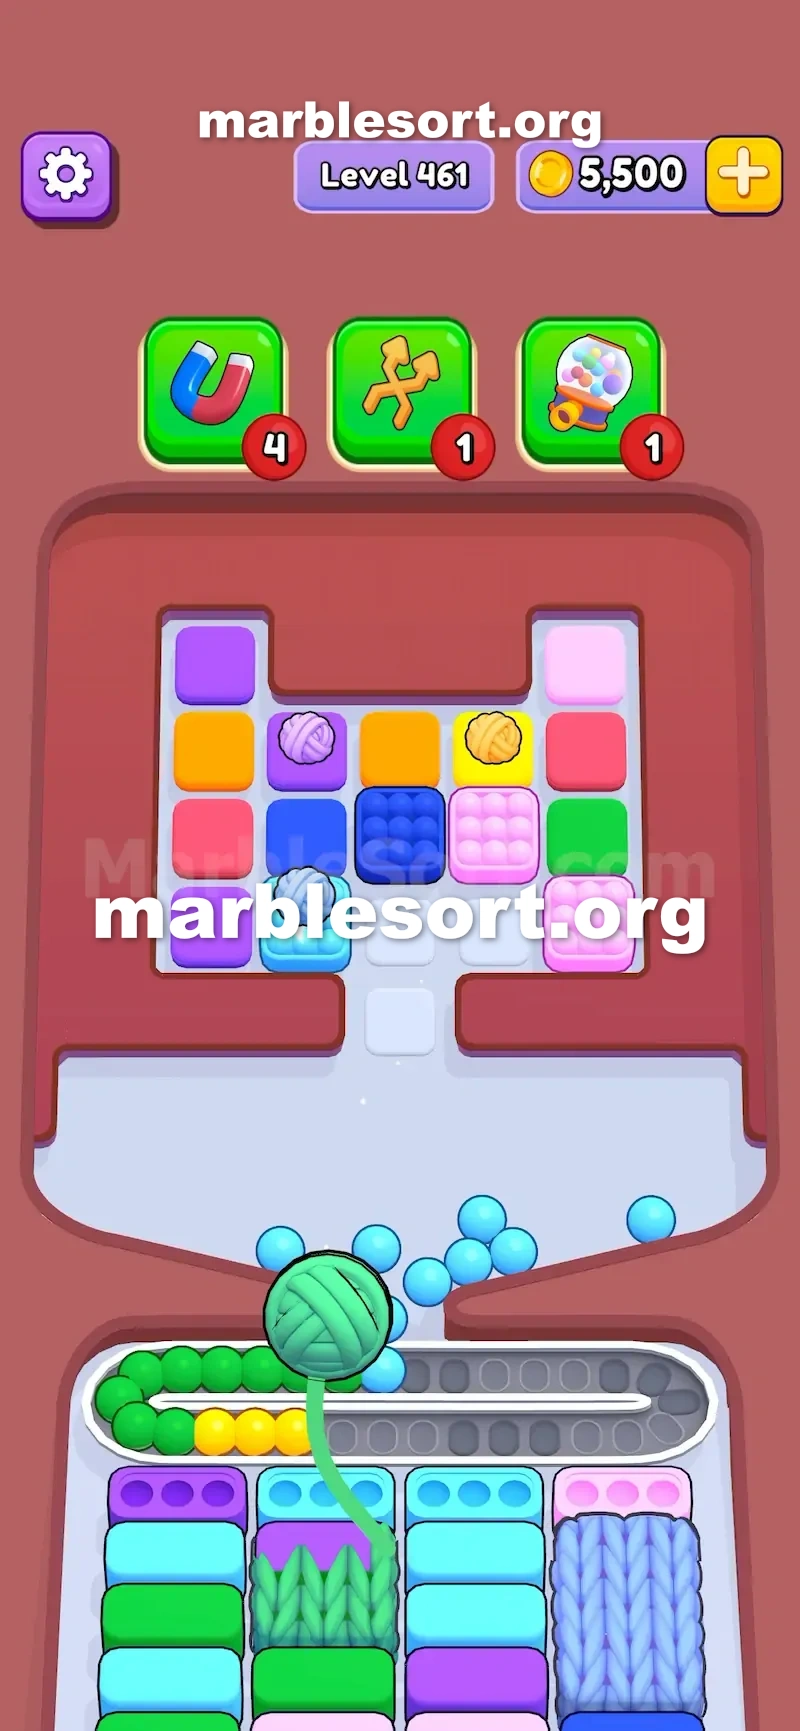
Formula 1: Pre-Scan Ritual
- Before your first drop, spend 3 seconds doing a complete board scan.
- Build a mental map: which columns are blocked, what colors they are, where matching yarn balls sit.
- Identify your "critical path" — the sequence of actions needed to break the first Knit Tray.
- This ritual separates reactive play from strategic play.
Formula 2: Space Conservation
- Treat open columns as a precious resource. Every marble dropped should fill a specific need.
- Ask before every tap: "Does this marble have a clear destination?" If the answer is uncertain, reconsider.
- Aim to complete bottom trays in open columns as fast as possible — completed slots free up conveyor space.
- The rule: one drop, one clear purpose. No random taps.
Formula 3: Early Break Priority
- Your #1 priority in any Knit Tray level is breaking the first knit as early as safely possible.
- A broken Knit Tray adds 3-5 usable slots — a massive boost to your operating capacity.
- Even if dropping the yarn-ball box temporarily clutters the conveyor, the long-term gain of extra slots outweighs the short-term cost.
- Exception: if the conveyor is already at 80%+ capacity, clear some space first.
Formula 4: Timed Release
- The yarn-ball box contains regular marbles that also dump when dropped.
- Check the marble color inside: if it's a color you currently have no open slots for, prepare to handle those marbles first.
- Safe sequence: fill 1-2 matching slots → clear belt space → drop yarn-ball box → immediately use the new column.
- This prevents the "I broke the knit but now my belt is jammed" scenario.
Formula 5: Momentum Conversion
- A broken Knit Tray creates momentum. Convert it immediately.
- Fill the new column with matching marbles while simultaneously searching for the next yarn ball.
- In levels with multiple Knit Trays, aim to break them in quick succession — the momentum compounds.
- Levels become exponentially easier once all Knit Trays are cleared.
Five Knit Tray Traps to Avoid
Even experienced players fall into these common traps. Recognize them before they cost you a run:
Trap 1: Color Blindness
- The most common error: tapping the nearest yarn ball regardless of its color.
- Fix: Always verify the color match before tapping. A mismatched yarn ball does nothing.
- If there are multiple yarn balls, sort them by usefulness to your current needs.
Trap 2: Belt Starvation
- Peppering the board with marbles when only a couple of slots are open is how the conveyor chokes for good.
- Fix: Before aggressive tapping, ensure you have at least 2-3 open destinations.
- The belt should never exceed 75% capacity when Knit Trays are present.
Trap 3: Analysis Paralysis
- Spending too long scanning means you miss the optimal timing window.
- Fix: Limit initial scan to 3-5 seconds. Trust your first assessment and refine as you play.
- Action beats perfection in Marble Sort.
Trap 4: Wrong Priority
- Choosing to clear regular boxes before breaking Knit Trays is a common miscalculation.
- Fix: Knit Trays should be your top priority unless breaking them would jam the belt.
- The extra slots from a broken Knit Tray will make clearing everything else easier.
Trap 5: Premature Celebration
- Breaking a Knit Tray and immediately relaxing — then forgetting about the marbles that dumped from the yarn-ball box.
- Fix: After breaking a Knit Tray, immediately clear or route the marbles from the trigger box.
- The post-break moment is when most avoidable jams occur.
Frequently Asked Questions
Questions players commonly ask about the Knit Trays mechanic:
Is it possible to clear a level without breaking all Knit Trays?
- In theory, yes. In practice, it's extremely rare. Levels with Knit Trays are designed so the hidden columns contain colors essential for completion. Skipping them means either running out of space or missing critical color matches.
What happens if I drop a yarn ball of the wrong color?
- Nothing useful happens. The wrong-colored yarn ball flies toward the Knit Tray but bounces off harmlessly — the cover remains intact. You lose the marble storage from that box and waste a turn. Always double-check the color match.
Should I clear the yarn-ball box's marbles before dropping it?
- Only partially. You want enough belt space to absorb the marbles from the trigger box (usually 3-5 marbles). Clear 1-2 slots' worth of space, then drop. Don't clear everything — you need momentum after the knit breaks.
Why do some Knit Tray levels feel impossible on first attempt?
- It's by design. Knit Tray levels force you to adopt a specific playstyle — scan-first, plan-ahead, execute-with-precision. If you're used to rapid-fire tapping, these levels will punish you until you adapt to the strategic tempo.
Can the yarn-ball box contain the same color as the Knit Tray it matches?
- Yes, and this is actually the ideal scenario. When the trigger box's marbles match the newly opened column, you can drop the box and immediately route its marbles into the revealed slots — a seamless chain that creates instant momentum.
Advanced Mastery: The Perfect Timing Technique
The difference between a competent Knit Tray player and a master comes down to one skill: timing the yarn-ball drop with conveyor belt awareness.
The belt moves continuously. When you drop a yarn-ball box, its marbles enter the belt at a specific moment. If you time it so those marbles arrive at the bottom just as the Knit Tray breaks and new slots appear, you achieve a zero-waste chain — marbles flow directly from the trigger box into the newly revealed column.
To master this: observe the conveyor cycle length in the level, count the marbles in the yarn-ball box, and anticipate when the belt will deliver them to the bottom row. This requires practice, but when executed correctly, it feels like the level itself is helping you.
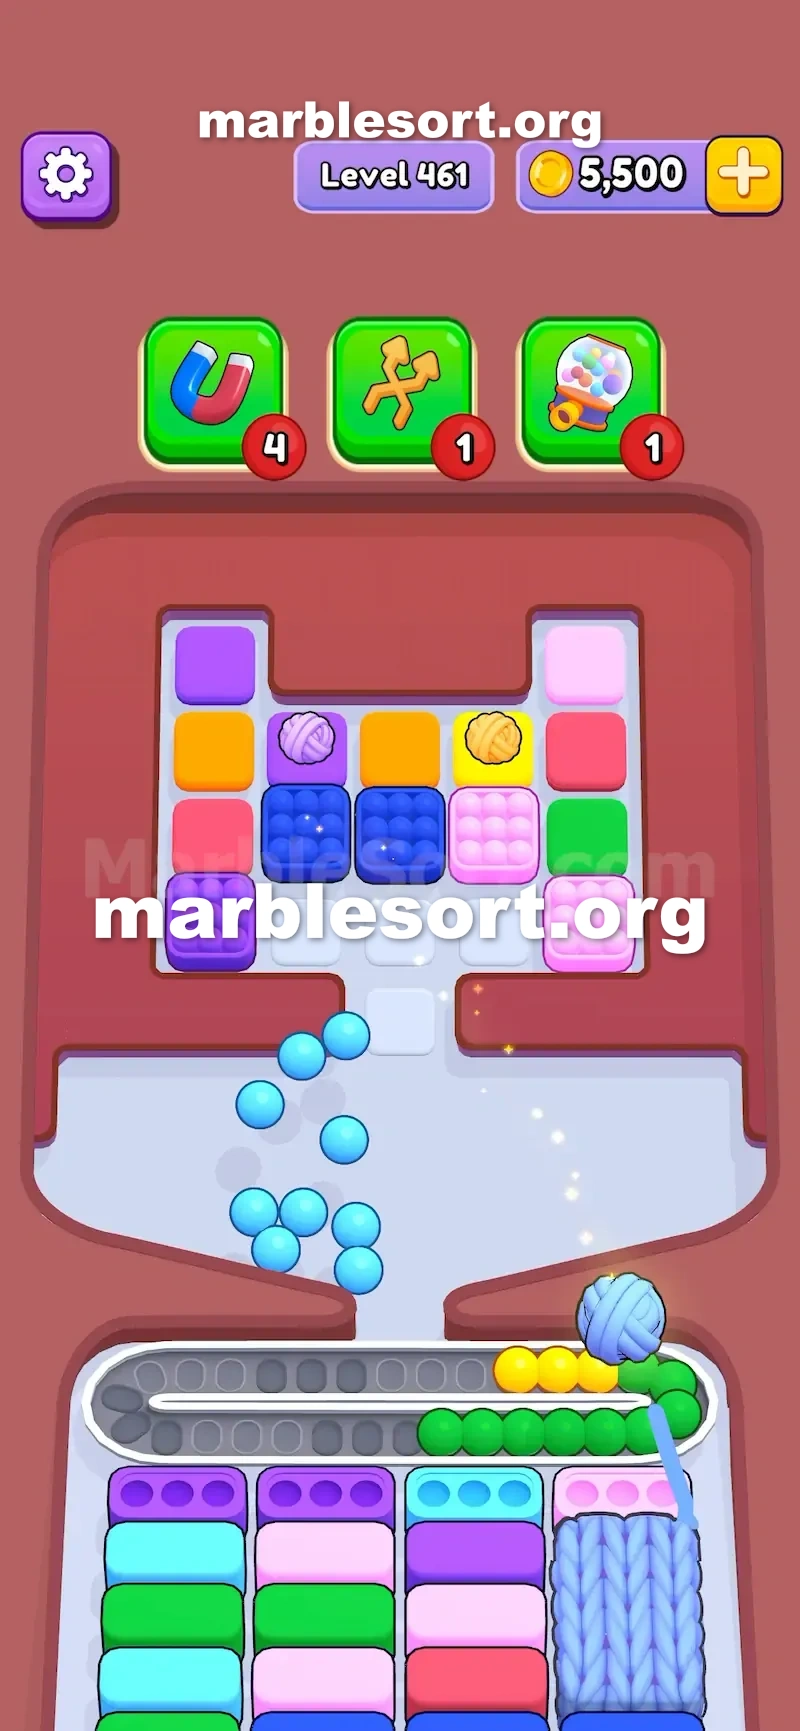
Recommended Practice Levels
Build your Knit Trays proficiency progressively with these curated levels:
Learning Progression
- Level 461 — Single Knit Tray, basic introduction. Focus on mastering the four-phase flow.
- Level 464 — Two Knit Trays with different colors. Practice prioritization and sequencing.
- Level 470 — Complex multi-tray setup. Tests your timing and decision-making under pressure.