Video Guide

Pillar: The Rainbow Wall That Shrinks One Hit at a Time
A Pillar looks friendly at first — just a striped, rainbow-colored block sitting in your path. Then you realize it is not a single wall you can smash; it is a stack that gives up one slice every time you poke it, and the slice behind it stays hidden until the very end.
Players who treat it like a normal blocker waste moves and choke their own board. Learn to read it as a slow, controlled opening instead, and those same levels become routine.

What a Pillar Really Is
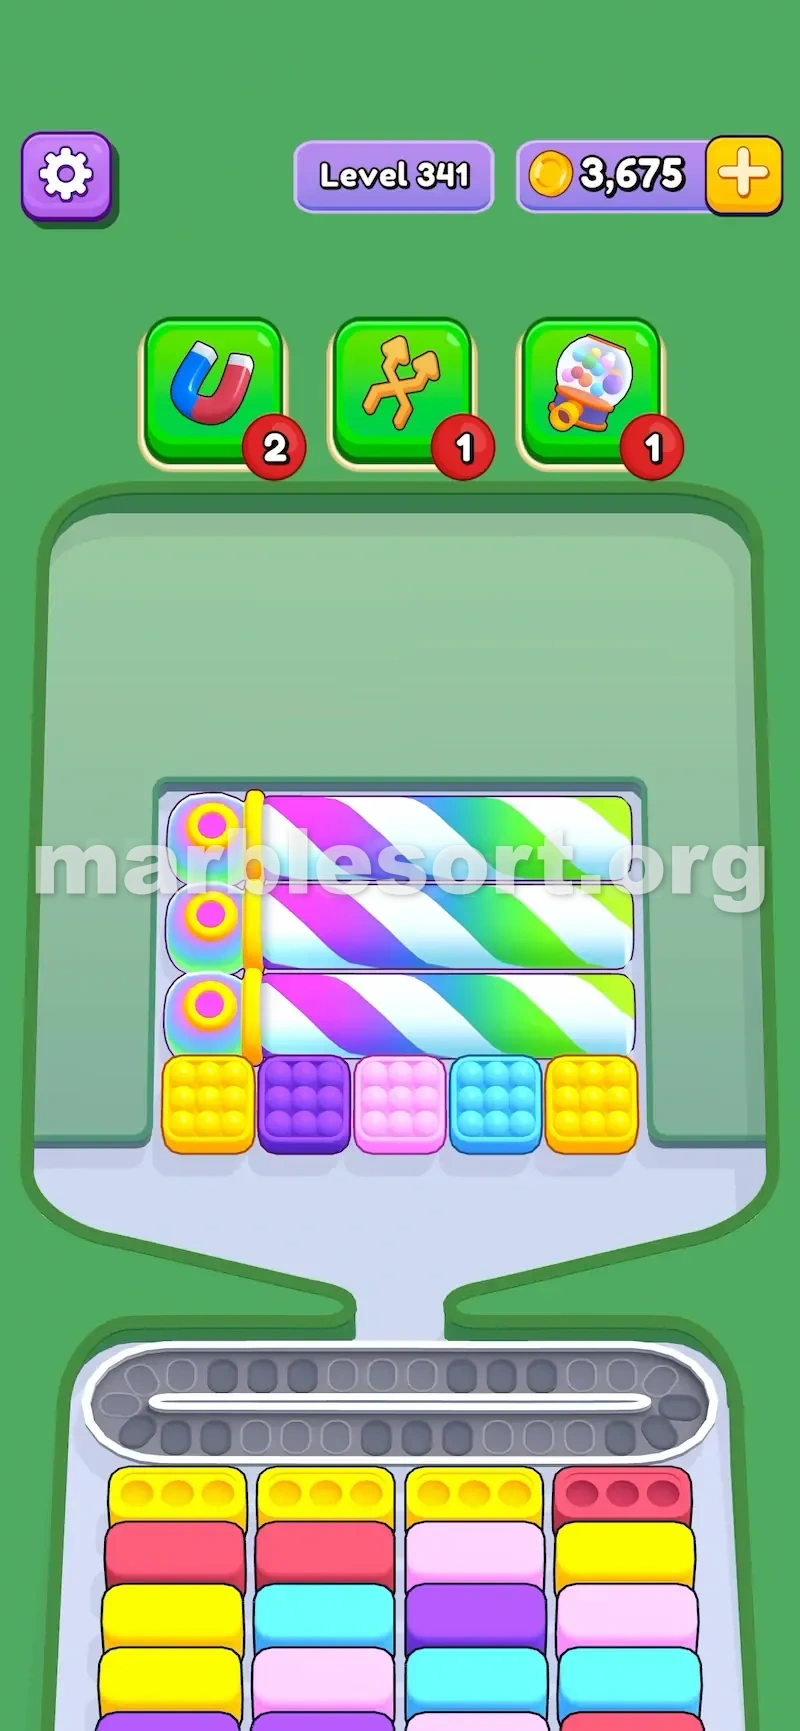
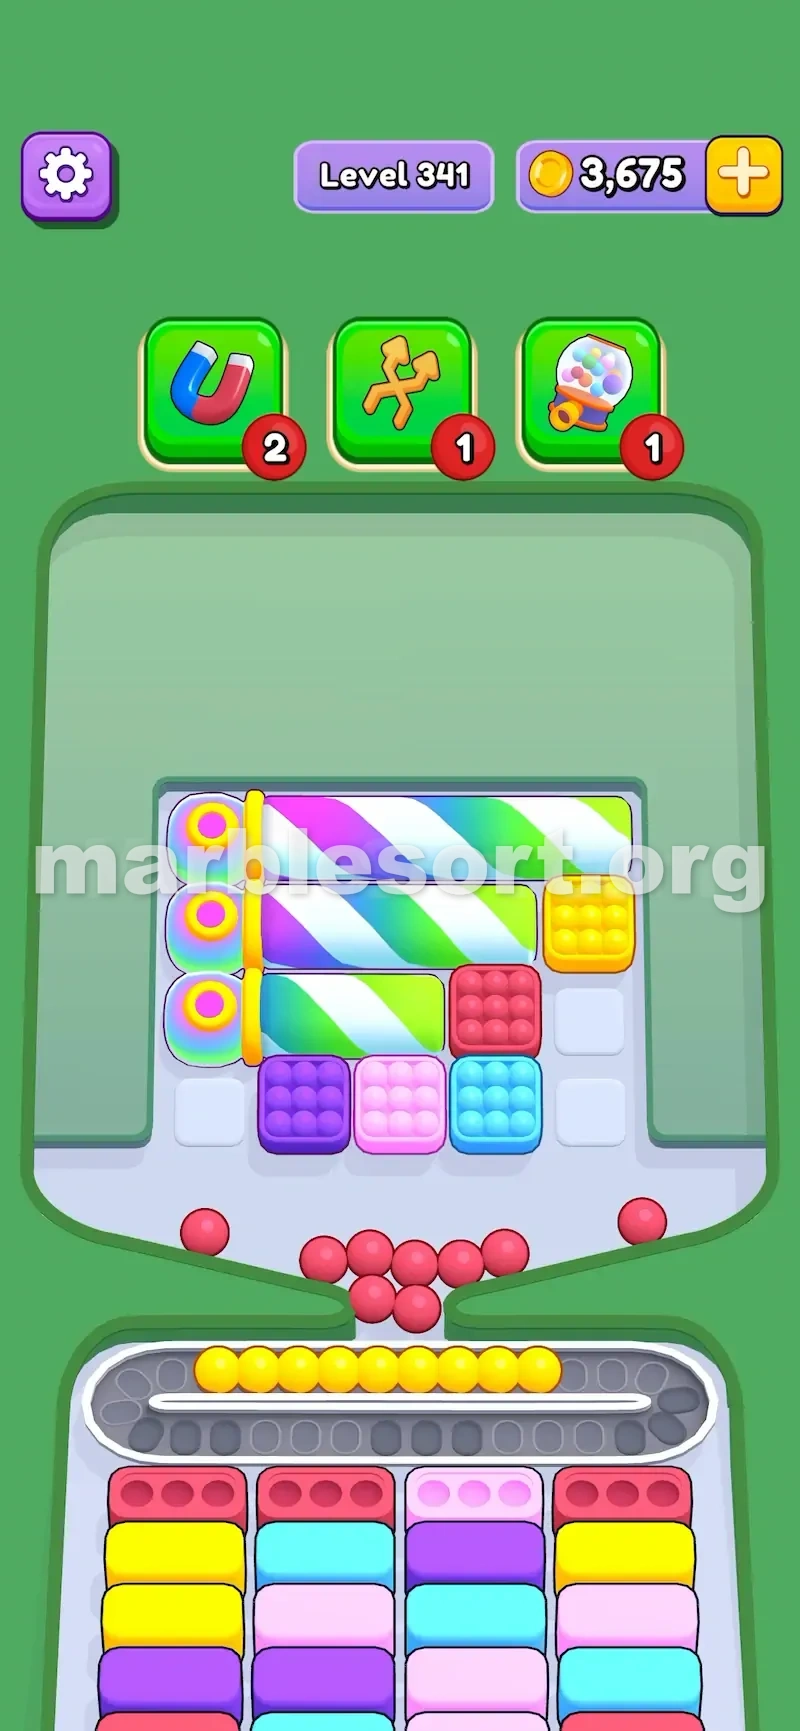
A Pillar is a rainbow blocker that can sit horizontally or vertically, and it occupies two or three board slots instead of one. Anything placed behind those slots is simply unreachable until the Pillar shrinks enough to expose it.
Unlike a Swap Box that hides marbles inside itself, a Pillar hides other boxes behind its body. The useful colors you need most are often tucked in the spaces the Pillar is covering.
That is the core nuisance: it does not just take up room, it also walls off the room you would rather be using.
How Hitting It Actually Works
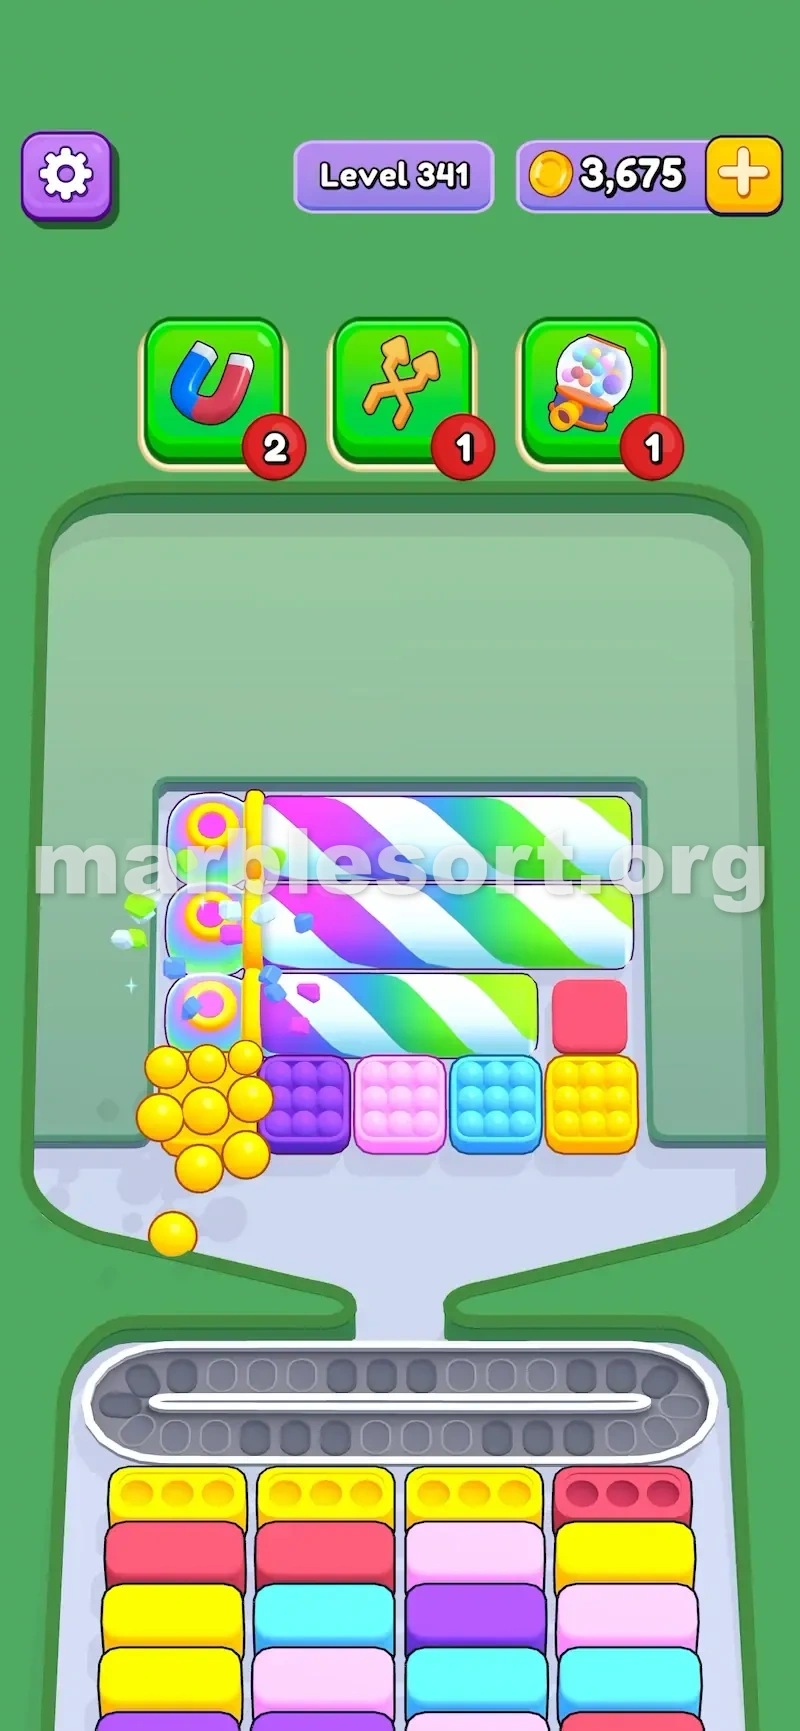
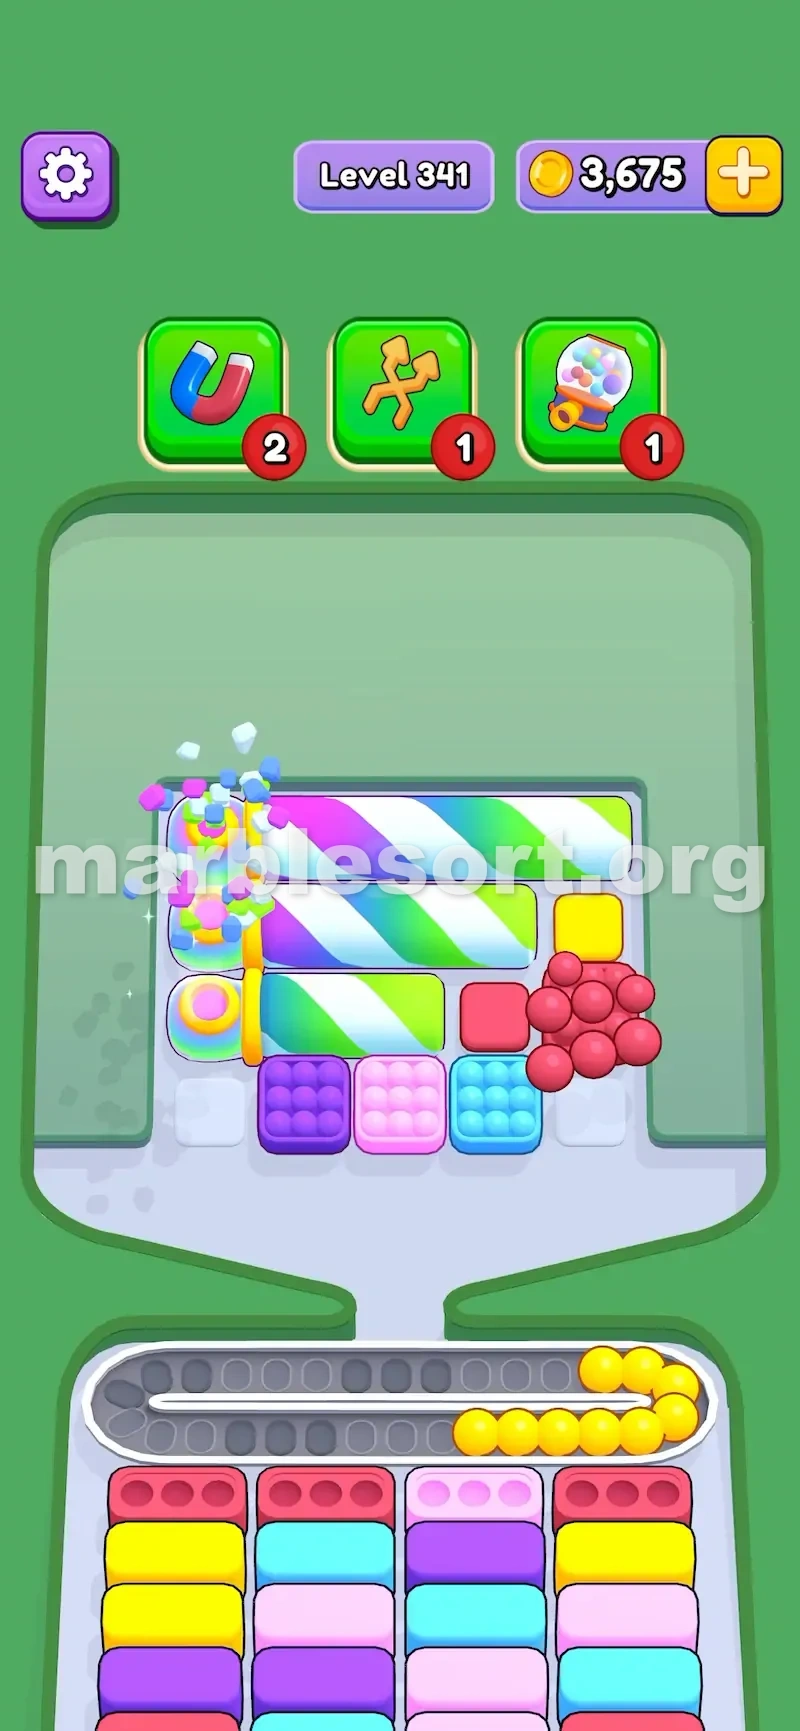
To damage a Pillar, drop any box that touches it on a side. The Pillar then rotates, loses one slot of length, and releases a brand-new box from the part that just shortened.
You do not clear it in one swing. You repeat the nearby drop until the Pillar is only two boxes long, and a final adjacent drop removes those last two and clears it completely.
So every single hit changes the board twice: the Pillar gets shorter, and a fresh box appears that you now have to find a home for.
Why Pillar Levels Trap Impatient Players
Tough stages often tuck the red or yellow box you need most behind a Pillar's final two slots. You clear half the board and run short on room before realizing the color you hunted was parked behind that last segment all along.
Several half-shrunk Pillars left on the board still eat slots and still hide boxes, so they keep biting you long after you thought you had them handled.
One fully cleared Pillar, by contrast, hands you real breathing room. Partial progress is not the same as a solved blocker.
A Controlled Plan for Any Pillar
Before dropping anything, look at what each Pillar is covering. If it guards a big chunk of the board, make clearing it a priority rather than an afterthought.
Trigger a Pillar with a touching box whose marbles can fill bottom slots right now. That gives you progress and shrinks the blocker at the same time. Avoid hitting it with a color that has no open receiver unless the conveyor has spare room — a bad hit leaves marbles circling with nowhere to land.
Once the Pillar is down to two boxes, stop for a beat. That last strike can spill a box carrying crucial marbles, so free up some room beforehand. And when you can, clear a Pillar all the way rather than leaving a few half-shrunk.
The Two-Pillar Trick
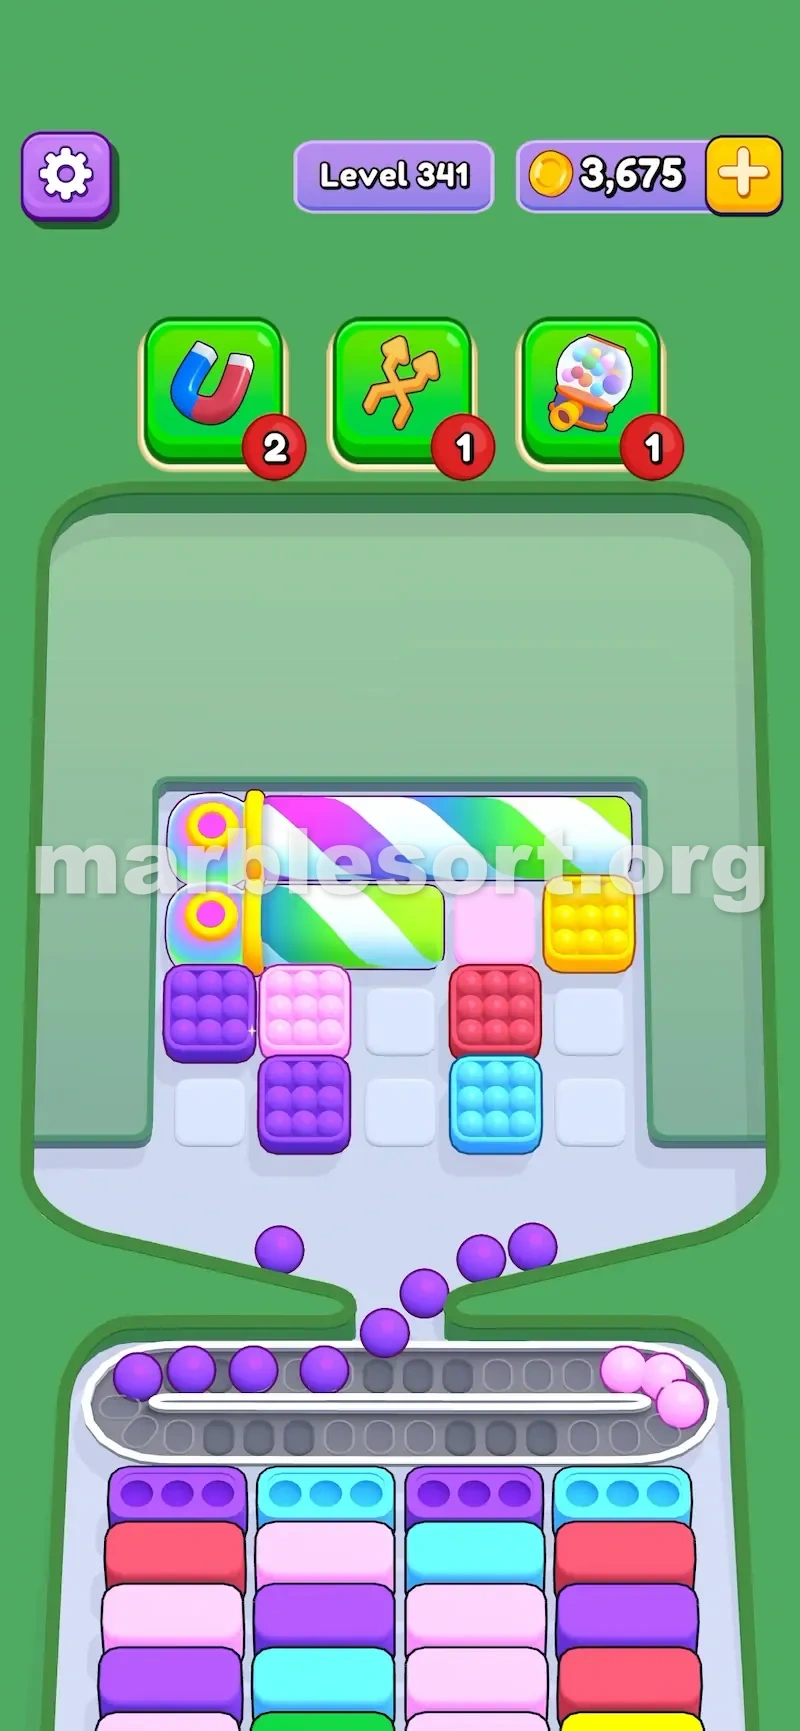
When a pair of Pillars stands near each other, clearing the shorter one first is not always wise. Often the better call is to shrink the taller one until it drops a box beside the second.
That dropped box turns into your following trigger, so you slice through both walls with fewer wasted taps. It helps most when the stage deals you awkward tones right at the opening.
Reserve a dead-end color for your opening strike only if the belt has space, then follow the released box to keep the link alive. Risky as it feels, it trims moves when the board is jammed.

Where Pillars Show Up in Real Levels
Early Pillar levels keep them short and out of the way, teaching you the shrink-and-release rhythm without much punishment.
Later stages chain multiple Pillars or pair them with other blockers, forcing you to decide which one to starve and which one to feed based on the colors you are actually short on.
Whenever a rainbow block appears, stop and read it. A Pillar is never just decoration — it is a timed opening wearing a friendly striped coat.