Video Guide
Ice Trays: When the Floor, Not the Ceiling, Locks Up
Ice Trays freeze the colored receivers at the bottom of the board while the marbles keep rolling above. The top looks open, the bottom is jammed, and one wrong tap turns the whole run into a traffic jam.
This guide explains how the freeze works, why it hurts more than a top-box lock, and how to break the ice without flooding your conveyor.
What a Frozen Bottom Receiver Actually Is
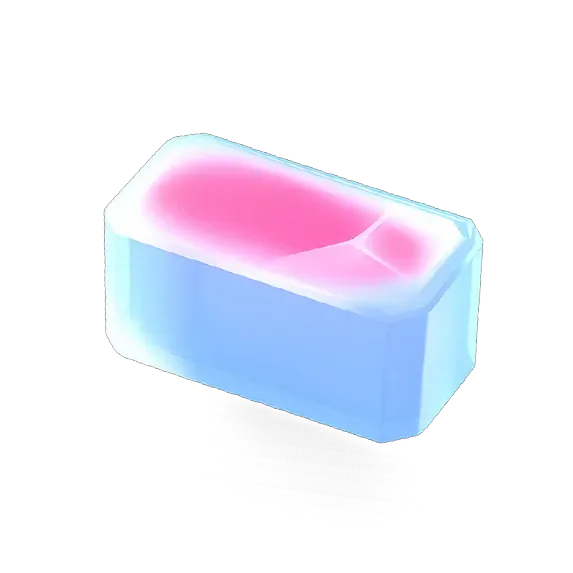
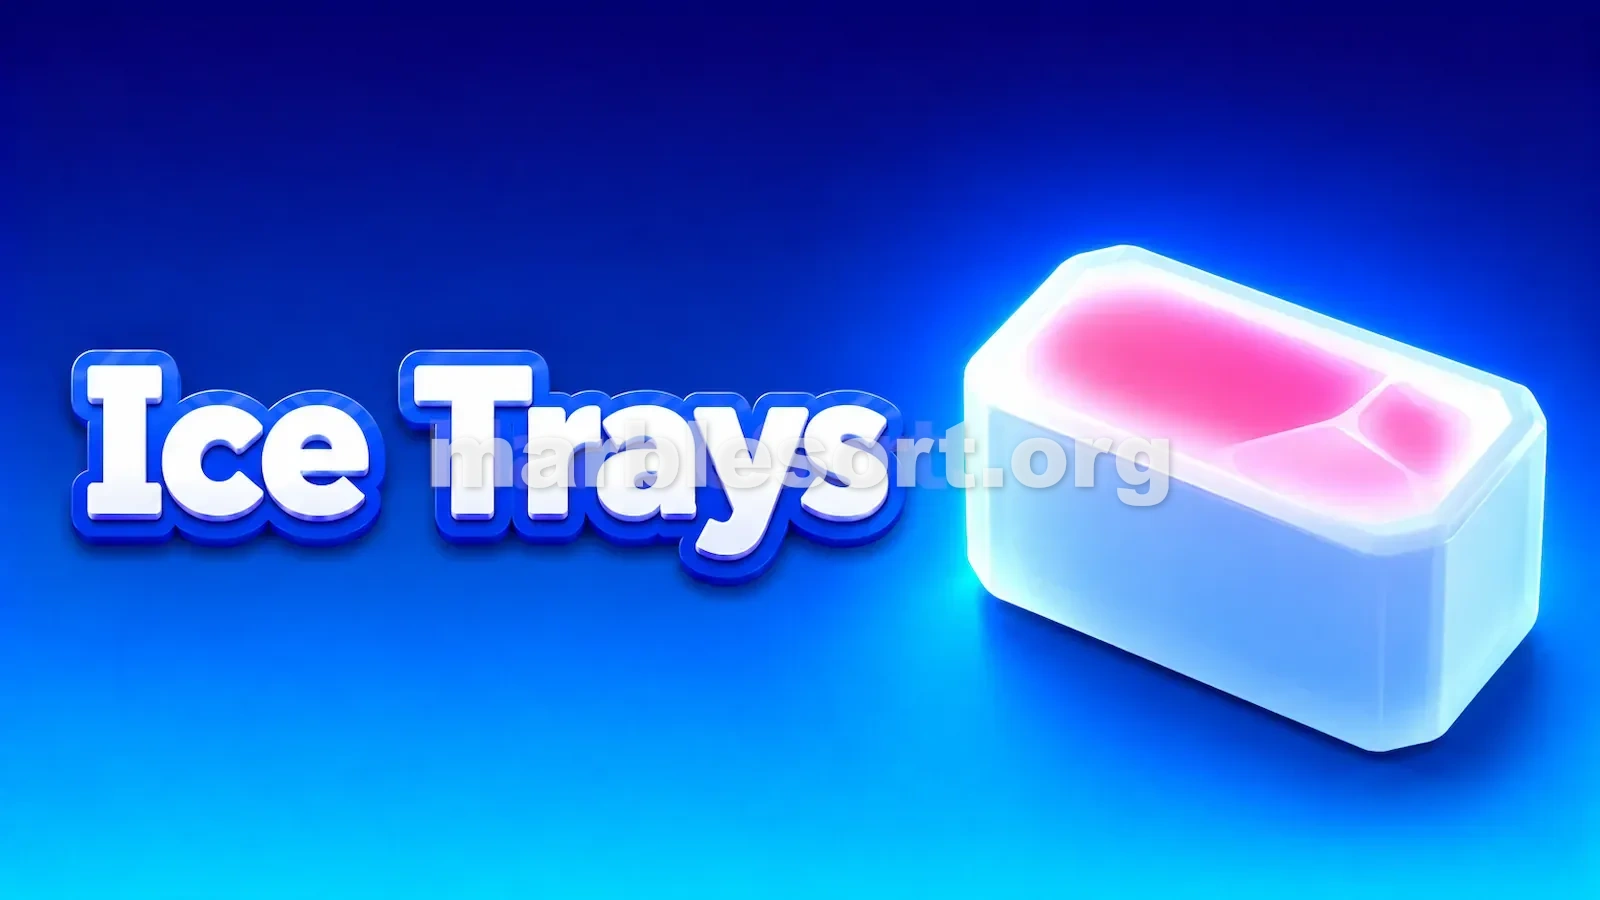
An Ice Tray is a colored box at the bottom that cannot receive its marble yet. It behaves like the Ice Box obstacle, but it shows up in the floor instead of the upper shelf.
A frozen bottom means the matching color has nowhere to land, even when that color is plainly visible up top. The marbles stay on the belt, eat space, and edge you toward a fail if too many stack up.
So this is not just a visual blocker. It quietly rewrites the order you have to play the level in.
How to Crack the Ice
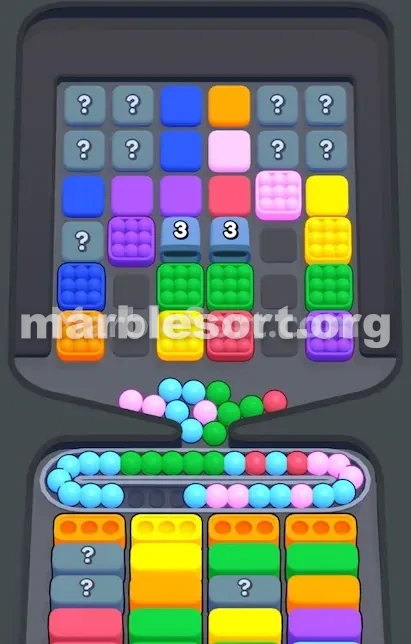
To break one Ice Tray you must clear the normal colored boxes sitting directly beside it two times. Directly beside means left or right — a diagonal neighbor does not count.
The basic loop is simple: find the frozen tray, look at the normal boxes touching it, then clear those neighbors. Each clear chips the ice one step.
That sounds simple until a stage drops three frozen trays, a pair of dead colors, and a conveyor already stuffed with marbles you have no slot for.
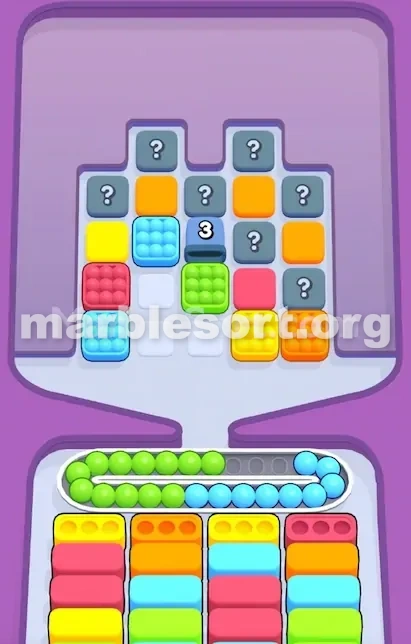
Why the Freeze Bites at the Bottom
Most levels are a conversation between top marble boxes and bottom receivers. You match a color, drop it, and free space before the belt chokes.
Sometimes the single tray you can see is the sole landing spot for a color you must use. Dump that shade too soon and the marbles loop with no receiver; stall too long and the space to crack the ice vanishes.
The stage forces two choices together: what color can I clear right now, and what clear will thaw the ice I want later? Anyone answering only the first loses the run.
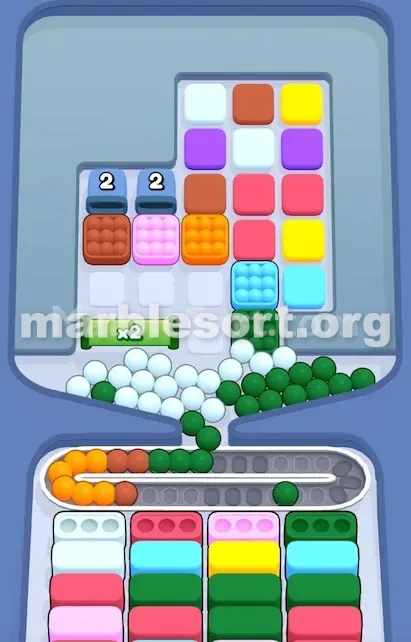
Ice Tray vs Ice Box vs Locked Pallet
Ice Box reads easier since it lives on the top shelf — the frozen marble box blocking your lane is plain to spot, so you can route around it.
Ice Tray is nastier: the top looks free, but the floor cannot accept the marbles, so the belt suddenly fills when you thought you had room.
Locked Pallet also blocks a bottom box, but it waits on a key from above. Ice Tray demands action right next to the ice, so stop hunting the top first — the answer usually sits beside the freeze.
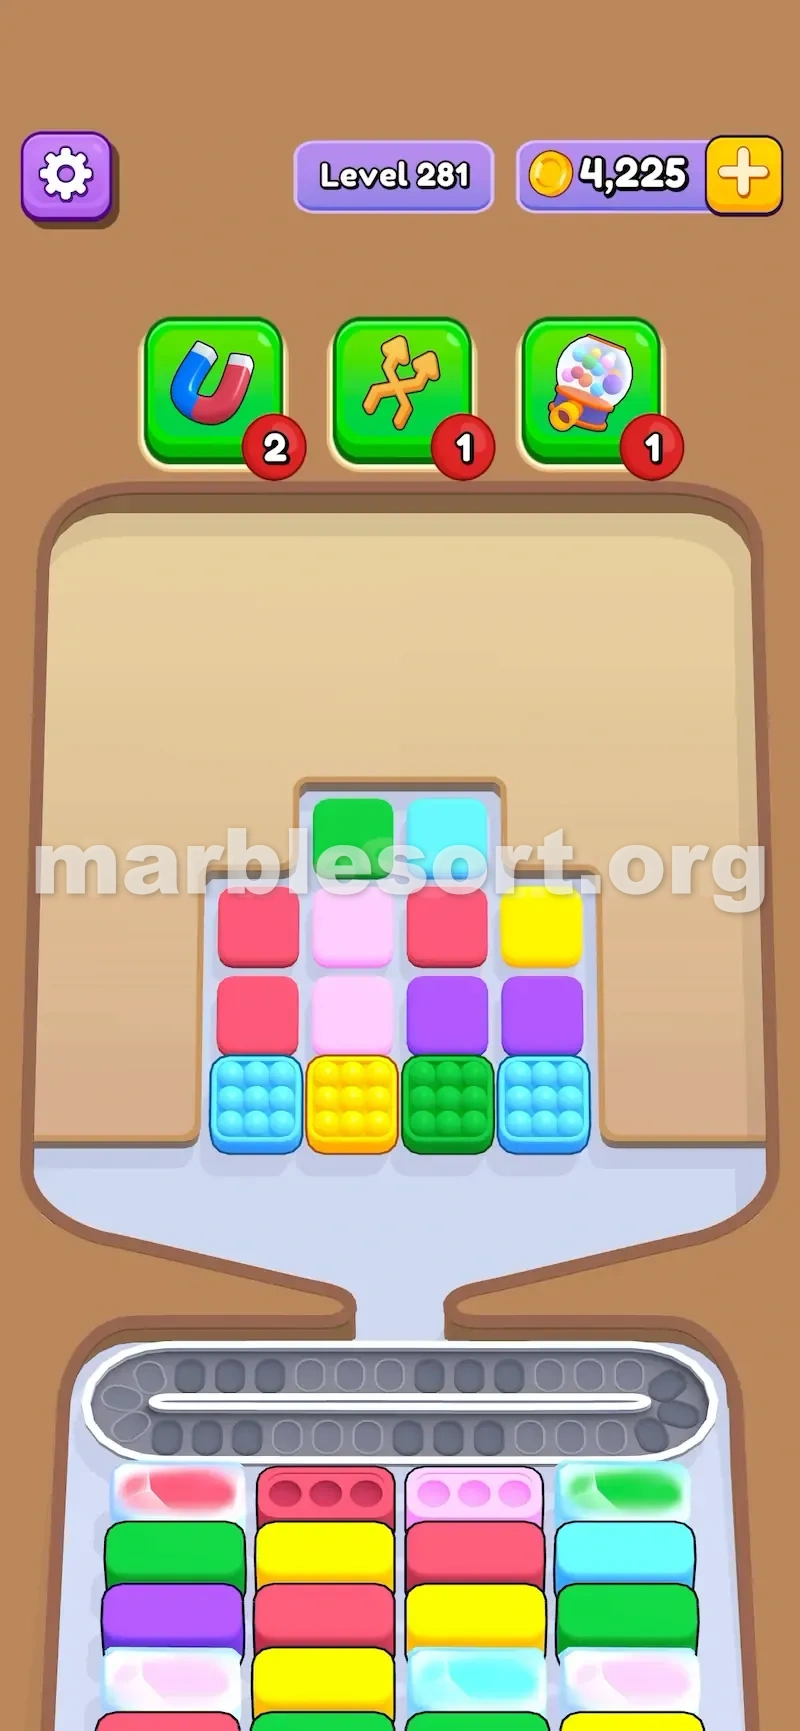
A Calm Order for Stuck Ice Levels
Before tossing a marble just because its shade is on hand, check all the frozen trays first. Mark which floor boxes are iced and what colors each one is holding hostage.
Pick the tray touching the smallest number of neighbors — a frozen box with just one or two workable side slots is the real threat. Every clear should open room or shave ice; never burn a clear on a bottom box that touches no ice.
If the matching tray is frozen, hold that color unless a booster is ready or the ice is one clear from breaking. In chain setups, start with the tray that already has the clearest neighboring path.
Cannon pays off most after frozen trays have flooded the conveyor with stray marbles. Shuffle bails out a broken bottom sequence. Magnet helps when a top box needs to fall but the route is sealed.
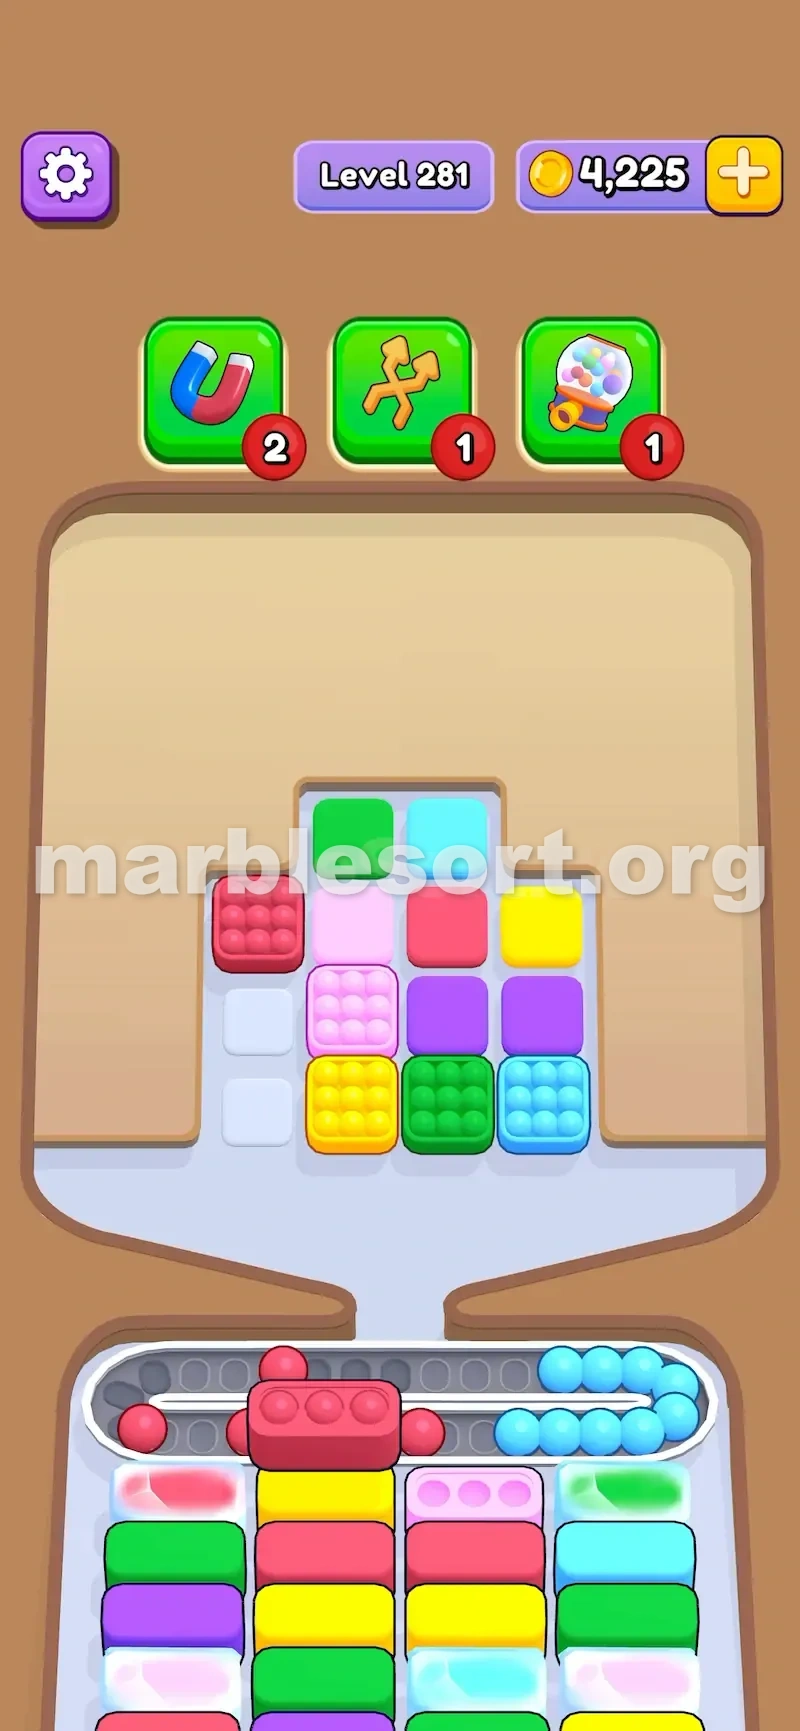
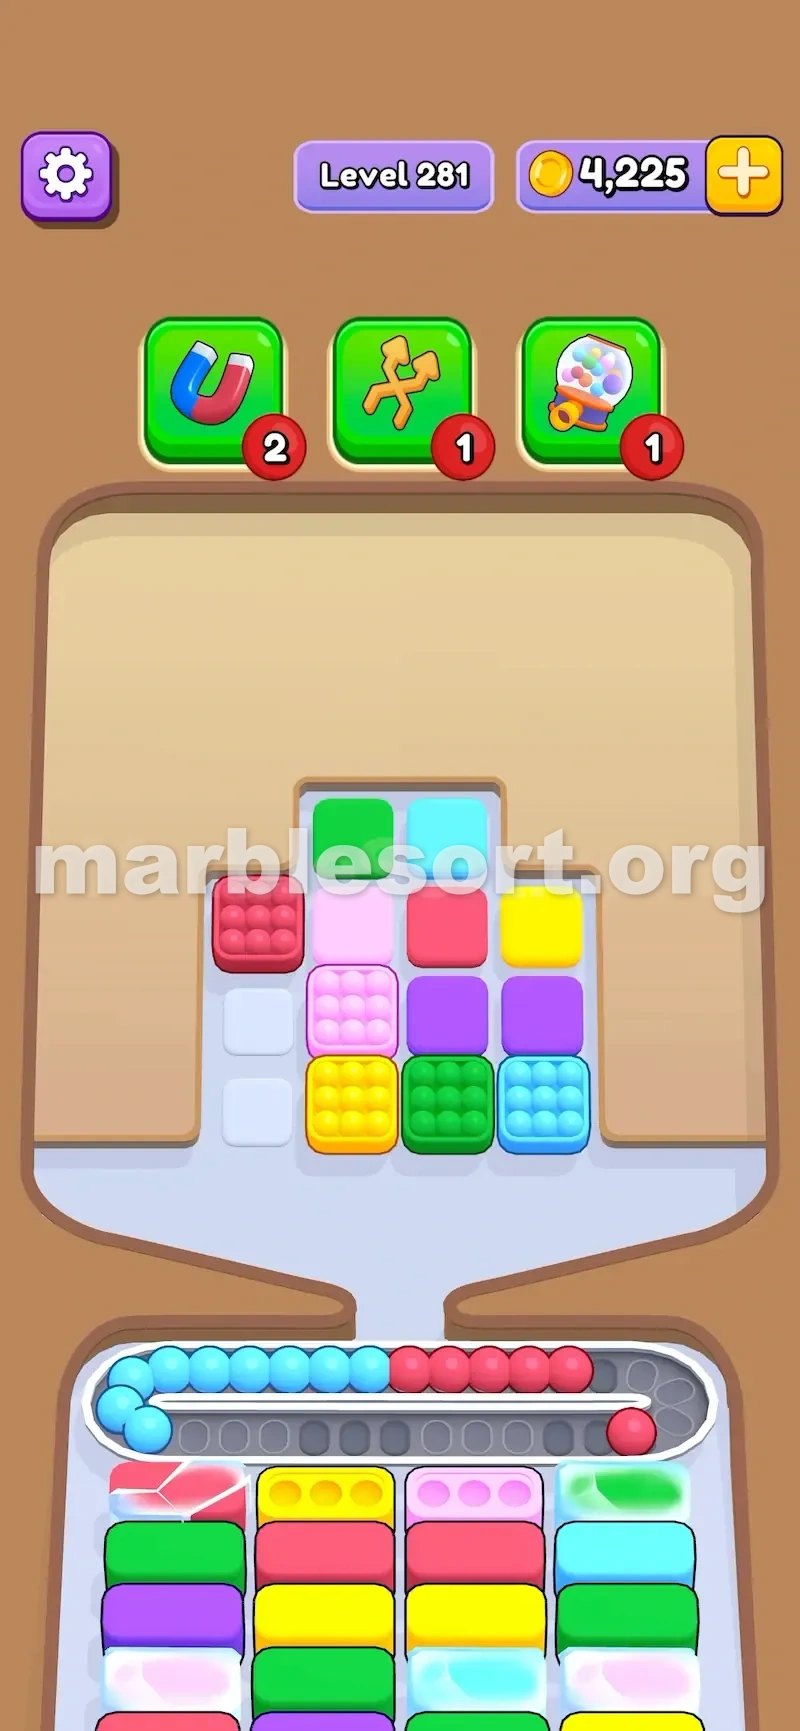
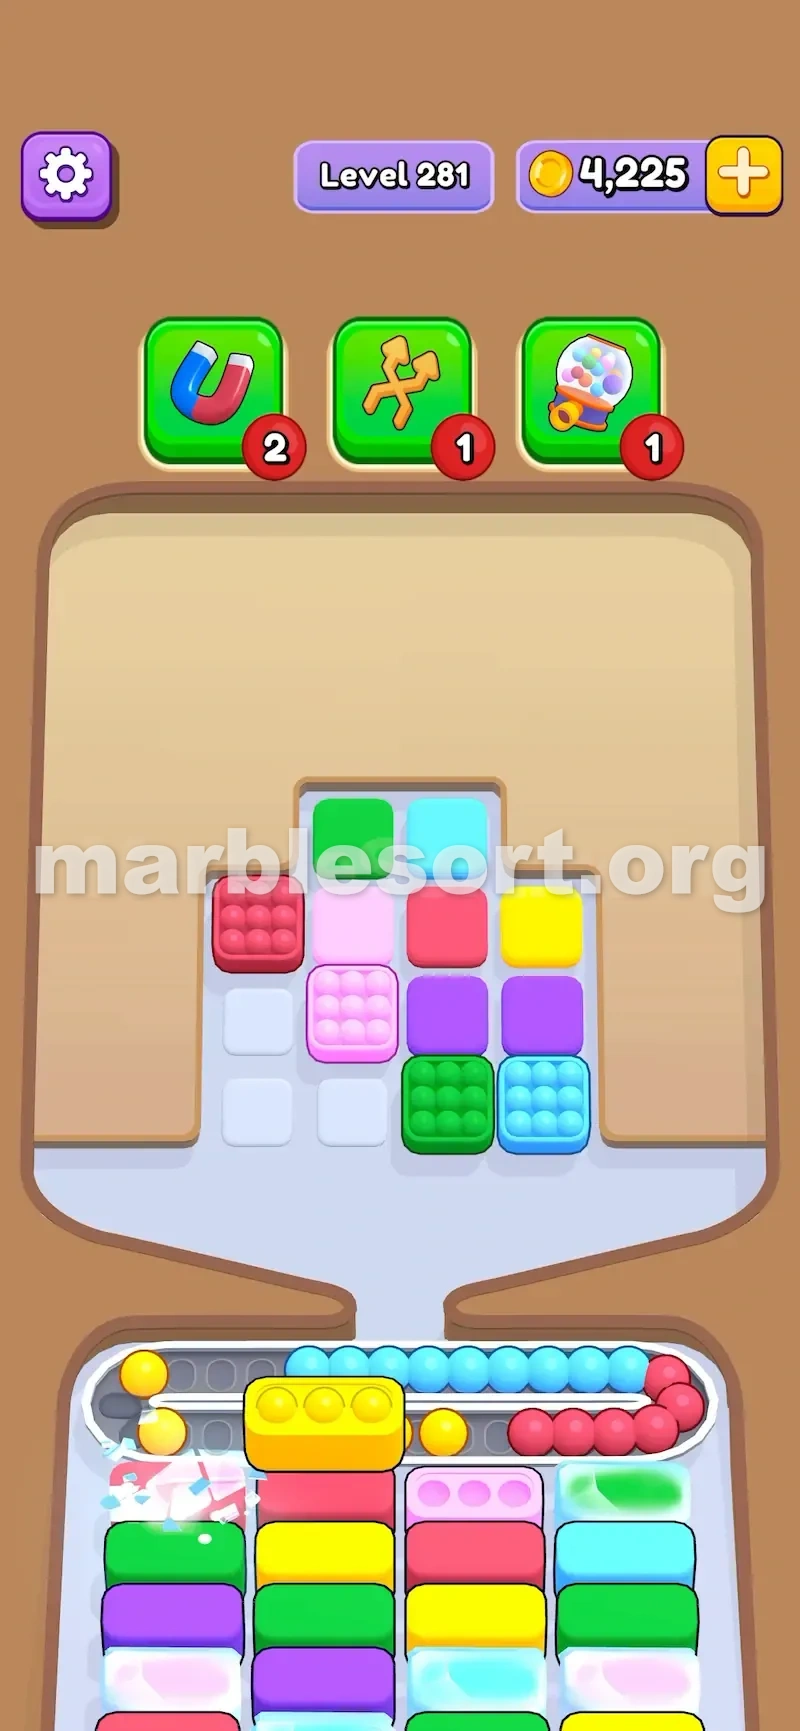
Chains, Full Rows, and the Mistakes That Sink You
Hard levels love clustering several Ice Trays together. You break one to free a box, use that box to break the next, then finally reach the color you wanted from the start.
Open with the frozen tray already surrounded by the most ordinary boxes — that is the softest seam. After it shatters, the board tends to reveal one more clear path toward the next chunk of ice.
Rare edge case: if a whole row freezes with no usable neighbor, the game can auto-break it so the level stays playable. Treat that as a safety net, not a plan — play as if every tray needs two nearby clears.
The usual failures: dropping a color before its tray opens, clearing boxes that touch no ice, ignoring the tray with one good neighbor, and burning Cannon too early. Pro tip — if one normal box touches two trays, clear it first; one move paves both.