Video Guide

Connected Pallet: When Two Bottom Boxes Share a Chain
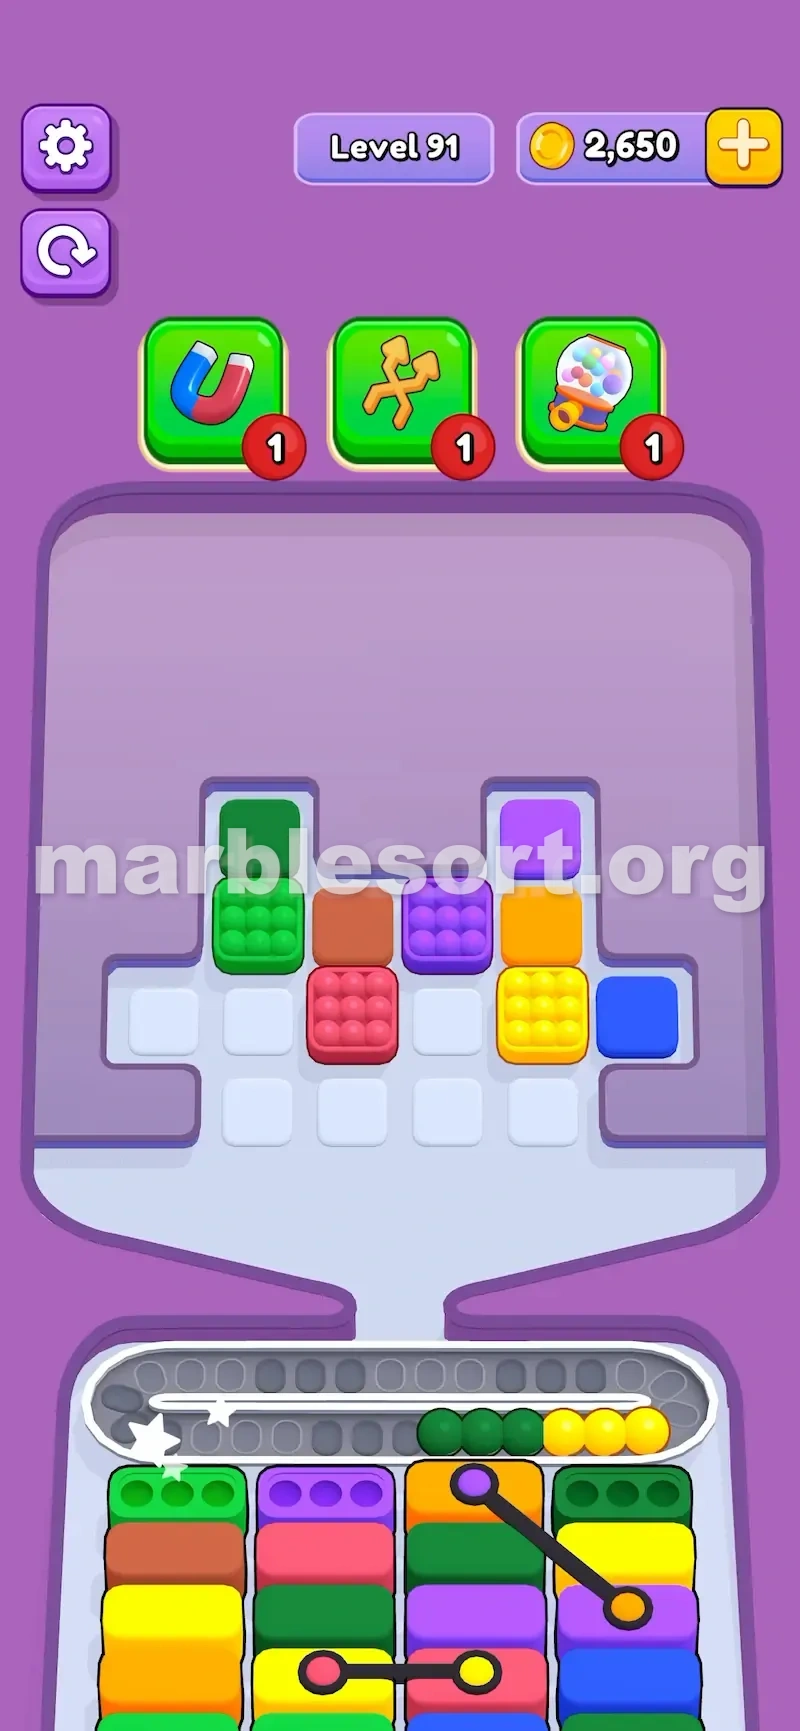
A black line ties two bottom boxes together, and all at once your normal plan stops working.
You meet this feature on the lower board of a Marble Sort stage.
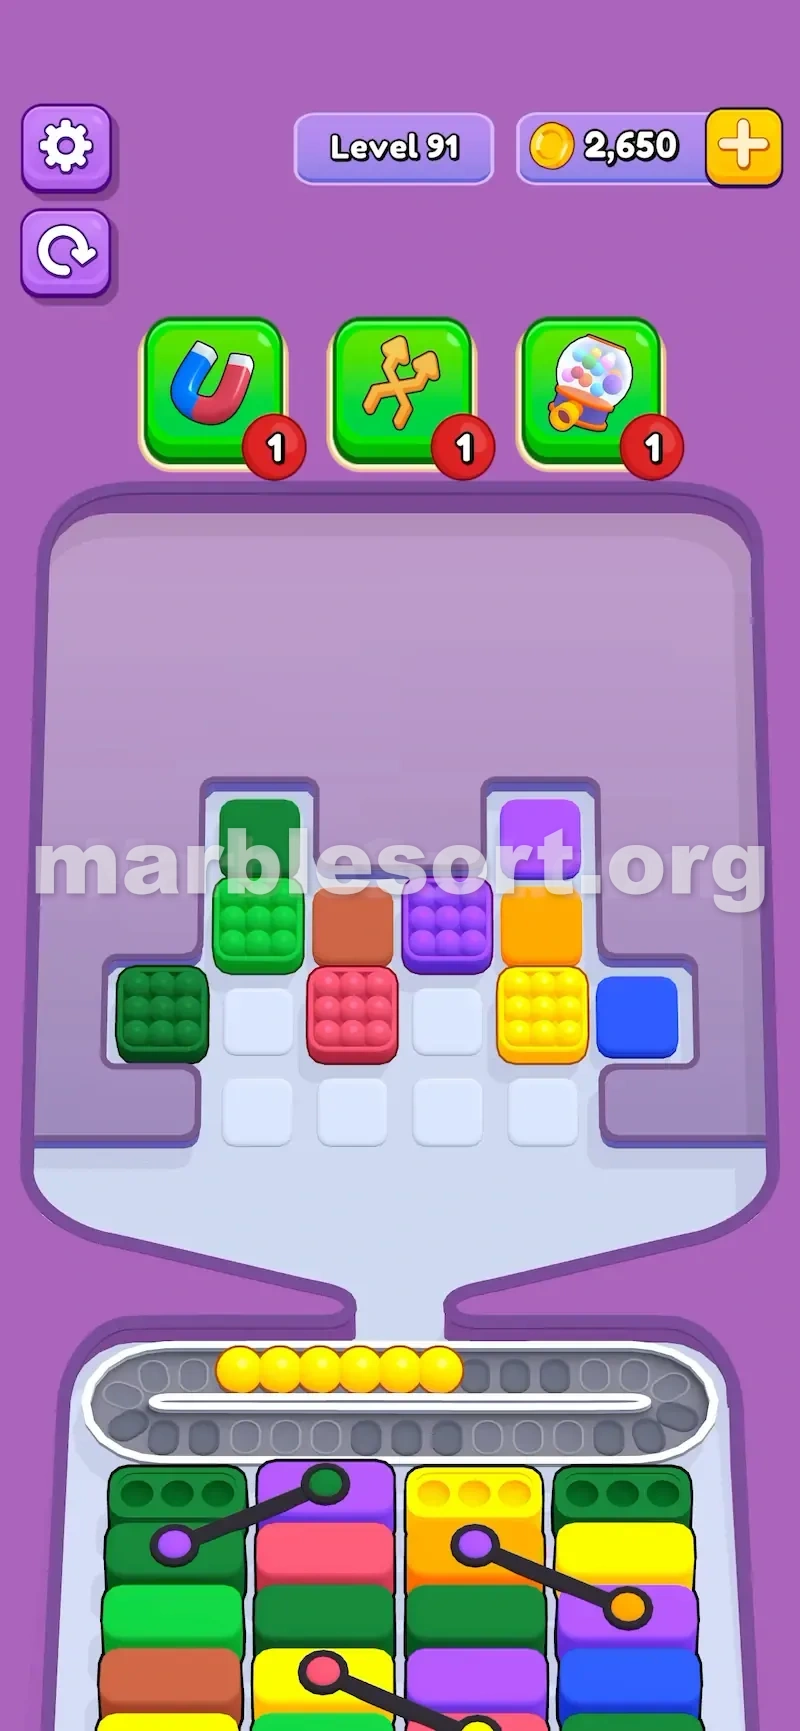
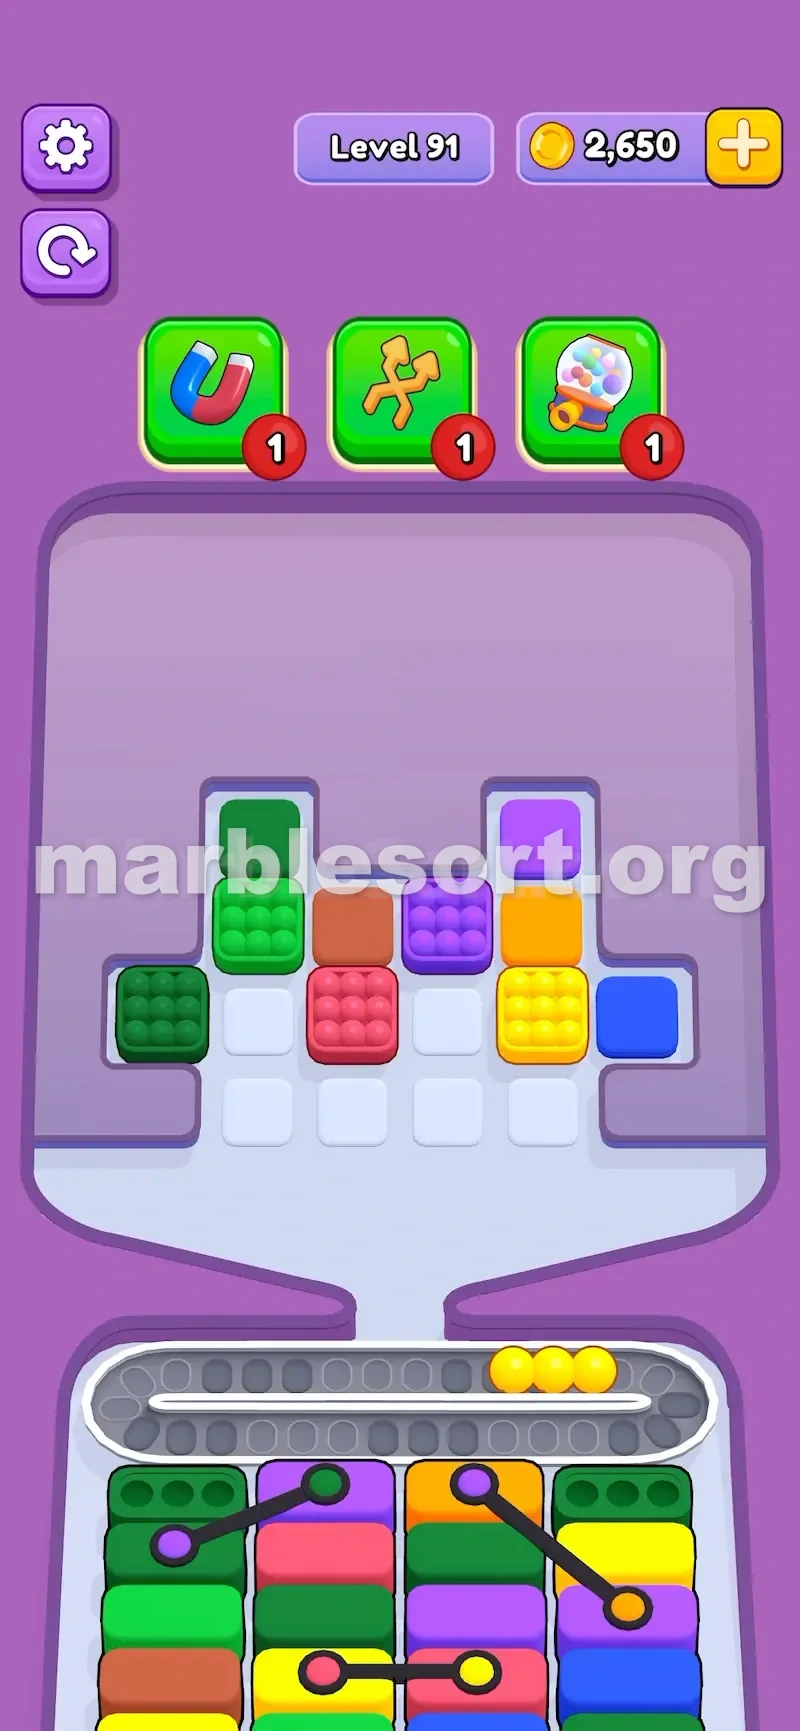
There is a black connector joining two colored boxes. It runs across neighboring columns, yet the two boxes need not sit on one row. One end can ride high in its column while the other rests low, with boxes piled above or beneath it.

What the Connector Actually Links
Connected Pallet draws a line joining two bottom boxes, and those two act like a shared wall across two side-by-side columns.
The boxes beneath them are not truly free until the linked pair is cleared. You may spot the lower boxes, but the linked pair traps them behind the line.
Ignore the link and chase easy matches, and you waste good drops while the useful shades stay buried.
It differs from Connected Box. A Connected Box lives at the top and, when you tap one of its two boxes, both drop as a pair. Connected Pallet lives at the bottom, inside the colored stacks, and never pushes extra marbles down — it simply stalls progress until that pair is gone.
Why It Is a Blocker
A blocker feature slows your usual clearing route, and Connected Pallet does that by binding two bottom columns together.
If one linked box fills easily but the other side craves a color still out of reach, the whole pair turns sour.
You might clear one side, yet the lower stack still will not open the way you hoped.
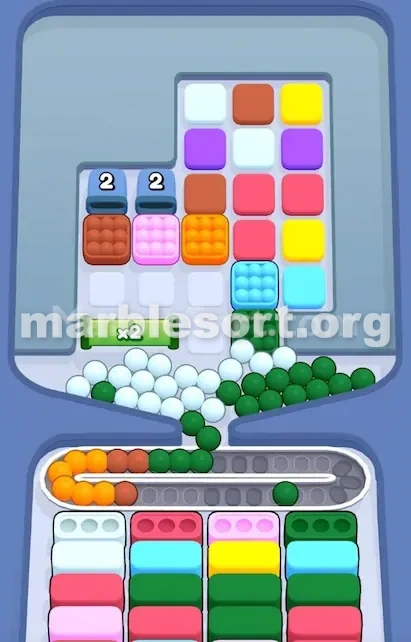
That costs you active boxes, safe landing spots, and marbles stuck on the belt. Every marble parked there eats space, and when you drop without a matched bottom box ready, the belt fills and the stage can fail. The feature piles on that strain because it hides handy boxes behind a joined wall.
How to Read and Clear the Pairs
Before poking anything up top, scan the bottom board. Hunt for every connector line, name the two shades in each linked pair, and see which pair rides highest in the stacks.
Also check what boxes sit trapped below each pair, then pick the pair that opens the widest useful room. Do not begin by eyeing the top marbles — your answer sits at the bottom.
The calm path through these stages is to clear linked pairs in the proper sequence. Begin with the highest connected pair, since a top pair typically traps more boxes, so clear it early unless its colors are fully out of reach.
Do not overfeed one side: if one linked box wants green and the other wants purple, do not pour too much green just because that side is ready. Drop only marbles with a clear home, and if the matching linked box is full or sealed, wait. Use each cleared pair as breathing room — the boxes below become your new safety net. The aim is not to clear every box evenly; it is to break the blocker that grants you the most room.
Connected Pallet Versus Connected Box
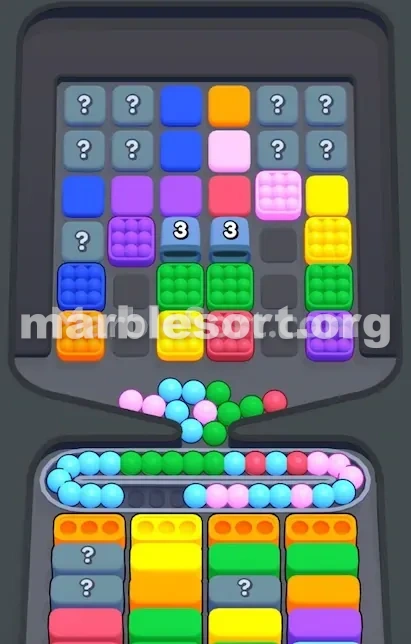
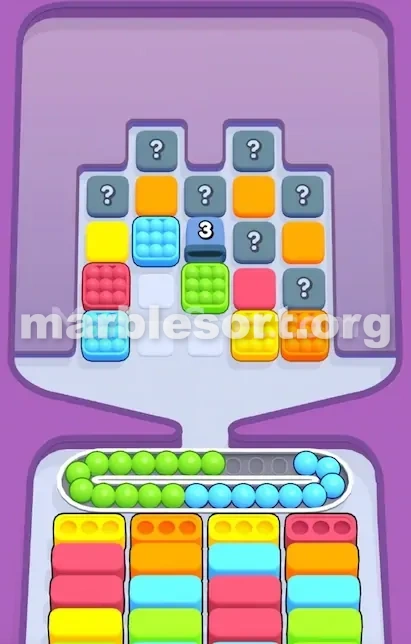
The names echo each other, yet the headaches differ. Connected Box sits high and, when you tap one of its two boxes, both fall as a pair, adding marbles to the belt.
Connected Pallet sits low, inside the colored stacks, and never shoves extra marbles down. It merely stalls progress until the connected pair is cleared.
So one changes how marbles land; the other changes which bottom boxes count. The pallet is a patience puzzle about order, not a sudden rush of new marbles.
Mixed Pallets and Booster Help
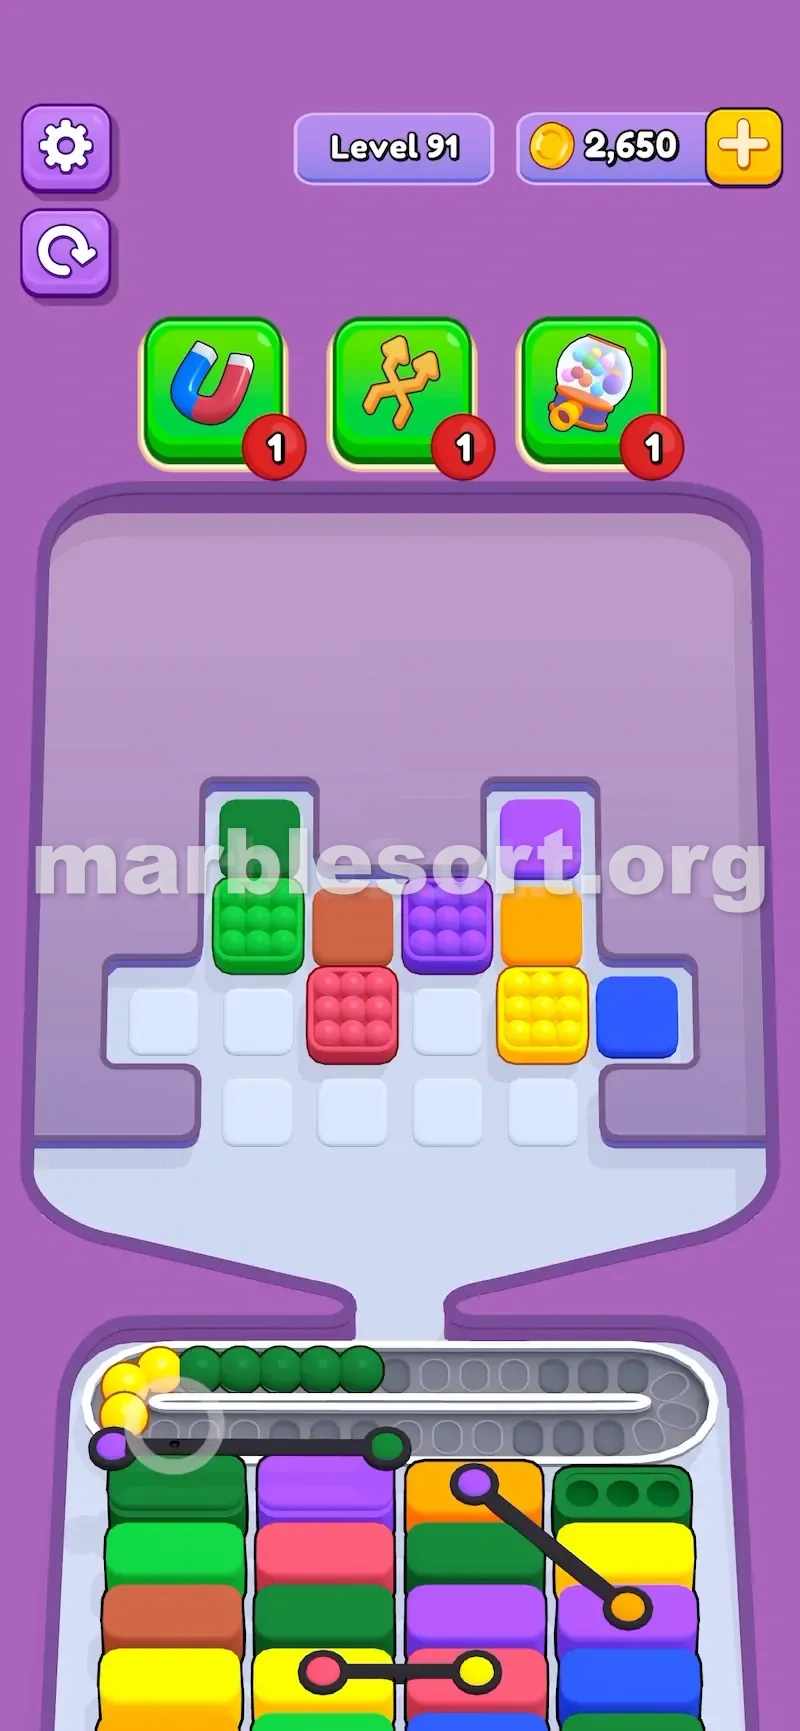
Very hard stages may scatter several Connected Pallets across the bottom stacks. Then the board becomes a chain riddle: one lower box reveals a shade you need for a different linked pair, and a column looks dead until you clear the box above it.
Work in this order: free the pair that exposes the most boxes, then the pair that reveals the most needed shade, then the pair that gives extra empty room. Do not try to finish all pairs at once — settle one target, feed it, finish it, and only then advance.
For boosters, the Magnet is usually best: it lets you drop any one top box, so if the precise shade you need lies buried up top, the magnet can snatch it and finish one side before the belt packs. Cannon suits a belt already full of junk that needs an emergency reset. Shuffle helps when the bottom queue is awkward but is less direct. Pro tip — when two Connected Pallets sit close, do not always clear the higher-looking one first. Trace the blocked columns; if springing a lower pair brings out the very shade a higher pair needs, do that one first.